When it comes to lunch, you want something that's not only satisfying but also vibrant and full of flavor. A quinoa salad can be the perfect answer, combining fresh ingredients and nutritious elements into a delightful meal. Imagine the crunch of cucumbers paired with the sweetness of cherry tomatoes, all tossed together with hearty chickpeas. It's a simple yet colorful dish that can brighten up your midday break. But how can you elevate this salad even further?
Recipe Tips and Tricks
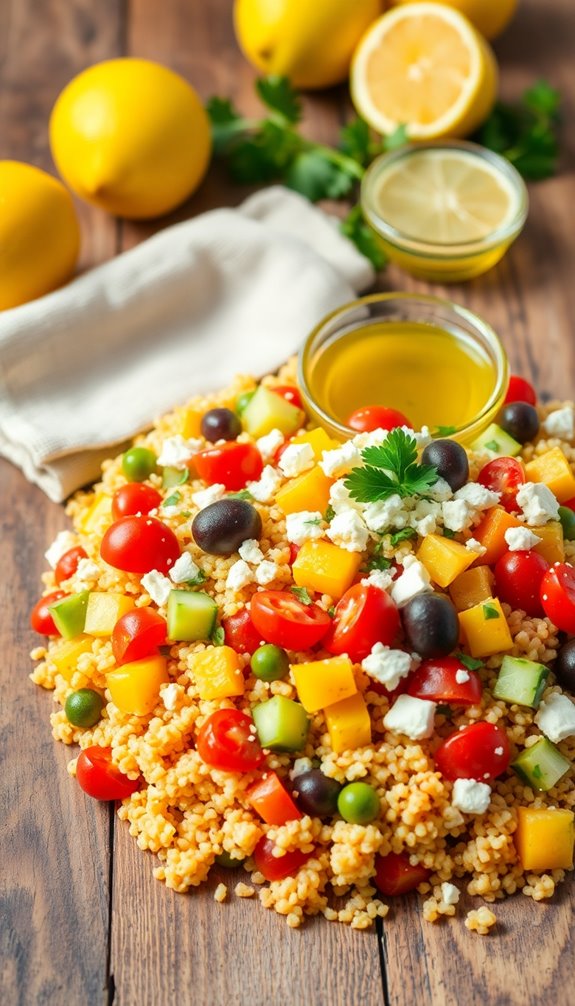
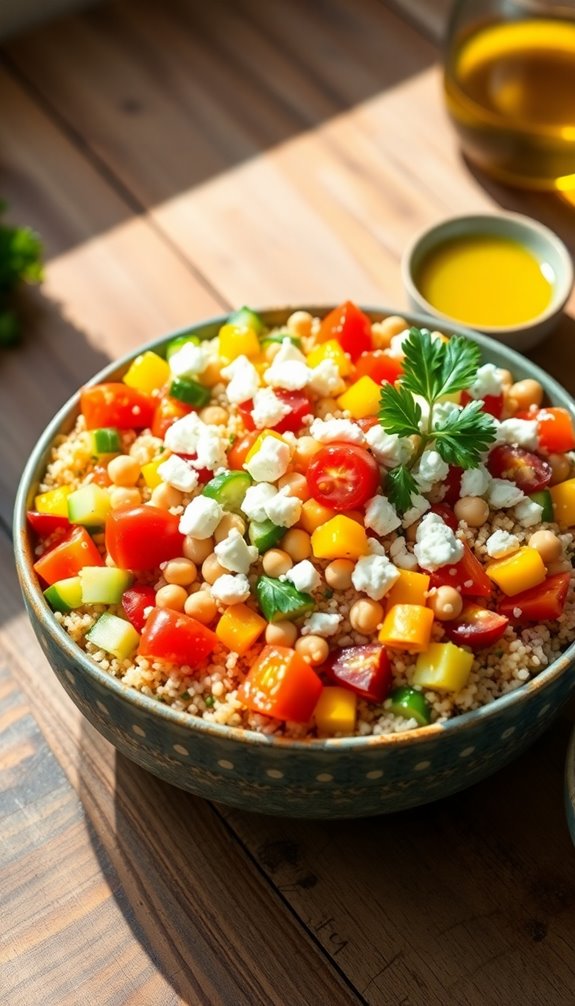
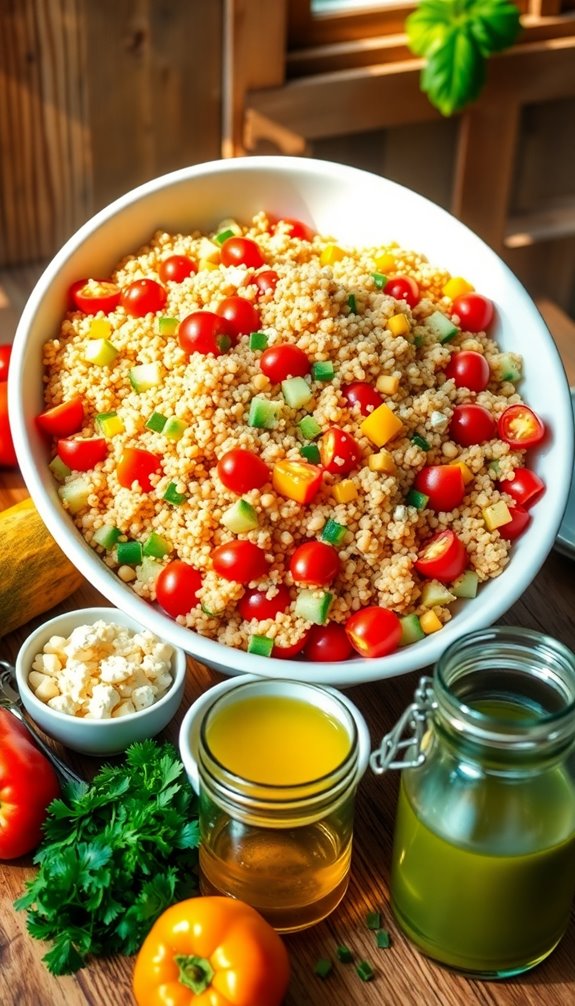
- Combine cooked quinoa, vegetables, and chickpeas for a nutritious and colorful lunch option that is both filling and delicious.
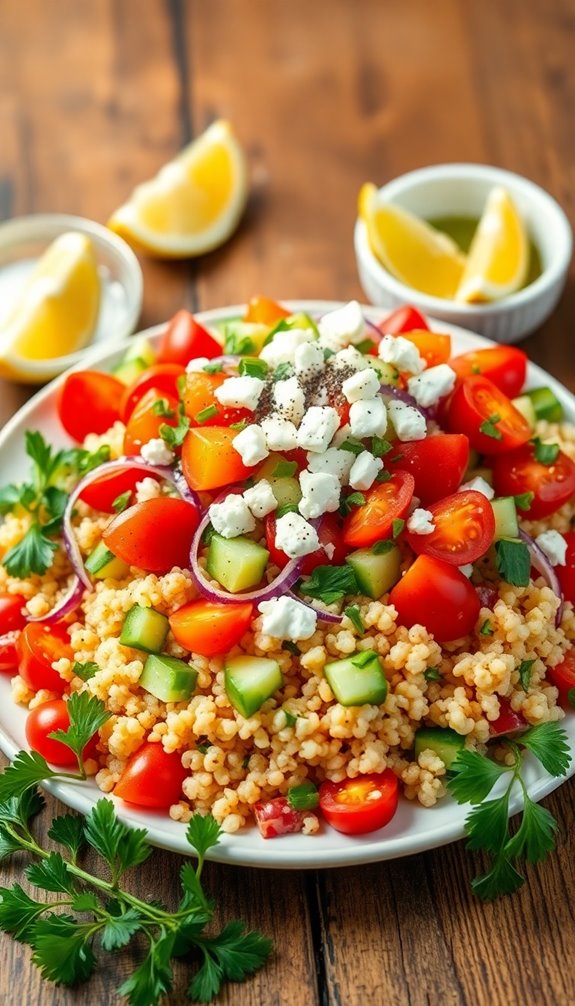
- Add fresh ingredients like cherry tomatoes, cucumber, and bell peppers for a refreshing and crunchy texture in your meal.
- Incorporate crumbled feta cheese and fresh herbs for an added layer of flavor and a touch of Mediterranean flair.
- Prepare a simple dressing with olive oil and lemon juice to enhance the overall taste and make the dish more vibrant.
- This recipe can be made ahead, stored in the fridge, and enjoyed over several days for convenient meal prep.
How To Make It – Recipe
Making a fun lunch can be an exciting and creative endeavor that not only satisfies your hunger but also sparks joy in your day.
Whether you're preparing a meal for yourself, your kids, or a gathering with friends, this recipe is designed to be versatile and enjoyable. The combination of flavors and textures will keep your taste buds dancing, and the colorful presentation will make it visually appealing as well.
This simple lunch recipe allows you to incorporate various ingredients, making it easy to customize based on personal preferences or dietary restrictions. Healthy lunch recipes are a great way to ensure you're nourishing your body while enjoying your meals.
In just a few steps, you'll be able to whip up a delicious meal that can be enjoyed at home or packed up for a picnic. So, roll up your sleeves, and let's get started on this delightful culinary adventure!
Ingredients:
- 1 cup cooked quinoa
- 1 cup cherry tomatoes, halved
- 1 cucumber, diced
- 1 bell pepper, diced
- 1 cup canned chickpeas, rinsed and drained
- 1/4 cup feta cheese, crumbled
- 1/4 cup fresh parsley, chopped
- 2 tablespoons olive oil
- 1 tablespoon lemon juice
- Salt and pepper to taste
Cooking Instructions:
In a large mixing bowl, combine the cooked quinoa, cherry tomatoes, cucumber, bell pepper, and chickpeas.
Gently fold in the crumbled feta cheese and chopped parsley.
In a separate small bowl, whisk together the olive oil, lemon juice, salt, and pepper until well blended.
Pour the dressing over the quinoa mixture and toss everything together to make sure all ingredients are evenly coated with the dressing.
Serve immediately or refrigerate for later use, allowing the flavors to meld together for an even tastier dish.
Extra Tips:
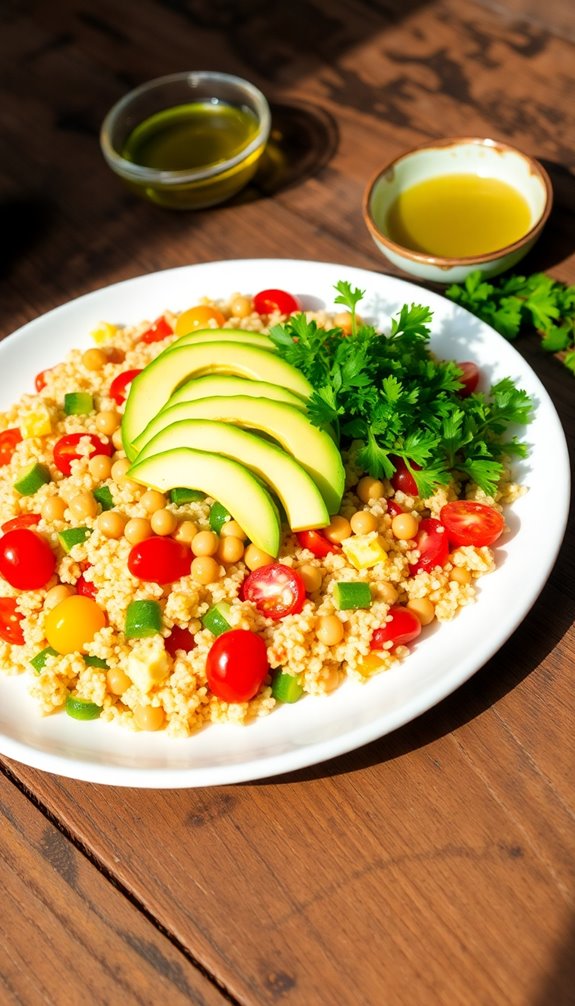
Feel free to get creative with this recipe by adding other ingredients such as avocado, olives, or your choice of protein like grilled chicken or tofu.
This dish not only tastes great fresh but also makes an excellent meal prep option, as it can be stored in the refrigerator for up to three days.
Adjust the seasoning to your liking, and don't be afraid to experiment with different dressings or herbs to make it your own!
Cooking Steps
Now that you've gathered all your ingredients, it's time to bring them together for a delicious lunch!
Start by mixing the dry ingredients thoroughly to create a solid base, then gradually add the wet ingredients for that perfect blend. It's also a great idea to consider quick and easy lunch ideas that can save you time during your busy day.
Don't forget to fold in those chopped vegetables for an extra burst of flavor before you pop everything into the oven!
Step 1. Gather All Ingredients Needed
To whip up a fun lunch that everyone will enjoy, gather all the ingredients you'll need beforehand.
Focus on your ingredient selection, choosing fresh vegetables, quality proteins, and tasty spices. This not only enhances flavors but also makes meal preparation a breeze.
Make sure to have everything within reach, so you can plunge into cooking without interruptions.
Happy prepping!
Step 2. Mix Dry Ingredients Thoroughly
With your ingredients prepped and ready, it's time to focus on mixing the dry elements of your fun lunch.
Start by combining your dry ingredients in a large bowl, using a whisk or spatula to guarantee even distribution.
Employ mixing techniques like folding and sifting to break up clumps and enhance texture.
This thorough blending sets a great foundation for your delicious meal ahead!
Step 3. Add Wet Ingredients Gradually
As you prepare to bring your dry ingredients to life, gradually adding the wet components will secure a well-blended mixture that's bursting with flavor.
Start by measuring the wet ingredient ratios carefully. Pour them in slowly, allowing for gradual incorporation.
This technique not only enhances texture but also guarantees every bite is deliciously moist and flavorful, creating the perfect base for your fun lunch recipe.
Step 4. Fold in Chopped Vegetables
Gently fold in the chopped vegetables to your mixture, allowing their vibrant colors and fresh flavors to meld seamlessly with the wet and dry ingredients.
This not only creates delicious flavor combinations but also adds a nutrient boost to your meal.
The added texture variety from the vegetables enhances every bite, making your lunch both satisfying and nutritious.
Enjoy the delightful medley!
Step 5. Bake at 350°F for 30 Minutes
After folding in those vibrant chopped vegetables, it's time to bring everything together in the oven.
Preheat it to an oven temperature of 350°F, ensuring even cooking. Carefully place your dish inside and set the timer for a baking time of 30 minutes.
As it bakes, your kitchen will fill with delicious aromas, promising a delightful meal ahead. Enjoy the anticipation!
Substitution Suggestions
When you're looking to mix things up in your lunch routine, creative substitutions can make all the difference.
Try ingredient swaps like using quinoa instead of rice, or Greek yogurt in place of sour cream. These changes not only enhance flavor variations but also boost nutrition.
Experiment with different herbs and spices, and you'll discover exciting new tastes that keep your lunches fresh and enjoyable! Additionally, incorporating quick and nutritious options can provide a well-rounded meal while saving you time during busy weekdays.
Serving Suggestions
To elevate your lunch experience, consider how you serve your dishes. Use vibrant plates to showcase your meals, and don't hesitate to include creative pairings like a zesty salad with your main dish. Elevate the atmosphere with fresh herbs as garnishes. Remember, presentation tips like layering ingredients attract the eye and enhance flavor, turning a simple lunch into a delightful feast. Additionally, incorporating a healthy salad recipe into your meal not only boosts nutrition but also adds a burst of color to your plate.
Make-Ahead and Storage
Making your lunch ahead of time not only saves you valuable minutes during the busy week but also allows the flavors to meld beautifully. For effective meal prep, consider portioning your meals in airtight containers. Store them in the fridge for up to four days. If you want to extend freshness, freeze portions for later. Just remember to label your food storage! Using a crockpot for meal prep can further simplify the process, allowing you to prepare hearty lunches with minimal effort.
Nutrition Facts(per serving)
Each serving of this fun lunch recipe packs a nutritious punch, offering a balanced blend of essential vitamins, minerals, and macronutrients.
With a caloric content that satisfies without overindulging, you'll enjoy a nutrient breakdown rich in protein, healthy fats, and fiber.
This delicious meal not only fuels your day but also supports overall health, making every bite worthwhile. Additionally, incorporating simple and delicious lunch ideas can help diversify your meals while maintaining a healthy eating pattern.
Final Thoughts
As you wrap up your culinary adventure with this fun lunch recipe, it's clear that you've created something not only delicious but also nourishing. By experimenting with various flavor combinations, you've made meal planning exciting and enjoyable. Remember, each bite reflects your creativity and effort. Additionally, incorporating plant-based ingredients can enhance the nutritional value of your meals.
Recipe FAQs
Can I Use Frozen Ingredients in This Recipe?
Frozen ingredients are like little time capsules, preserving flavor and nutrition. They add adaptability to your recipe, ensuring convenience without sacrificing taste. Embrace their benefits, and your dish will shine with vibrant freshness!
What Kitchen Tools Do I Need to Prepare This Meal?
To prepare this meal, you'll need essential kitchen tools like knives, cutting boards, and mixing bowls. Mastering cooking techniques with these items guarantees your dish turns out delicious and visually appealing. Get ready to impress!
How Long Does This Meal Take to Prepare?
Imagine a clock ticking, each second a step in your meal prep journey. You'll find the cooking time's around 30 minutes, transforming simple ingredients into a delightful dish that warms your heart and satisfies your hunger.
Is This Recipe Suitable for Kids?
This recipe's perfect for kids, especially picky eaters. You'll find it appealing with colorful ingredients and delicious flavors, making mealtime fun and enjoyable. It's designed to cater to young tastes while keeping them satisfied!
Can I Double the Recipe for a Larger Group?
Absolutely, you can double the recipe for a larger group! Just remember, meal scaling requires careful ingredient adjustments. Isn't it exciting to create a feast that everyone will enjoy? You'll surely impress your guests!