
The first time I added a runner and swapped tired stools on a client’s island, she could not believe two cheap changes did so much. That is the thing about island tricks: the island is the biggest piece of furniture in most kitchens, so small upgrades there move the whole room. You feel them every day.
These are the tricks that punch above their cost, the ones that change how an island looks and works, not just a bowl you set on top. For each I will give you the rough price and the quick how-to, so you can pick the upgrades that fix your island and skip the rest.
Tricks That Punch Above Their Cost
- Dress the whole island, not just the top: a runner, the right stools, and good lighting do more than any centerpiece.
- Layer the light: pendants plus a small lamp turn an island from a work surface into a gathering spot at night.
- Add function as decor: a pot rack, charging station, or open shelving looks good and earns its keep daily.
- Define zones with trays: corralling items into one spot keeps the surface clear and the styling intentional.
Anchor With a Stylish Runner
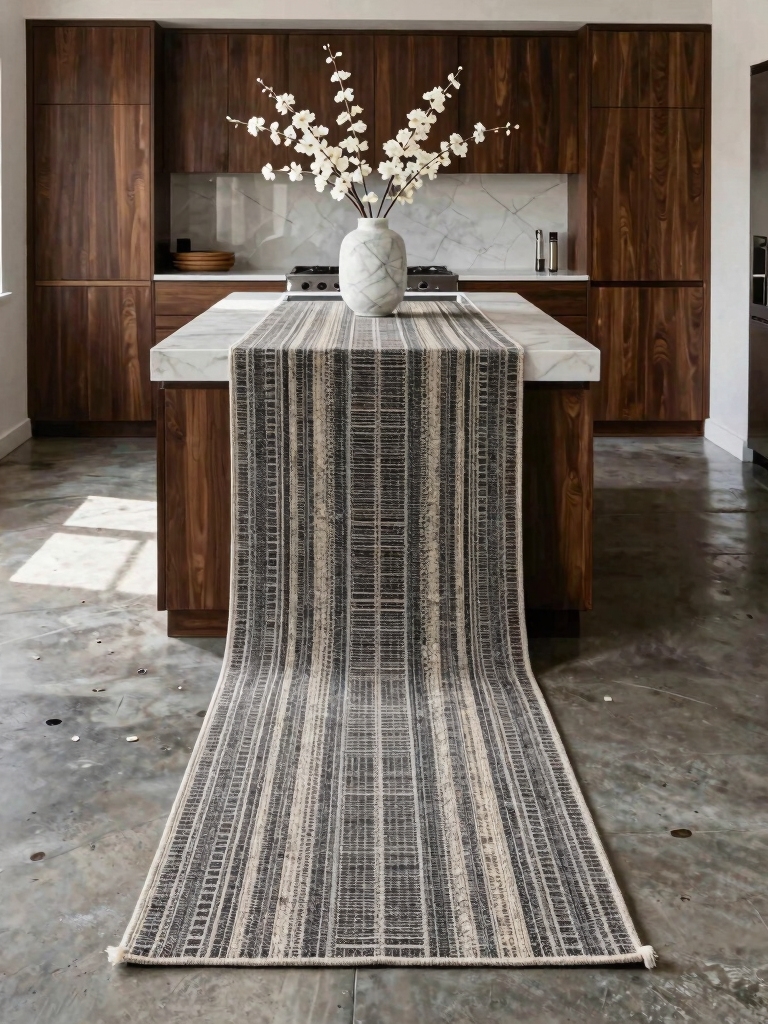
A runner is the cheapest trick that changes an island most, because it adds color, texture, and warmth to a big slab of hard stone in one move. Laid down the center, it grounds whatever you set on top and instantly makes the island feel decorated rather than bare. For ten to forty dollars, nothing else does so much so fast.
Choose a washable runner in a material and color that pull from the rest of the room, and size it to leave a margin of counter on either side. A flat-weave cotton or a low-pile runner sits flat, wipes clean, and survives a working kitchen, which matters on a surface that catches every spill.
- Pick a washable, flat-weave runner that handles spills and crumbs
- Pull a color from your room: the stools, the tile, or a tea towel
- Leave a margin of counter on each side so it frames, not covers
Layer the Island Lighting
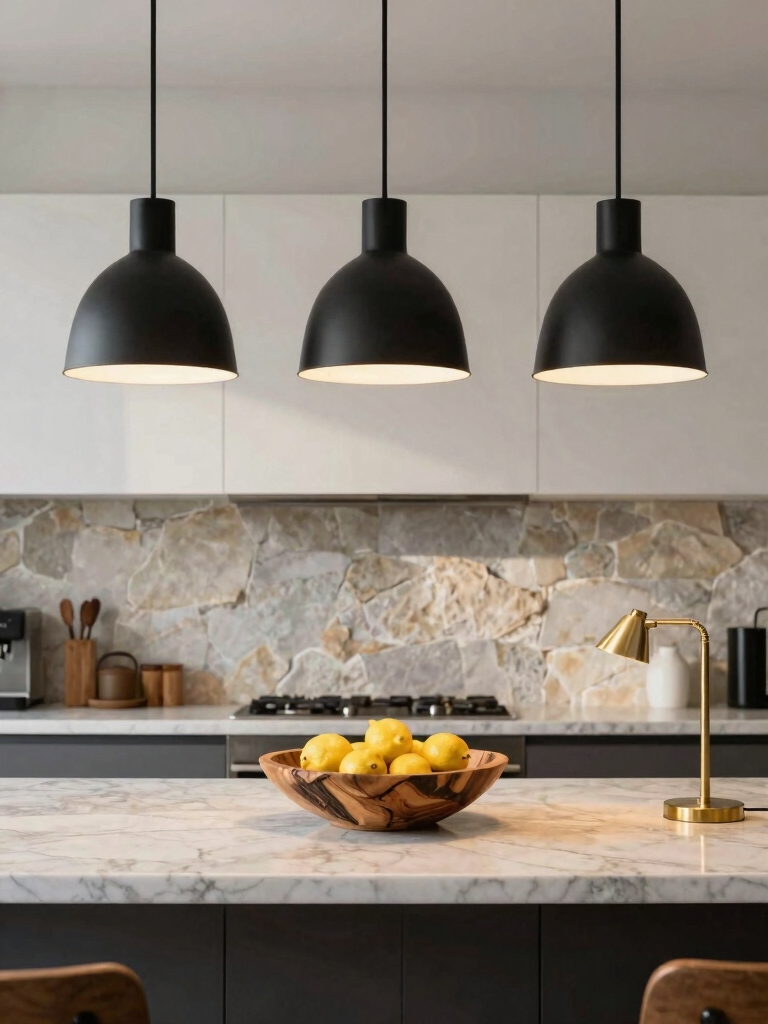
Lighting is the upgrade people notice without knowing why, and an island is the perfect place to layer it. Pendants overhead handle the task light and act as jewelry, while a small lamp or a few candles add a low, warm glow for evenings. The combination turns a flat work surface into the warm heart of the room after dark.
- Hang pendants so the bottom sits about 30 to 36 inches above the counter
- Add a small cordless lamp at one end for a soft evening glow
- Put the pendants on a dimmer to shift from bright prep to cozy dinner
- Choose a warm-white bulb so the light feels inviting, not clinical
💡Buy the runner washable
An island runner sits right where you cook, so it will catch oil, water, and crumbs. Skip delicate wool or silk and choose a flat-weave cotton or a low-pile indoor-outdoor runner you can toss in the wash. A pretty runner you are afraid to use ends up rolled in a closet.
Upgrade Your Bar Stools
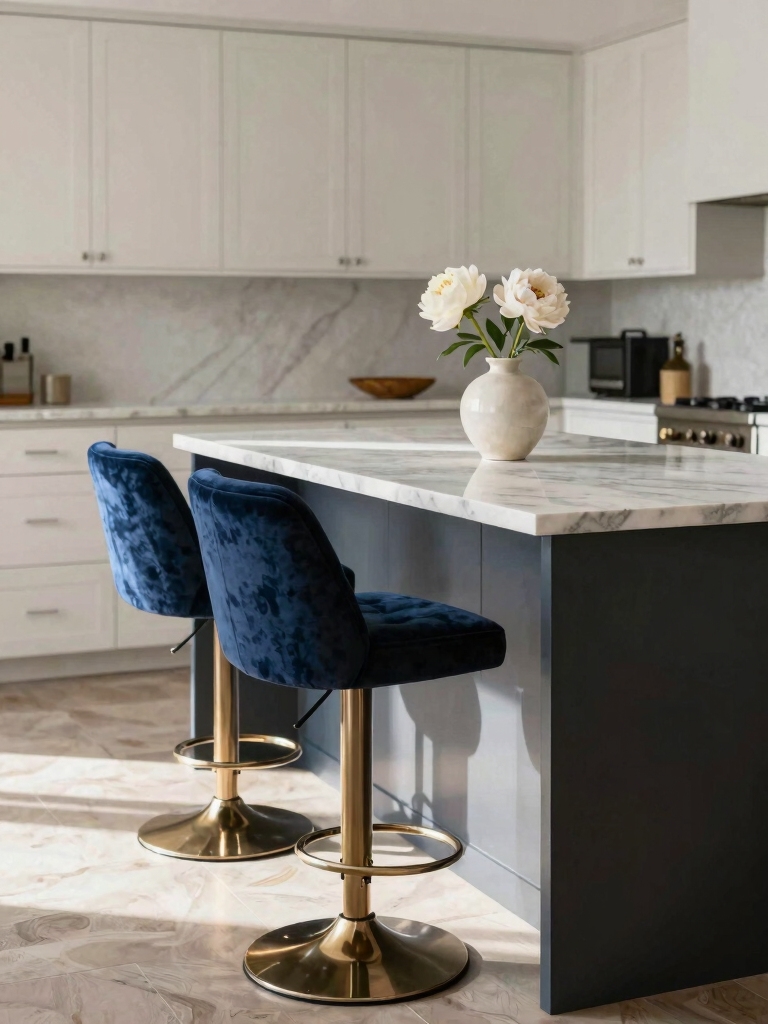
Stools are decor you sit on, and swapping dated ones is one of the highest-impact island changes you can make. Because they sit right at eye level around the island, the stools set the style almost as much as the cabinets, so a fresh set in the right material and height modernizes the whole zone at once. It is the trick that quietly does the most.
Get the height right first, since the wrong stool height ruins both comfort and look: allow about 10 to 12 inches between the seat and the counter. Then choose a material that fits your style, wood and woven for warmth, metal for industrial, upholstered for soft, and the island instantly feels considered, a natural pairing with the right stool combos.
- Measure for 10 to 12 inches between seat and counter for comfort
- Pick a material that matches your style: wood, metal, woven, or upholstered
- Leave about 24 to 30 inches per stool so people are not crowded
Create Height With a Tiered Stand
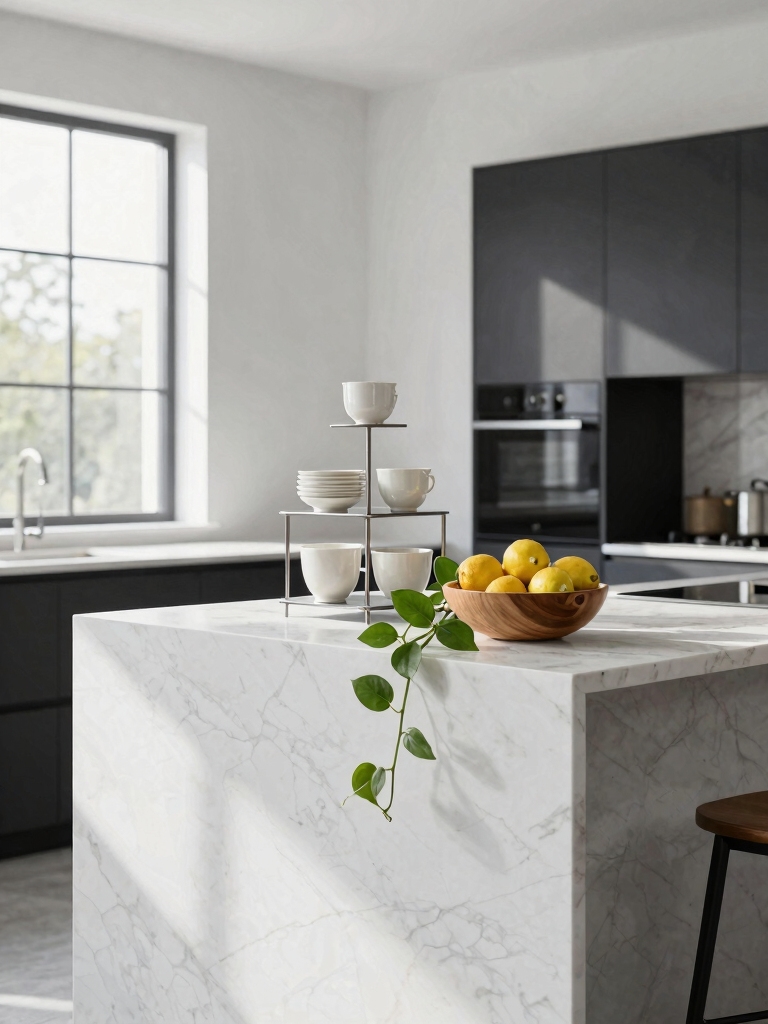
Most island decor sits flat, so adding a tiered stand introduces height and instantly makes a surface more interesting. A two- or three-tier stand draws the eye upward and packs fruit, small plants, and seasonal touches into a small footprint, giving you display space and drama in one piece. It is the trick that fixes a flat, boring island.
- Use a two or three-tier stand to add vertical interest and display
- Mix the tiers: fruit, a small plant, a candle, folded linens
- Keep it loose and collected, not a rigid, matched arrangement
- Swap the contents by season so the same stand stays fresh
📋Before you add a tiered stand
- ✓Is there a clear zone for it that won’t block your prep space?
- ✓Does its height clear your sightline across the island?
- ✓Can you fill it with a varied mix, not a matched set?
- ✓Will you actually swap the contents with the seasons?
Add a Hanging Pot Rack
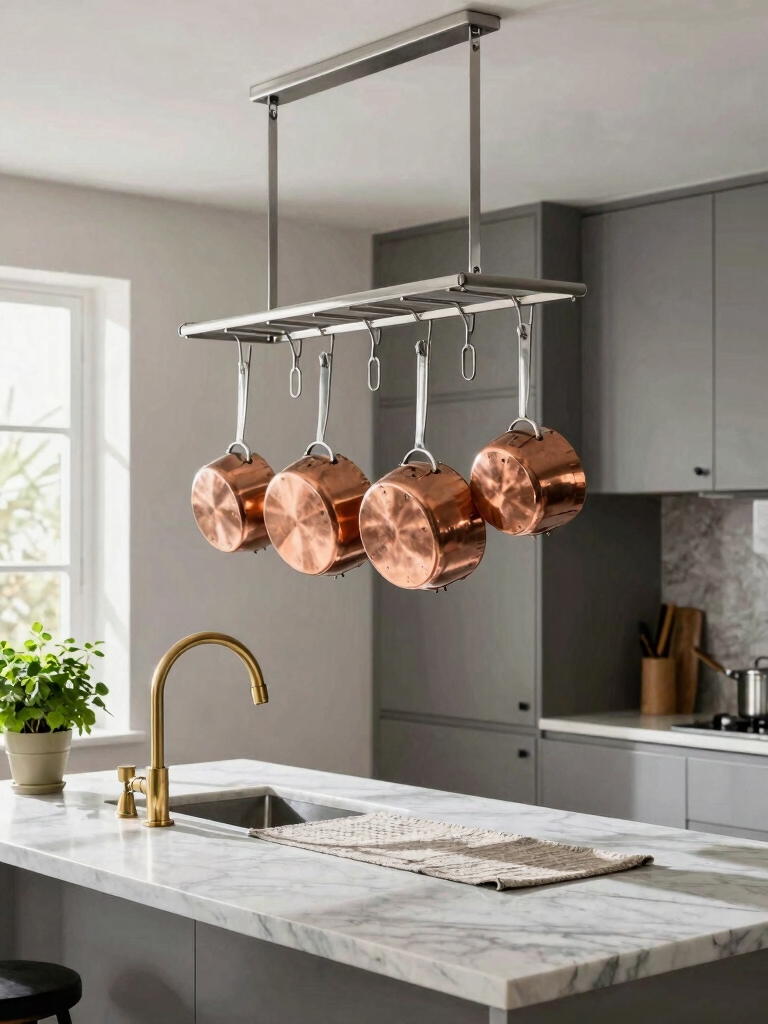
A hanging pot rack over the island is the trick that decorates and declutters at the same time. Hung above the island, your prettiest pots and pans become handsome, useful decor while freeing a whole cabinet below, and the rack itself adds a warm, working, professional-kitchen note overhead. Few upgrades give back this much cabinet space.
Hang it high enough to clear sightlines and heads, typically so the lowest pan sits comfortably above the counter and out of the walkway. Anchor it into joists or with rated hardware, since loaded pots are heavy, and hang only the pieces you use weekly so it stays a help rather than a clutter magnet.
- Hang only your most-used, best-looking pots so it doubles as decor
- Mount into joists or rated anchors, since a loaded rack is heavy
- Keep the lowest pan above head and sightline height over the island
Open Shelving Beside the Island
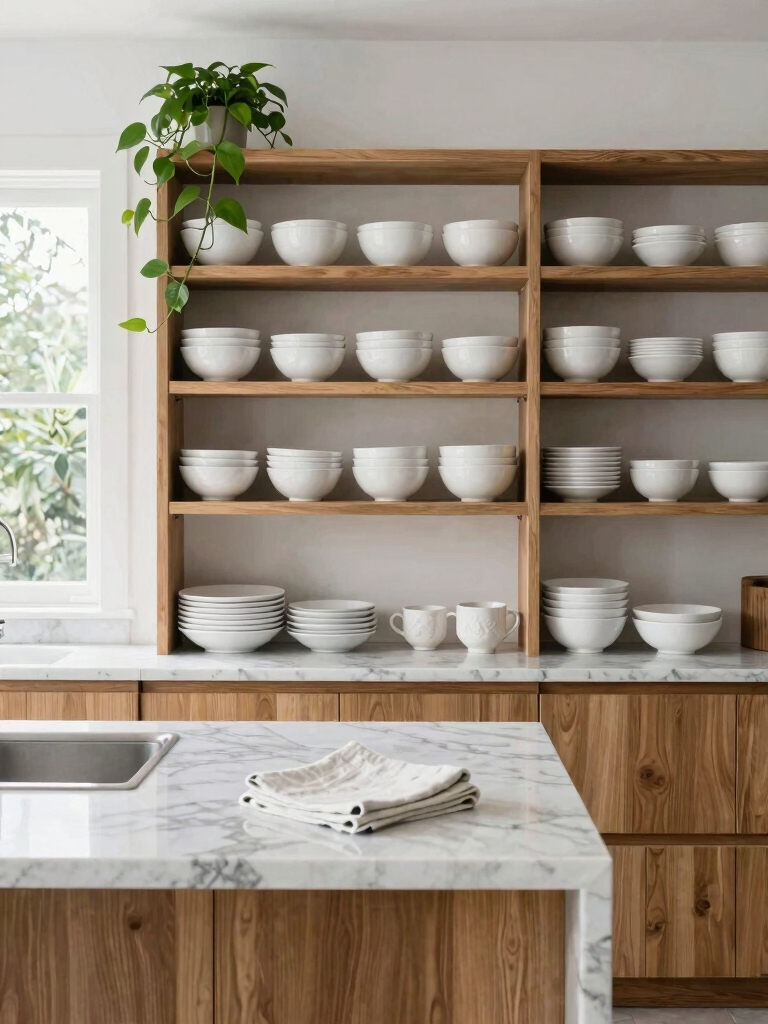
If your island sits near a wall or an end cap, a run of open shelving there transforms the whole zone. It gives you a spot for daily dishes, cookbooks, and a plant, framing the island and making the area feel styled and intentional. The shelving carries the storage and display the island top should not, keeping the work surface clear.
Treat the shelves as a small stage and keep them edited to pieces you love and use, so the open look stays tidy rather than cluttered. Mount into studs for a loaded shelf, and echo the island’s materials or colors so the two read as one designed zone instead of separate add-ons.
- Frame the island zone with a short run of open shelves nearby
- Keep shelves edited to daily dishes, a few books, and a plant
- Echo the island’s materials or color so the zone looks unified
Island near a wall or an open end? Pick the right display upgrade:
🎯Against a wall
Open shelving above or beside it frames the island and adds display without crowding the top.
🎯Fully open island
Skip wall shelving; lean on a tiered stand or a tray vignette on the surface instead.
A Built-In Charging Station
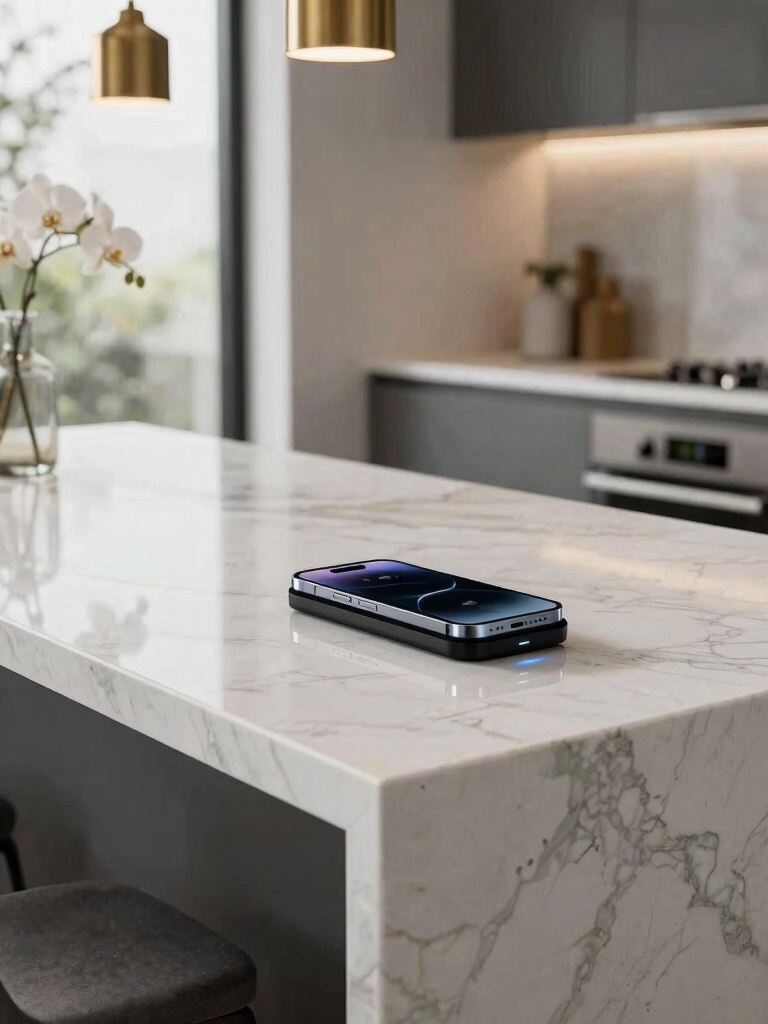
The least glamorous trick here might save your island’s looks most: a built-in charging station that ends the tangle of cords and devices. A pop-up outlet, a drawer fitted with a power strip, or a discreet docking nook keeps phones and tablets charged and out of sight, so the surface stays clear and styled instead of buried under chargers. It is function disguised as tidiness.
A drawer-based charger is the easiest retrofit, since you simply add a power strip inside an existing drawer and route the cord through a notch. For a cleaner look, an electrician can install a pop-up outlet flush in the counter, which is worth doing during any renovation when the wiring is already open.
- Fit a power strip inside a drawer for the easiest hidden charging retrofit
- Consider a flush pop-up outlet for a clean look (use a licensed electrician)
- Add a small docking nook so devices charge out of the styled zone
Display a Curated Cookbook Collection
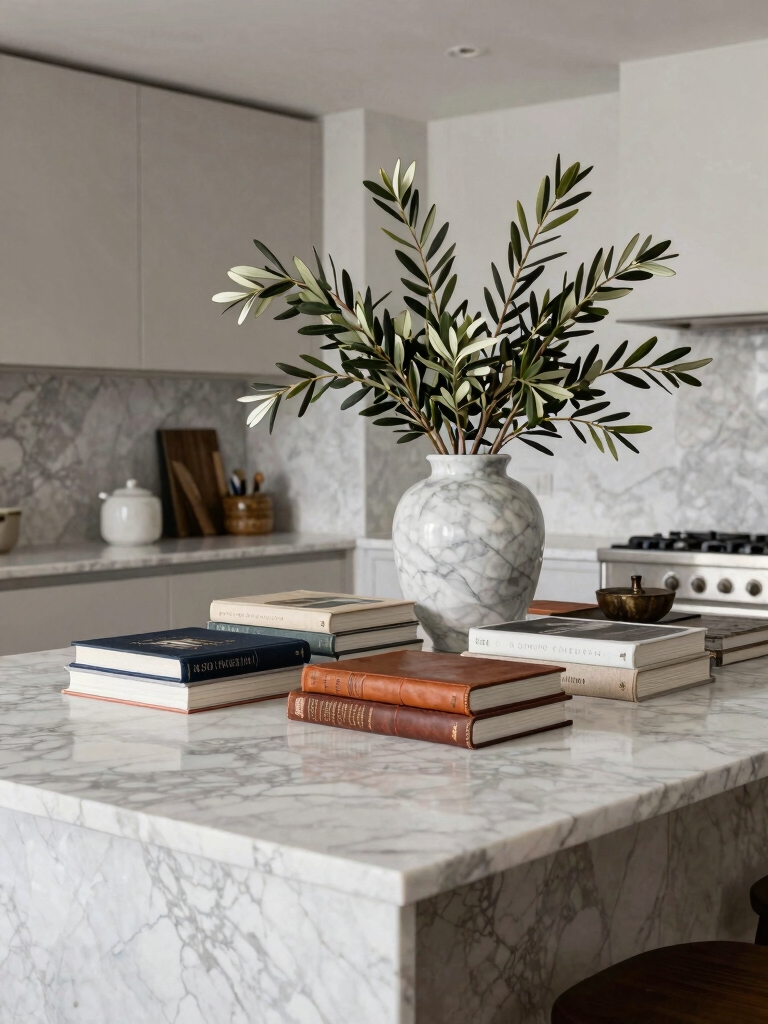
Cookbooks are decor you already own, and styling a curated few on the island adds warmth, color, and a personal story. A small horizontal stack topped with a plant or a bowl, or a short row held by handsome bookends, brings height and a warm, personal feel while keeping your most-used recipes within arm’s reach. It is the trick that makes an island feel like yours.
Edit to a handful of books whose spines or covers fit your palette, since a sprawling library tips into clutter on a work surface. Keep the stack to one zone or one end so the rest of the island stays clear, and rotate in seasonal or current favorites to keep the display feeling fresh.
A Centered Vase of Fresh Flowers
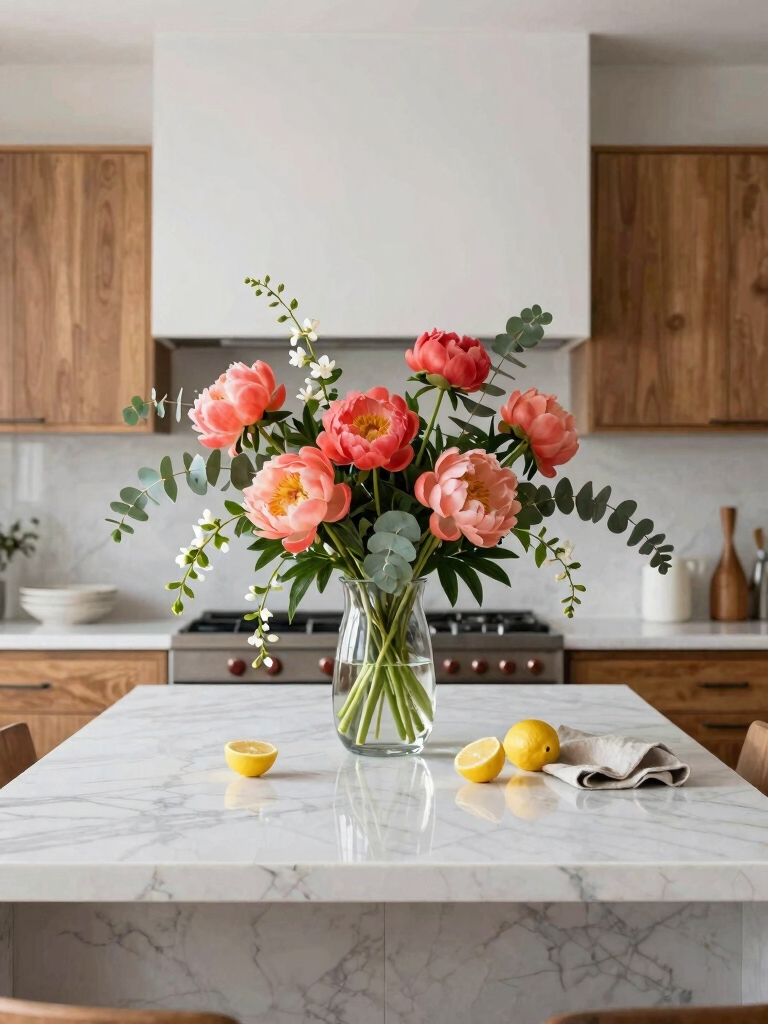
Sometimes the simplest trick wins, and a single vase of fresh flowers brings life and color to an island faster than anything else. A low, loose arrangement in a vessel that fits the room adds a cozy, cared-for note, and even a few grocery-store stems at five to fifteen dollars lift the whole kitchen. The freshness is the point.
Keep the arrangement low so it never blocks the view across the island, and lean on a single type of bloom or some greenery for an elegant look that beats a fussy mixed bouquet. Place it toward the center or one end, depending on how you use the surface, so it draws the eye without getting in the way.
When fresh flowers feel like too much upkeep, a vase of architectural branches or quality faux stems gives lasting color with no maintenance. Either way, a simple vase is the warm, living trick that finishes an island.
Define Zones With Trays
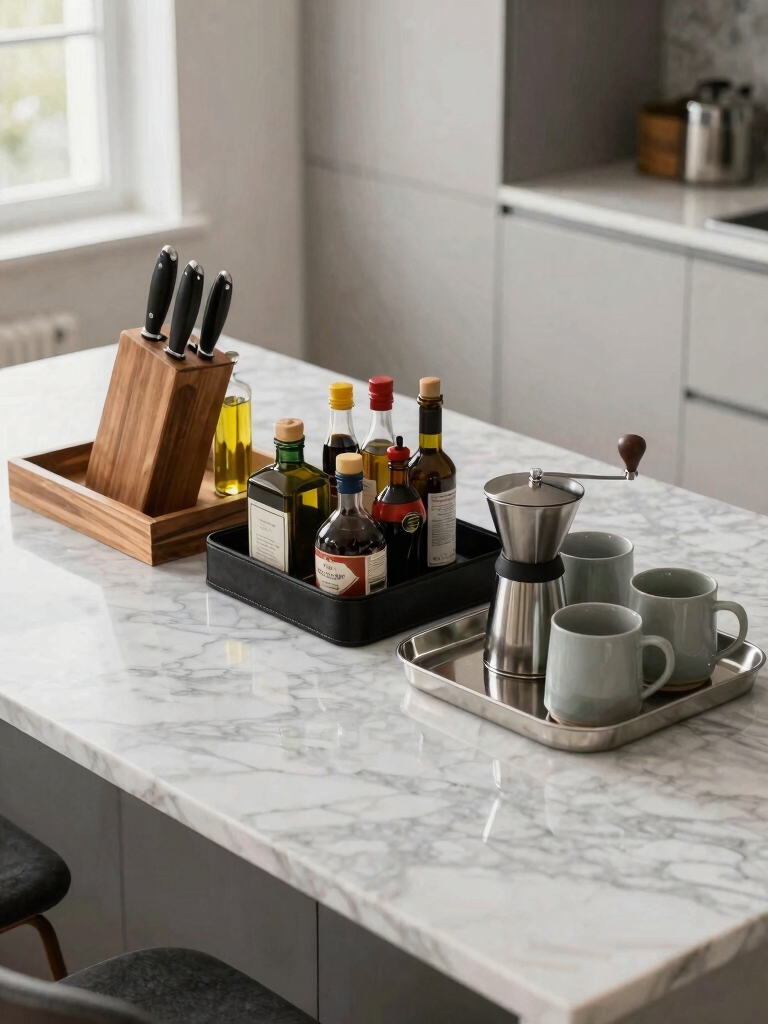
The trick that keeps every other one looking intentional is using trays to define zones on the island. Corralling your daily salt, pepper, and oil onto one tray, or a candle and a plant onto another, turns scattered objects into deliberate vignettes and keeps the rest of the surface clear. The boundary of the tray is what does the organizing work for you.
Let the Tray Do the Organizing
Choose trays in proportion to your island and a finish that fits the room, then keep what sits on each one edited to a few pieces. A tray also lifts off in a single motion when you need the whole surface for prep or dinner, which is exactly what makes it a working trick and not just decor.
Used together with the upgrades above, trays are the glue that holds a styled island together, the same clear-counter instinct behind any clutter-free counter.
Styling Tips to Tie It Together
With the tricks in place, a few styling basics make them sing. Group objects in odd numbers, vary the heights so the eye moves, and keep your centerpiece low enough to see over. Above all, leave most of the surface clear, because an island is a work zone first and a display second, and a piece you must move to cook is a piece you will quietly abandon.
Layer the tricks rather than piling them on: a runner under a tray, a tiered stand at one end, fresh flowers in the center, and good light overhead is plenty for one island. Pick the two or three upgrades that fix your island’s biggest weakness, bookmark the rest for later, and you will have a hard-working island that looks pulled together, the kind that pairs well with specific centerpiece ideas when you want to switch it up.
Kitchen Island Decor Questions
?What is the easiest way to make a kitchen island look better?
Add a washable runner and refresh the bar stools. For under fifty dollars, a runner brings color and warmth to a bare stone slab, and updated stools modernize the whole zone at eye level. Together they change an island faster than any centerpiece, and both are simple swaps.
?How do I keep my island from looking cluttered?
Use trays to define zones and leave most of the surface clear. Corral daily items like salt, pepper, and oil onto one tray so they read as a deliberate vignette, and keep your centerpiece low and to one end. A tray also lifts off in one motion when you need the whole island.
?How high should pendant lights hang over an island?
Hang them so the bottom of the pendant sits about 30 to 36 inches above the counter. That clears sightlines across the island while putting good task light on the surface. Put them on a dimmer so the same pendants shift from bright prep light to a soft evening glow.
Small Tricks, Big Difference
The tricks that change an island most are rarely the fanciest ones. A washable runner, the right stools, layered lighting, a pot rack, and trays to define zones add up to an island that looks styled and works harder, and most of them cost less than a nice dinner out. Because the island anchors the room, every small upgrade there is felt across the whole kitchen.
Pick the two or three tricks that fix your island’s biggest weakness, whether that is dim light, dated stools, or constant clutter, and start there. Bookmark this list, layer the upgrades over time, and your island will quietly become the best-dressed, hardest-working surface in the house.


