
A small island gets dismissed as decoration, a place to set the mail. Most never get used right. Done right, it is the hardest-working square footage in the kitchen. The trick is asking it to do one thing exceptionally instead of four things poorly, then sizing it to leave your walkways alone.
These are seventeen small kitchen island ideas that earn their keep: carts that roll away, shelves that hang off a wall, slim builds that hide a table or a trash bin. Each one comes with rough sizes and prices so you can tell at a glance whether it fits your floor and your budget.
The Quick Read
| Island type | Biggest payoff | Best for |
|---|---|---|
| Rolling cart | Prep space that rolls away after | Renters, changing layouts |
| Wall-mounted shelf | Counter at zero floor cost | The very tightest kitchens |
| Narrow peninsula | Prep, seating, and a divider | Open-plan small kitchens |
| Repurposed table | A real island for almost nothing | Tight budgets |
Start With Function, Not the Photo
Before style or material, name the one thing you most need the island to do. In a small kitchen you cannot have prep, seating, and deep storage all at once, so rank them and let the top job set the size and shape. Rank the jobs first. This single call is what separates an island that works from a pretty obstacle.
Run through your kitchen honestly before you fall for a picture:
- Short on counter? Prioritize a wide, flat top you can really prep on
- Short on seating? Plan a 10-inch overhang for stools to tuck under
- Short on storage? Go for deep drawers or a cabinet base
- Short on floor? Choose a cart or a wall-mounted shelf that clears out
A Rolling Cart That Earns Its Casters

The lightest punch-above-its-size island is a rolling cart. Mine adds a prep surface when I cook, then rolls into the corner so the floor opens back up. A useful one runs $80 to $200 and carries its own storage on the lower shelves. Buy for stability, since a wobbly cart is worse than no cart:
- Locking wheels so it holds still while you chop
- A butcher-block or steel top at least 18 by 30 inches
- A lower shelf or drawer for cookbooks and baskets
- A frame rated for real weight, not just light decor
A Wheeled Island You Can Lock in Place

A step up from a cart, a wheeled island gives you a full butcher-block top and deep drawers, then locks where you want it. You get the storage of a fixed island with the freedom to move it for cleaning or a crowd. For a kitchen that flips from cooking to dining, that flexibility is the whole point.
Lock, Then Load
Look for four locking casters, a top thick enough to cut on, and drawers on full-extension slides. Expect $150 to $350 for one built to last. Cheap particleboard versions sag under a loaded top within a year.
Park it against the counter as a peninsula on weeknights, then pull it center-floor when you need to work around it.
📋What Makes a Cart Actually Useful
- ✓Locking wheels, the single most important feature
- ✓A top big enough to prep on, at least 18 by 30 inches
- ✓Closed storage below, not only open wire racks
- ✓A weight rating that matches how you will load it
A Wall-Mounted Shelf as a Slim Island
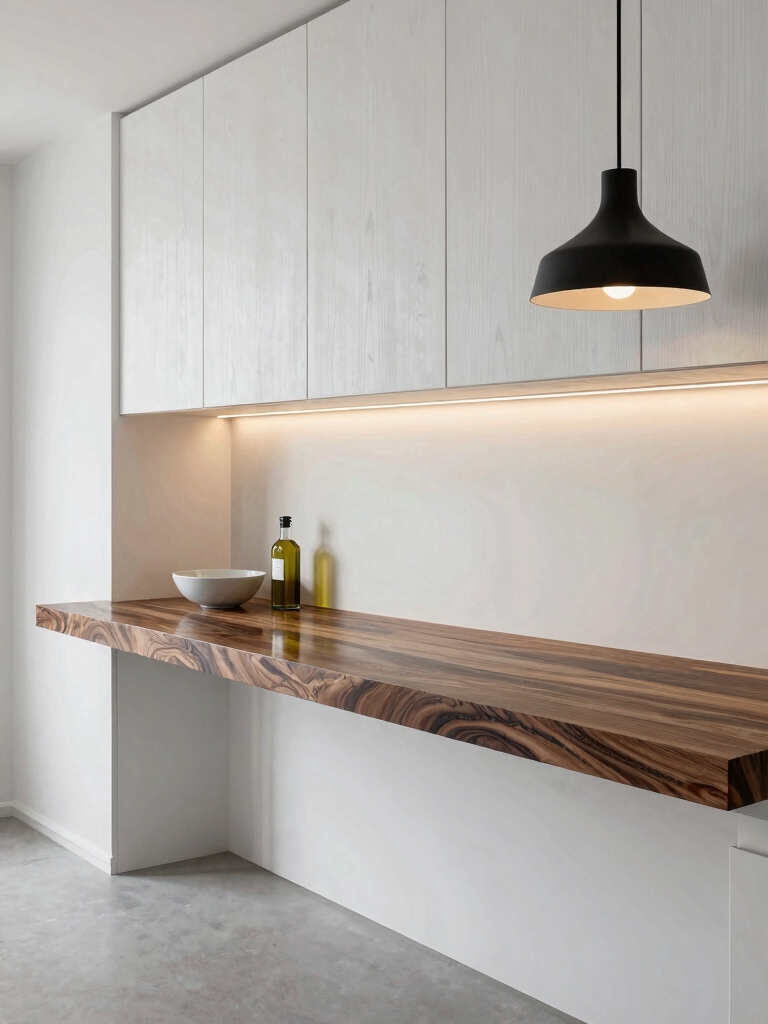
When there is no floor to give, a wall-mounted shelf island hangs your counter off the wall and costs zero square footage. A finished hardwood shelf 12 to 16 inches deep, anchored into studs with heavy brackets, becomes a landing zone for chopping or a coffee station. Some versions even fold flat when you are done.
Set it at counter height, around 36 inches, and bolt it into studs, not drywall, because a loaded shelf pulls hard. Materials run $50 to $120 for a solid bracket-and-board build. Anchor into studs only. It will not hold deep storage, so hang a rail of hooks beneath it for the tools you reach for most.
A Pull-Out Table Hidden in a Cabinet
One of the cleverest small-island moves is a pull-out table tucked inside a base cabinet. It slides out for a quick meal or extra prep, then disappears flush with the cabinet front. It vanishes when shut. For a galley with no room for anything standing, it is counter you summon and dismiss:
- Specify full-extension slides so you get the whole surface
- Choose a wipeable laminate or sealed wood top
- Add a latch so it stays shut when the kitchen gets bumped
- Budget around $120 to $250 for the hardware and top
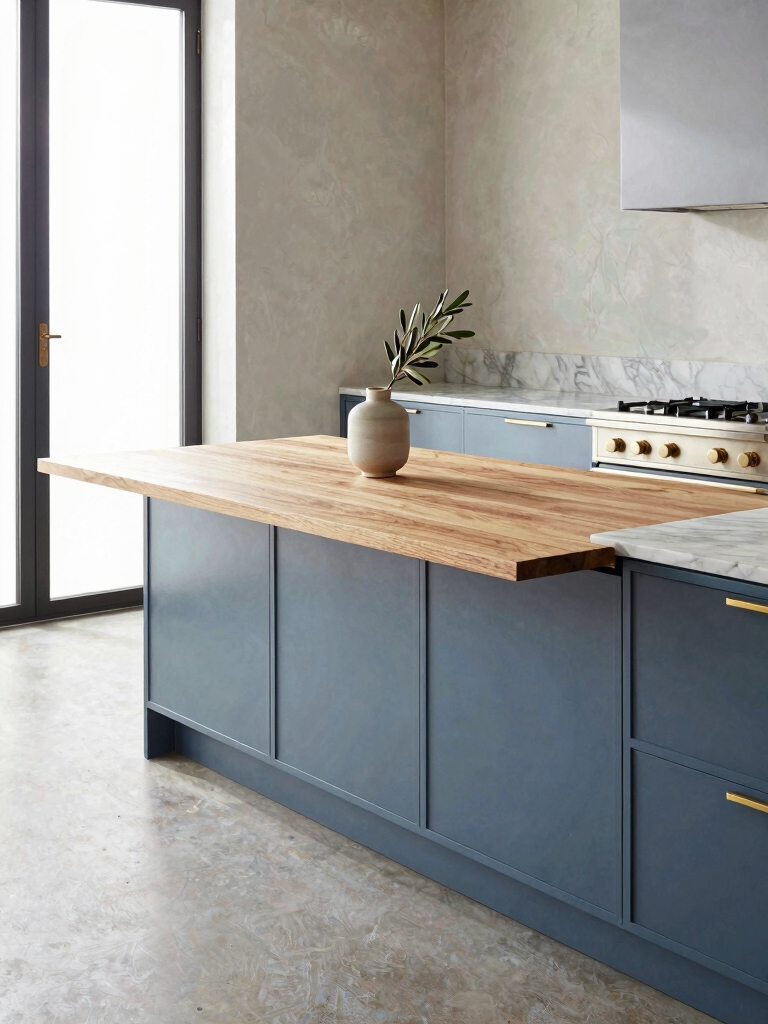
A Narrow Peninsula That Anchors the Room

A narrow peninsula attaches to one wall or cabinet run, which frees the fourth side for a walkway and makes it fit where a four-sided island never could. Keep the profile slim, around 12 to 18 inches deep, and it gives you prep, a seat or two, and a soft divider from the next room without swallowing the floor:
- Anchor it to the existing counter run for a flush, built-in look
- Hold the depth near 12 to 18 inches so the aisle stays open
- Add a small overhang on the living-room side for stools
- Use the base for the deep storage a freestanding island lacks
Pull-out table or fold-down leaf for that extra surface?
🎯Pull-out table
Best when you want a full second surface to appear and vanish. Needs a base cabinet to live in. Around $120 to $250.
🎯Fold-down leaf
Best for adding a foot of counter to an island you already have. Cheaper and simpler, but smaller when open.
Repurpose a Table Into an Island

The cheapest island on this list is a repurposed table you already own or grab secondhand. Measure its height against your counters first, then secure it so it cannot shift while you work. A $20 thrift-store table becomes a real island for the price of a butcher-block top and a few screws.
Adapt the surface and the storage to earn its spot. A butcher-block top turns it into a prep zone, hooks underneath hang utensils, and baskets on the lower rung hold the overflow. I built one this way in my first apartment and used it for years. It cost me twenty bucks.
If the height is off, taller table legs or risers fix it. For a budget-minded refresh that pairs with this, see my small kitchen ideas on a budget under 500 dollars guide.
A Console Table as a Slim Island

A console table is narrow by design, usually 12 to 16 inches deep, which makes it a natural slim island for a tight aisle. Place it behind a sofa-facing counter or along a bare wall, and it adds a landing strip and a touch of storage without crowding the path. Look for one with a shelf or drawers built in:
- Pick a depth of 12 to 16 inches so it never blocks the walkway
- Choose one with a lower shelf for baskets or a bin
- Match the wood or finish to your cabinets for a built-in feel
- Top it with a cutting board to upgrade it to a real prep surface
Heads-Up
Repurposing a table only works if the height and footing are right. Standard tables sit near 29 inches, several inches below a 36-inch counter, so you may need riser legs to match. Always secure a repurposed or rolling piece so it cannot slide while you work near a hot stove or sharp knife.
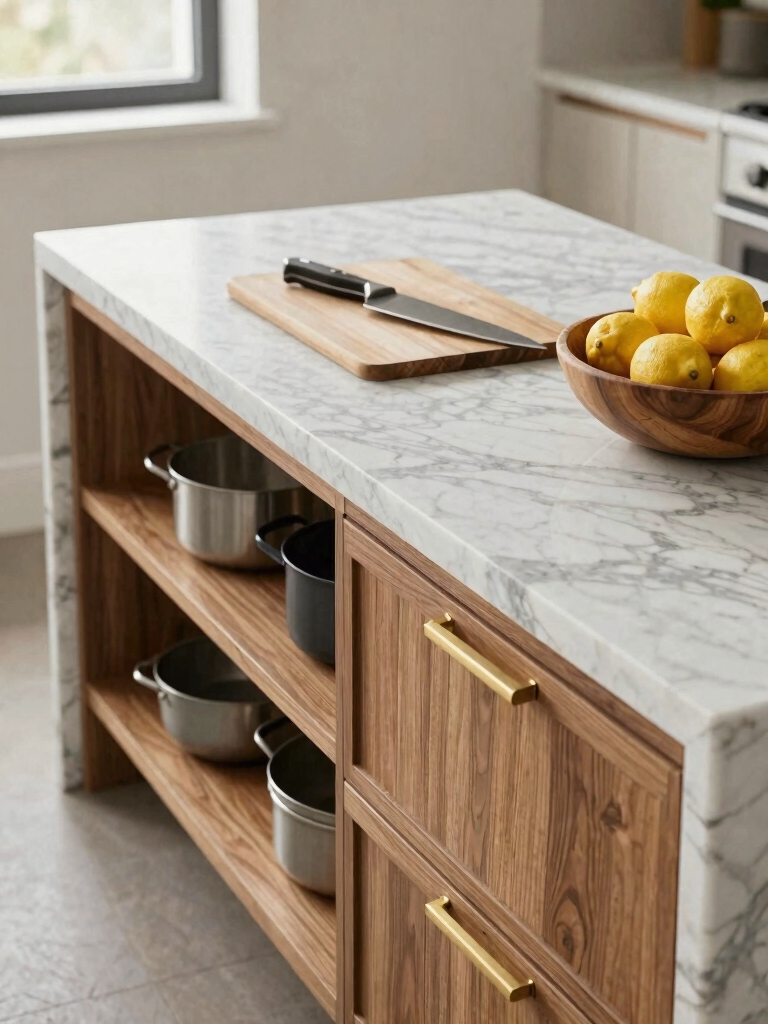
Open Shelving to Keep It Airy

An island with open shelving in the base feels lighter than a solid block, which matters in a room where bulk reads as clutter. Open shelves keep daily dishes and baskets within reach and let light pass under the counter, so the island does not wall off the floor. It is the airy choice when storage can stay tidy.
Keep the shelves edited, since open means everything shows. Matched baskets hide the messy bits while keeping the look light. If your storage tends to sprawl, a closed-drawer island serves you better, and my small kitchen storage ideas to hide clutter guide covers that route.
Deep Drawers for Hidden Storage
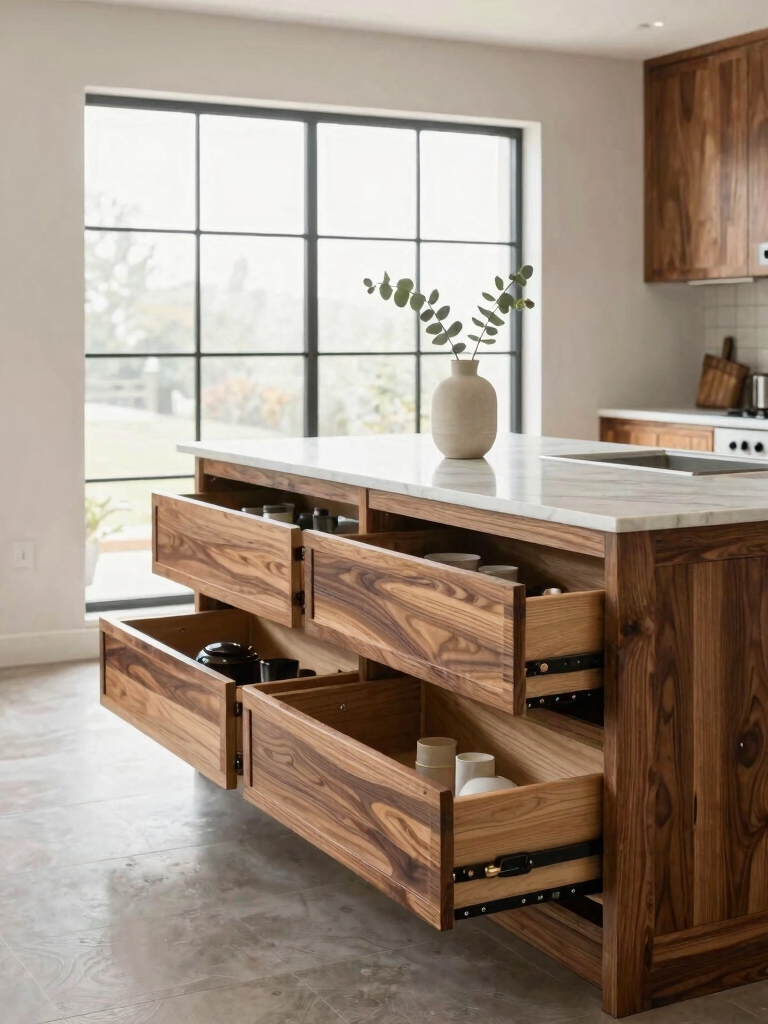
If storage is your island’s main job, deep drawers beat doors and shelves for a small kitchen. A pair of deep pot drawers on full-extension slides pulls everything out to you, so the heavy stuff at the back stops disappearing. Drawers beat doors here. One island base can hold the pots a whole lower cabinet used to.
Drawers also use the full depth that cabinet shelves waste, and you see the contents in one pull. I spec soft-close slides rated for the weight on every island I build, since loaded drawers slam hard.
This is the format that quietly recovers the most space. For more on squeezing storage out of every inch, my small kitchen island ideas that maximize every inch piece goes deeper.
Two-Tier and Fold-Down Tricks
Two more shapes punch above their footprint. A two-tier island sets a raised bar behind a lower prep counter, so a guest can sit and chat while the mess stays hidden on the working side. The raised lip also screens dishes from the dining view, which is a small luxury in an open-plan room.
A fold-down leaf on one end of an island adds a foot or two of surface only when you need it, then drops out of the way. Both tricks let a compact island flex up for company and shrink back for daily use. Both flex up for guests. Neither costs much to add if you are building or retrofitting.
Small Add-Ons With Outsized Payoff
The last few ideas are details, but each one earns its place. Bolt them onto any island above and a small piece starts working like a much bigger one:
- A built-in trash or recycling bin that pulls out, reclaiming the cabinet it used to live in
- A butcher-block top you can chop on directly, sealed and re-oiled twice a year
- A single pendant light over the island to brighten the work zone and define the space
- A towel bar or hook rail on the end for cloths, mitts, and utensils
- Matched finishes between island and cabinets so a small kitchen reads as one calm piece
Small Island Questions, Answered
?How small can a kitchen island be and still be useful?
Even a 24 by 30-inch island earns its place if it has one clear job. A cart or a slim peninsula that small still adds real prep space or a seat. The deciding factor is walkway, not island size: keep at least 36 inches of clearance around it and a tiny island works fine.
?What is the cheapest way to add a kitchen island?
Repurpose a table or buy a basic rolling cart. A secondhand table runs $20 to $50, and a useful cart starts around $80. Add a butcher-block top and a few hooks and you have a working island for a fraction of the cost of anything built in.
?How much clearance do I need around a small island?
Aim for at least 36 inches on every open side, and 42 inches if two people cook or it sits near an appliance that opens toward it. Less than 36 inches and the room jams the moment someone opens the oven or dishwasher. When in doubt, go movable.
?Can a small island have both storage and seating?
Yes, if you keep each modest. A narrow peninsula or a wheeled island with deep drawers and a 10-inch overhang gives you both. The catch is that a tiny island doing two jobs does each at half scale, so decide which one matters more and let it lead.
Small Island, Big Return
None of these islands are big, and that is the point. A rolling cart, a wall shelf, a slim peninsula, or a reworked table can deliver more prep, storage, and seating than a kitchen this size has any right to hold.
Pick the one job your kitchen most needs handled, choose the format built for it, and keep at least 36 inches of walkway clear around it. Get those two right and a small island will out-punch a block twice its size, every single day.


