

The first time I cooked a real dinner in an RV galley, I spent more time shuffling things off the counter than actually cooking. There was a coffee maker I never used hogging the only flat surface, a sink with no landing room, and one dim overhead light throwing my own shadow onto the cutting board. The space was not too small. It was just badly used.
An RV kitchen rewards small, smart changes far more than a gut renovation, partly because weight and travel movement put real limits on what you can do. These fifteen ideas focus on buying back counter space, light, and storage for a few dollars and a free afternoon each. Most are reversible, renter-and-resale friendly, and chosen so nothing rattles loose at 65 miles per hour.
Highest-Impact Upgrades First
| Upgrade | What it buys you | Rough cost |
|---|---|---|
| Fold-down counter | Prep space that disappears for travel | $20 to $60 DIY |
| Collapsible sink | A flat counter when you are not washing | $30 to $70 |
| Under-cabinet LED | No more shadowed cutting board | $15 to $40 |
| Rolling cart | Movable prep and storage in dead space | $40 to $120 |
Start by Assessing Your Layout and Real Needs
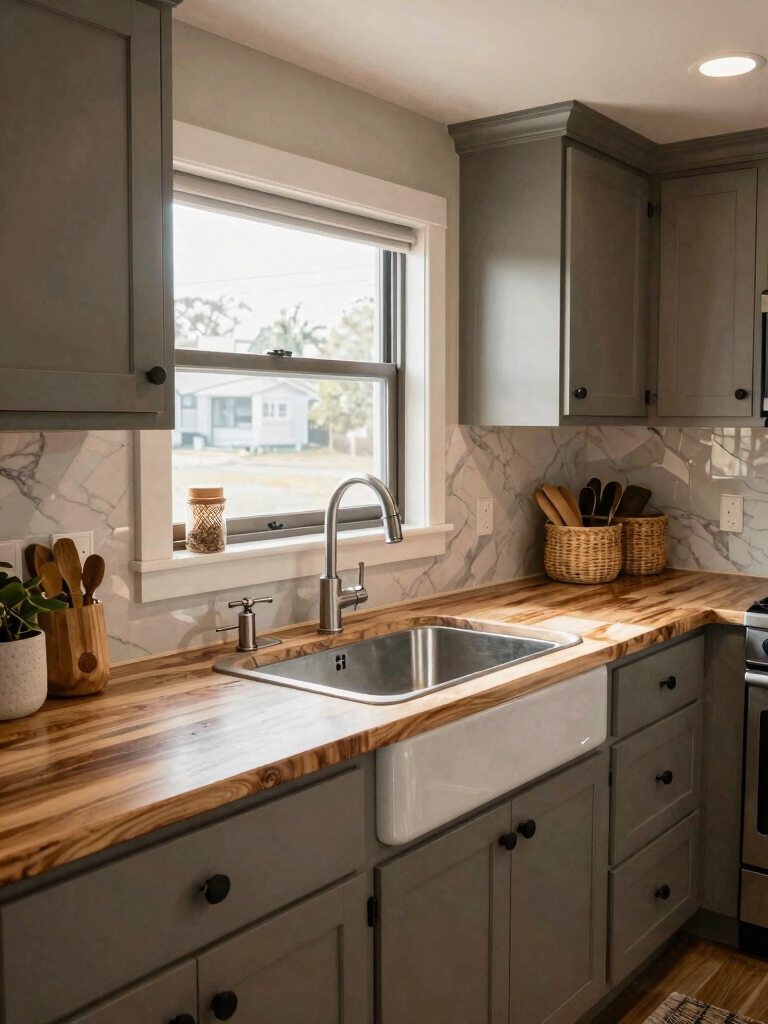
Before you buy a single organizer, spend a week paying attention to how you actually cook on the road. I emptied every cabinet, then tracked what I touched and what I never did. That giant coffee maker had not earned its counter space in months.
Track a week before you buy
The audit costs nothing and saves the most. Most cramped RV kitchens do not need more stuff; they need the right stuff in the right place. Write down your three biggest daily frustrations, because those are the only problems worth spending money on.
This same workflow-first thinking drives any good tiny kitchen fix, RV or not. Decide what the space is really for before you change anything physical.
Maximize Storage With Shelving and Door Organizers
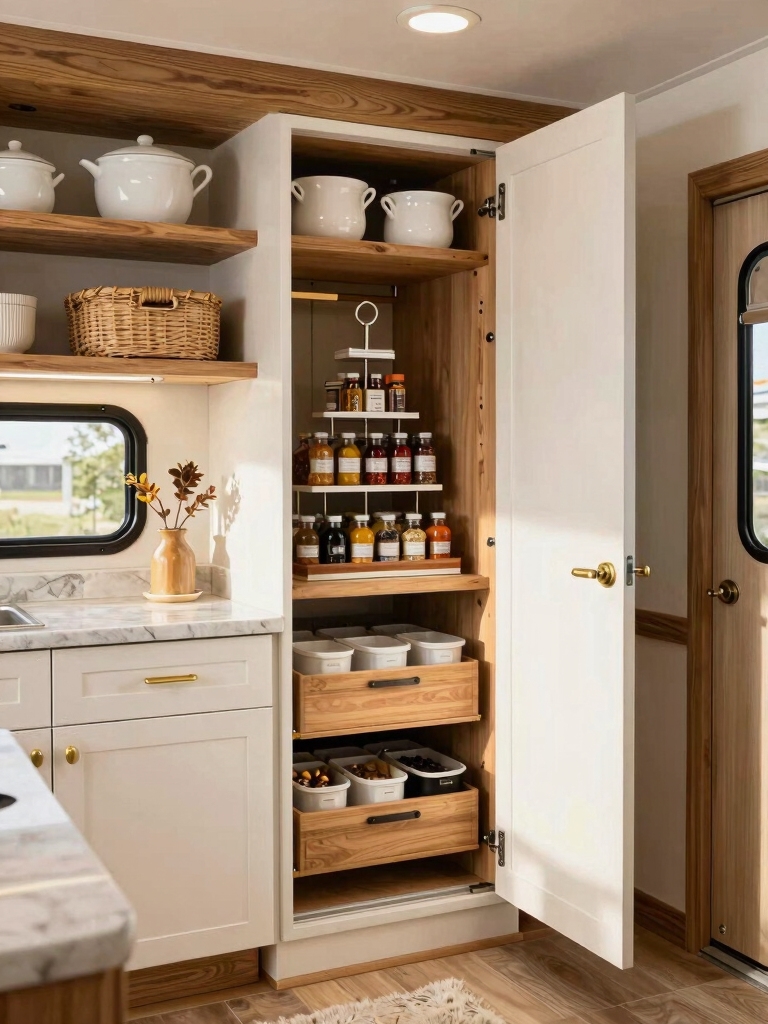
RV cabinets are deep, dark, and easy to lose things in. A couple of low-cost fixes change that fast. I added a short open shelf for everyday plates so I stopped digging, and clip-on door organizers turned the inside of every cabinet door into a spice rack.
Door racks are the best dollar-for-dollar move here, usually $10 to $25 each. They use space that was doing nothing and keep small items from sliding around on travel days.
Keep the heavy things low and the light things high, which matters more in a vehicle that leans through corners. For deeper ideas, the same storage tricks that rescue apartment kitchens scale right down to a galley.
💡Quick Win
Before buying anything, do the door test: open every cabinet and drawer and note which inside surfaces are empty. Cabinet doors, the sink-base interior, and the gap beside the fridge are almost always wasted, and they are the cheapest space to put to work with clip-on racks.
Gain Counter Space With a Fold-Down Extension
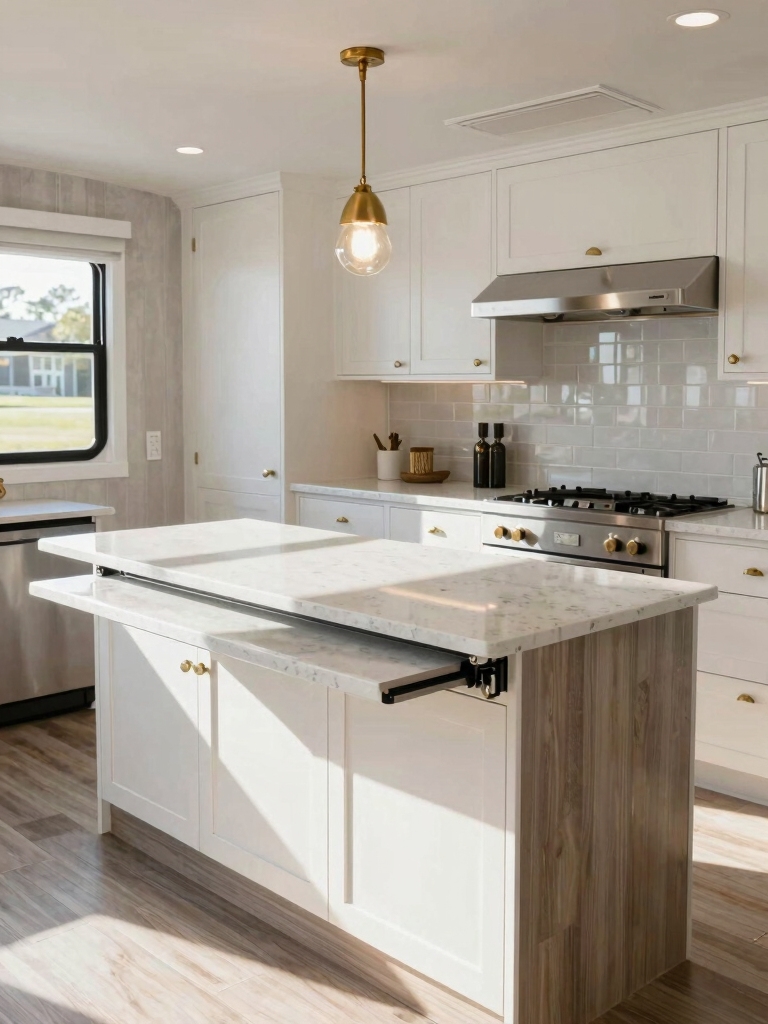
Counter space is the currency of an RV kitchen, and a fold-down extension prints more of it on demand. A hinged shelf at the end of the run, or a slide-out cutting board, gives you a real prep area that vanishes when you are driving.
You can build a simple hinged version for $20 to $60 in an afternoon with a board, a piano hinge, and a folding bracket. The trick is a bracket that locks. A loose flap can drop on a passenger mid-trip, which is exactly the kind of small oversight that turns a clever upgrade into a hazard the first time you take a sharp exit ramp. If you would rather not build, a clamp-on over-the-sink board does almost the same job with zero tools.
Switch to a Collapsible Kitchen Sink
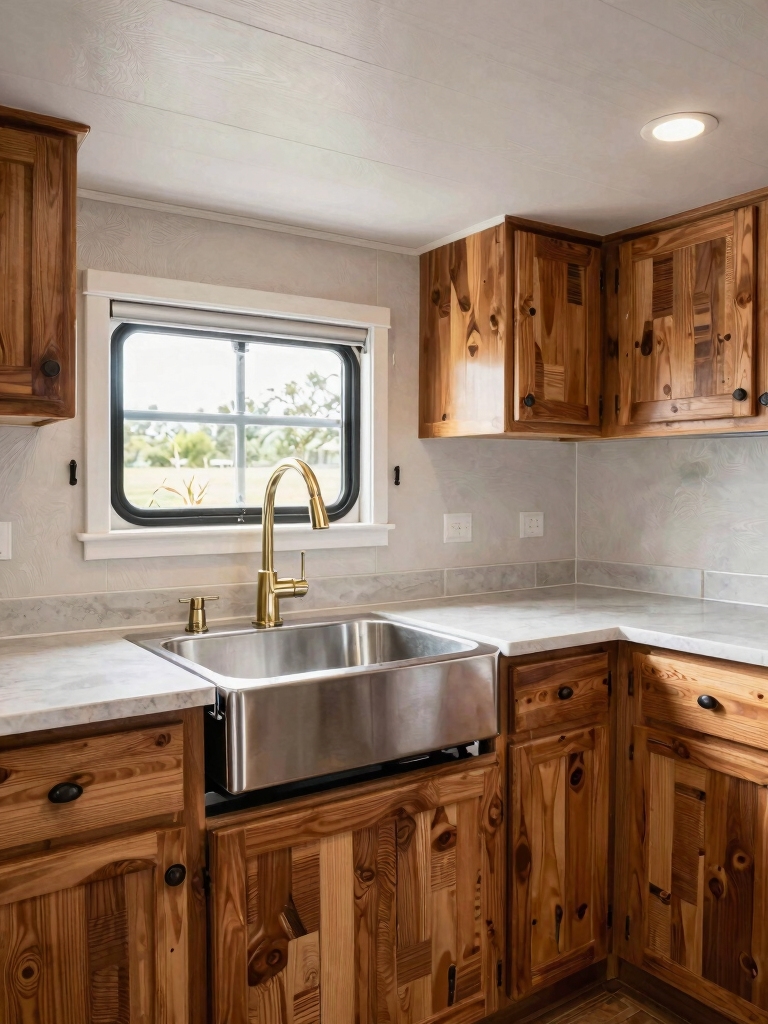
A standard RV sink eats counter even when it is empty. A collapsible silicone basin sits flat when you are done, handing you back the surface for prep. I switched to one and it changed how I use the whole galley.
These run $30 to $70 and need no installation, which makes them the easiest win on this list. Drop it in over the existing sink, fold it down after dishes, and the counter is whole again. Look for food-grade silicone with a sturdy rim, since the cheapest ones flop and never sit quite level. If your rig has a divided double basin, you can keep one side as a permanent collapsible bowl and leave the other open for rinsing.
A few RV-kitchen terms that come up while shopping:
📖Collapsible sink
A silicone basin that folds down flat when empty, freeing the counter without any plumbing change.
📖Pull-down faucet
A faucet with a spray head on a flexible hose, so you can reach the whole basin and fill pots to the side.
📖12V strip light
An LED strip that runs off the RV battery system, useful where there is no spare outlet.
Upgrade to a Pull-Down RV Faucet
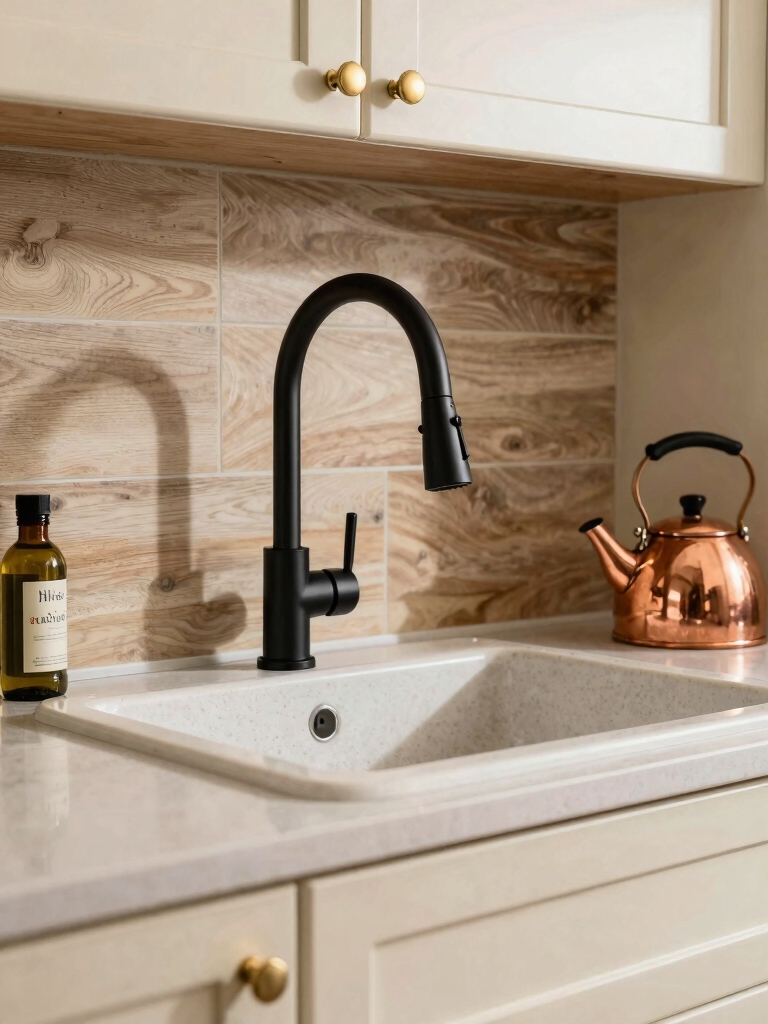
The stubby faucet most RVs ship with makes washing a tall pot a wrestling match. A pull-down faucet with a flexible hose reaches every corner of a deep basin and fills pots off to the side. It is a straight swap onto the existing connections. The difference is night and day.
Plan on $40 to $90 for the faucet and about 30 to 45 minutes with a basin wrench. Check that the new one is rated for RV water systems, since pressure and fittings differ from a house.
- Pick a model with a secure docking magnet so the head does not flop around while driving.
- Match the hole count to your existing sink so you are not drilling.
- Shut off the water pump before you start, then test for drips after.
Use Vertical Wall Space for Utensils
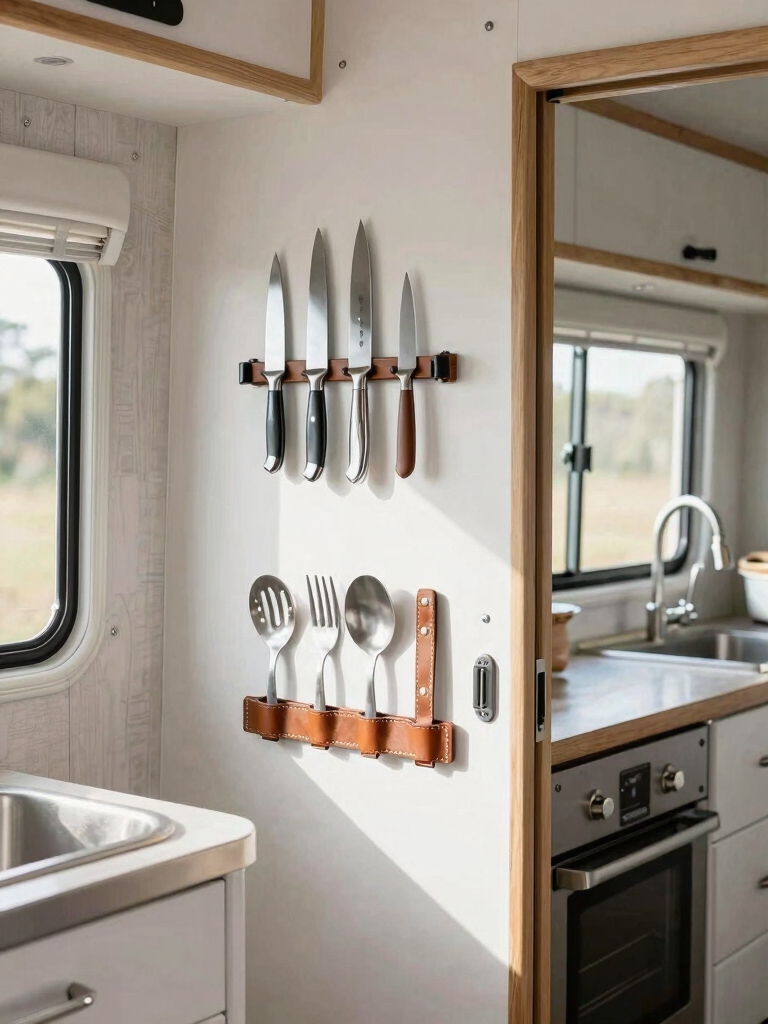
When the counter is precious, the walls are your best unused real estate. I mounted a magnetic strip and a rail and gained back a whole drawer overnight, and in a galley that one reclaimed drawer can be the difference between a counter you can actually cook on and one buried under the things you use every single day.
- Mount a magnetic knife strip above the sink to free a drawer; about $15 to $30.
- Add a rail with S-hooks for your most-used tools so they hang where you work.
- Use removable adhesive mounts if you rent or want to avoid screws in thin RV walls.
Mount a magnetic knife strip
1Mark your points
Find a stud or solid cabinet edge near the sink and mark your screw points level.
2Pre-drill carefully
Drill pilot holes into thin RV walls so the panel does not crack under the screw.
3Load lightest first
Fix the strip, then test with your lightest knife before trusting it with the rest.
Add Under-Cabinet Lighting for a Bright, Cozy Counter
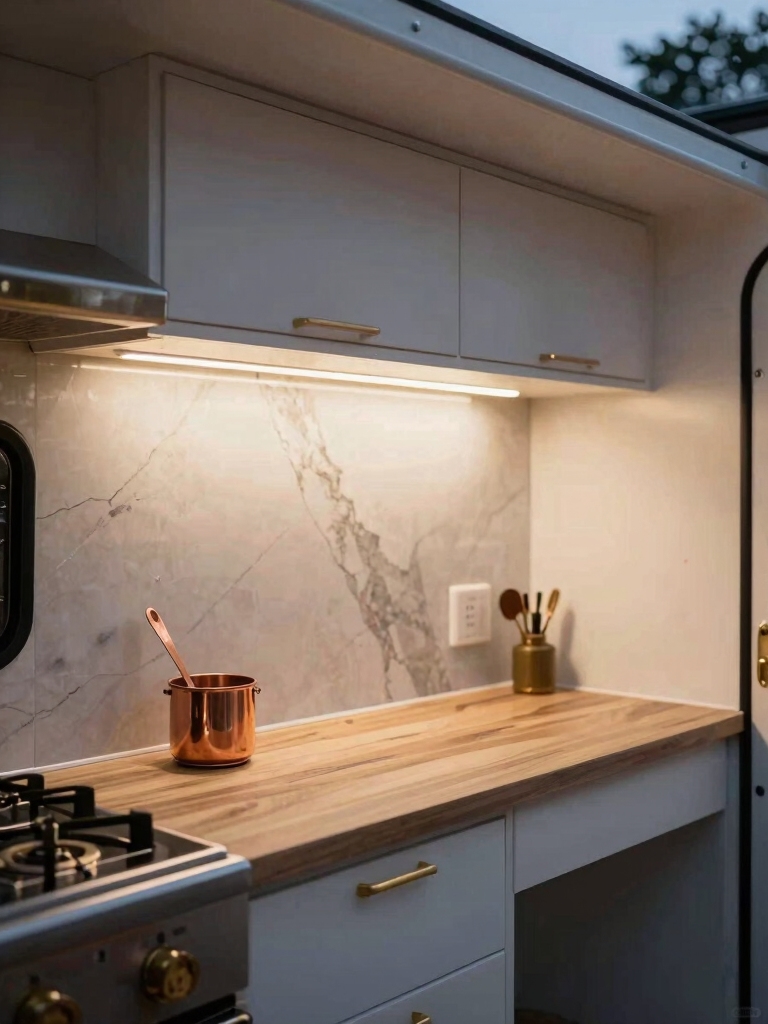
One overhead light puts you in your own shadow at the counter, which is the single most annoying thing about most RV galleys. Stick-on LED strips under the upper cabinets fix it for almost nothing and make the whole space feel warmer at night.
Battery or USB-rechargeable strips skip any wiring, so this is a 15-minute job with no tools. I reach for warm-white strips around 2700K so the light feels cozy and food looks right.
- Choose rechargeable or 12V strips, roughly $15 to $40, to avoid hard-wiring.
- Stick them toward the front edge of the cabinet so light hits the counter, not the backsplash.
- Add a motion or tap switch for hands-free light when you stumble in for coffee.
Add a Rolling Cart for Flexible Prep
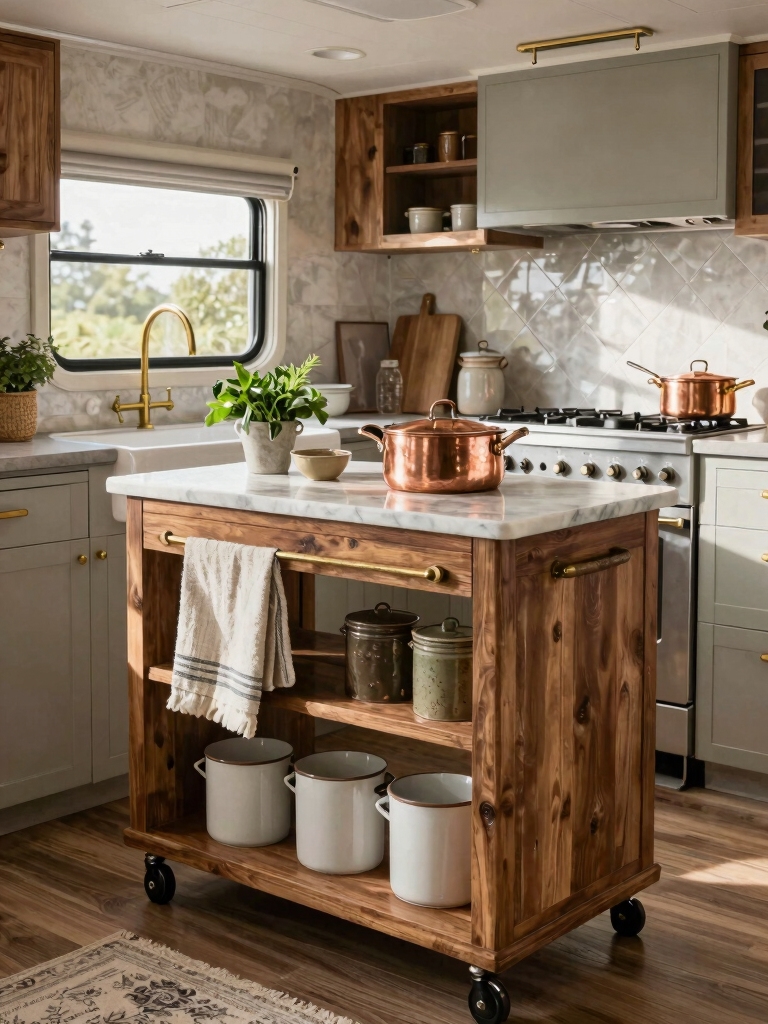
Almost every RV has an awkward gap, beside the dinette or fridge, that a slim rolling cart can fill. It doubles your prep surface when parked and rolls out of the way when you need the aisle.
Locking wheels are not optional
Measure the gap first, then buy or build to fit; a narrow cart runs $40 to $120. The non-negotiable part is locking wheels, so the cart stays put on the road instead of becoming a battering ram.
A cart is basically a movable island, and many of the same small-kitchen island ideas apply: hang utensils on the sides, store appliances on the lower shelf, keep the top clear for work.
Organize the Pantry With Nesting Containers
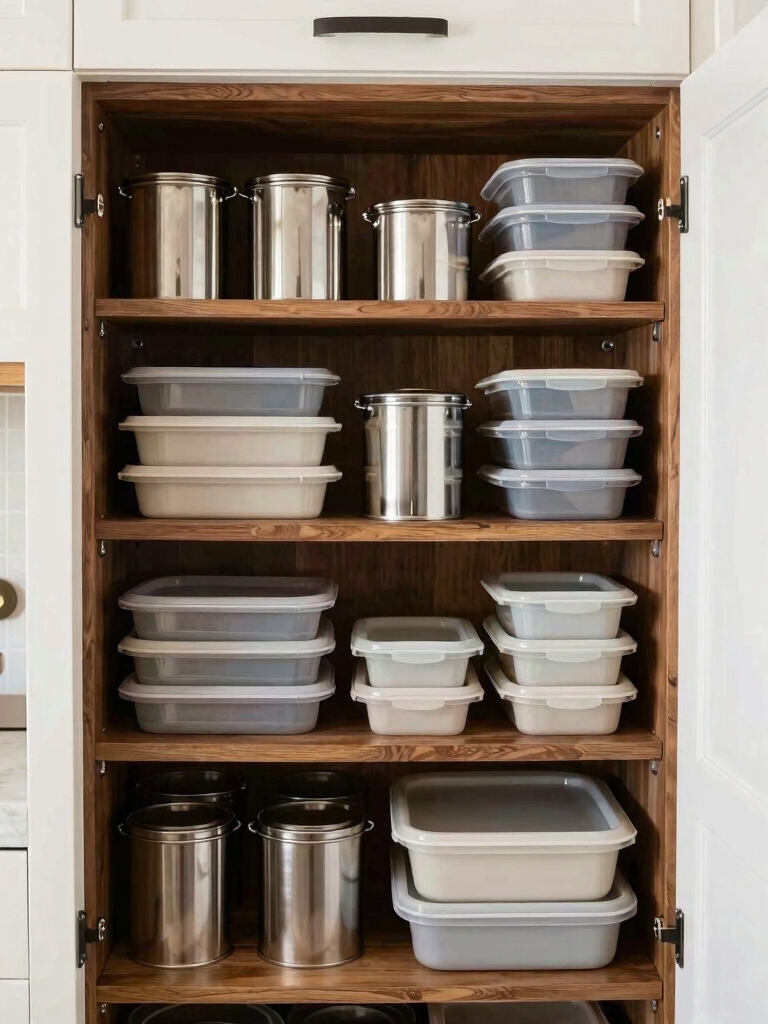
Dry-goods storage is where RV kitchens descend into chaos, and nesting plus collapsible containers are the cure. They hold your snacks and staples, then flatten or stack down to nothing when empty, so the space flexes with what you are carrying.
- Use collapsible silicone bins, around $8 to $20 a set, that fold flat between trips.
- Decant flour, sugar, and pasta into square containers, which waste less space than bags.
- Add a tension rod or non-slip liner so nothing slides on travel days.
Tame the RV Fridge With Bins and Dividers
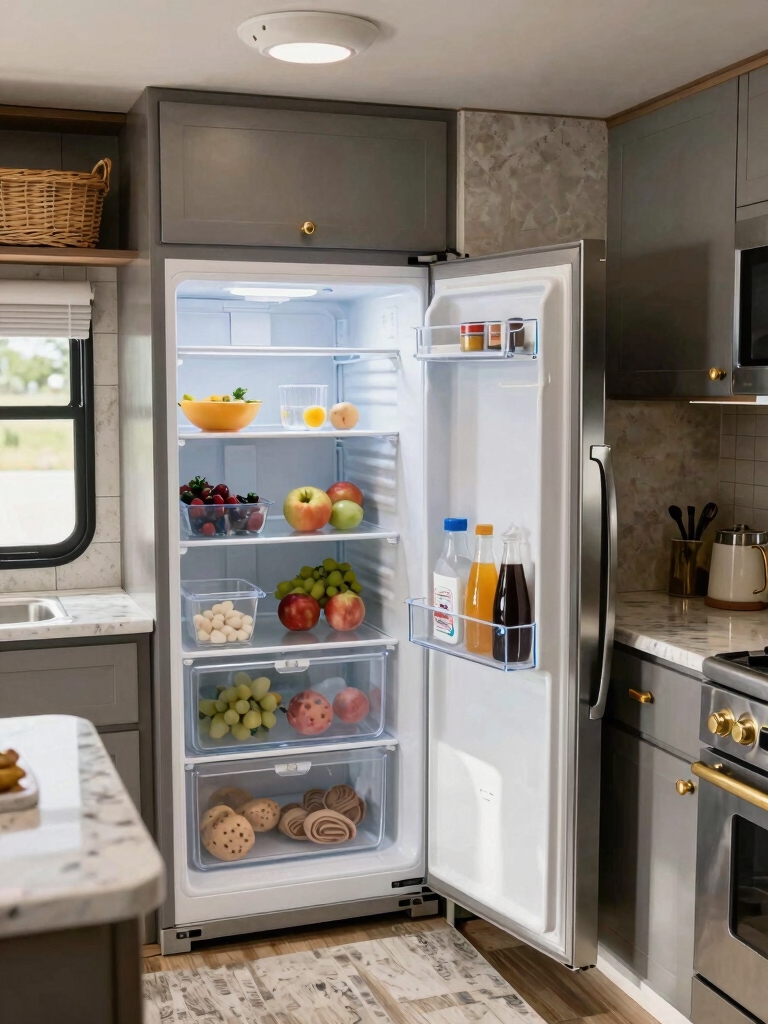
A tiny RV fridge turns into an avalanche the second you brake hard. Clear bins and dividers create zones that keep things in place and let you see what is back there. No more digging.
Pack snug so nothing slides
I use cheap dollar-store containers to group like items and tall bins to stop bottles from tipping. The bins also slide out as a unit, so the back of the fridge stops being a mystery.
Snug everything in so there is no room to rattle. A packed, divided fridge actually travels better than a half-empty loose one.
Common Mistakes to Avoid
The biggest mistake I see is treating an RV like a tiny house and forgetting it moves. Anything that is not secured becomes a projectile, so every upgrade needs a travel plan: locking brackets, magnets, removable grippers, or tension rods.
The second mistake is ignoring weight. Stone backsplashes, cast-iron cookware, and heavy dishware all add pounds that hurt your fuel economy and eat into your cargo limit, so lean toward peel-and-stick tile, enamel or melamine, and silicone.
Two more worth dodging: going too dark, which makes a small galley feel like a cave, and over-buying organizers before you have done the workflow audit. Light cabinet colors and a few new pulls open the space for the price of a paint can, while a drawer full of unused bins just adds clutter. Fix your three real frustrations first, then stop.
RV Kitchen Remodel Questions
?How much does an RV kitchen remodel cost?
It depends entirely on scope. The accessory-level upgrades here, like a collapsible sink, LED lights, and organizers, can total under $200. A fuller refresh with paint, new hardware, faucet, and a peel-and-stick backsplash usually still lands under $500 if you do the work yourself.
?Can you replace an RV sink and faucet yourself?
Yes, both are beginner-friendly. A collapsible sink needs no plumbing at all, and a faucet swap takes about 30 to 45 minutes with a basin wrench. Just shut off the water pump first and confirm the new faucet is rated for RV water systems.
?How do you keep kitchen items from moving while driving?
Treat every loose item as a projectile. Use removable hooks and gripper pads for crocks and racks, tension rods inside cabinets, non-slip liner on shelves, and locking wheels on any cart. Pack the fridge and cabinets snug so nothing has room to rattle.
?What backsplash works best in an RV kitchen?
Peel-and-stick tile is the standard for good reason: it is light, cheap, and needs no grout or special tools. A small-format mosaic or glass-look panel adds depth and personality while keeping weight down, which matters more in a vehicle than in a house.
?How do I add counter space in a tiny RV galley?
Stack a few approaches: a fold-down or slide-out extension, a collapsible sink that frees the basin area, and a rolling cart for the dead gap nearby. Together they can nearly double your usable prep surface without any permanent build.
Small Fixes, a Galley That Feels Like Home
An RV kitchen does not need a big budget to stop feeling cramped. It needs counter space you can summon, light where you actually cut, and storage that holds still on the road. Pick the upgrades that solve your three real frustrations and skip the rest.
Start with the cheapest reversible one that excites you, whether that is a collapsible sink or a strip of under-cabinet light, and live with it for a trip. The galley that felt impossible on day one tends to feel like home by the third campsite.
More to Explore


