
The most expensive-looking kitchen I ever helped pull together cost less than a single new appliance. No walls moved, no cabinets were replaced. We just changed the things your eye actually lands on: the hardware, the faucet, the light, and a coat of paint.
That is the quiet truth about kitchens. They look cheap or costly in the details, not the square footage, which means a careful few hundred dollars can do what people assume takes a five-figure gut job. Here are 15 budget remodel moves, roughly in order of bang for your buck, with real prices so you can plan the swap that fits your wallet.
The Budget Remodel, in Short
The cheapest changes carry the most weight. New hardware, a fresh faucet, better lighting, and painted cabinets are the moves that make a kitchen look costly, and together they often land under a thousand dollars. Spend where your hands and eyes go every day.
The mistake that wastes a budget is doing a little of everything. Half-finished beats nothing, but a few moves done completely beat ten touched halfway. Prep is the other half of the job; paint, tile, and faucets all fail when you rush past the boring steps.
Swap the Hardware First
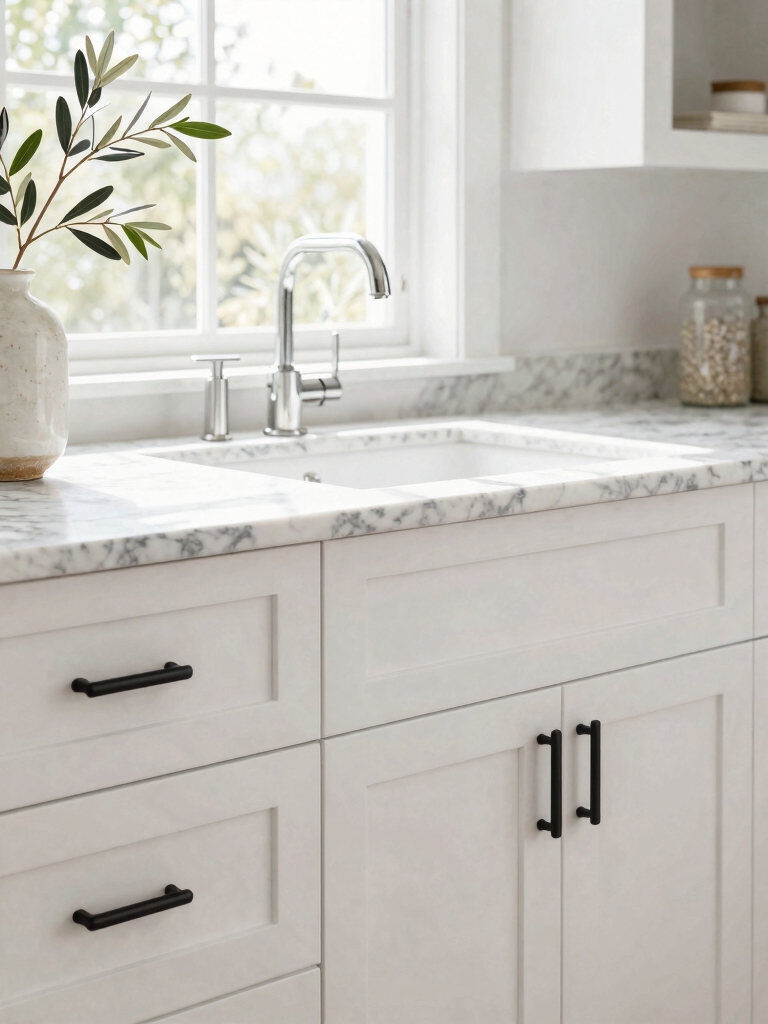
If you do only one thing to a tired kitchen, change the hardware. New pulls and knobs are the cheapest change with the biggest visible payoff, because your eye and your hand land on them constantly.
Knobs run $2 to $8 each and pulls $3 to $12, so even a full kitchen usually comes in under $150. The job needs a screwdriver, an afternoon, and a tape measure to match the existing screw holes.
Clients ask me where to start, and the answer is always here. It builds confidence, it changes the whole read of the room, and the cabinet makeovers that look priciest often began with nothing but new pulls.
Update Outlet Plates and Switches
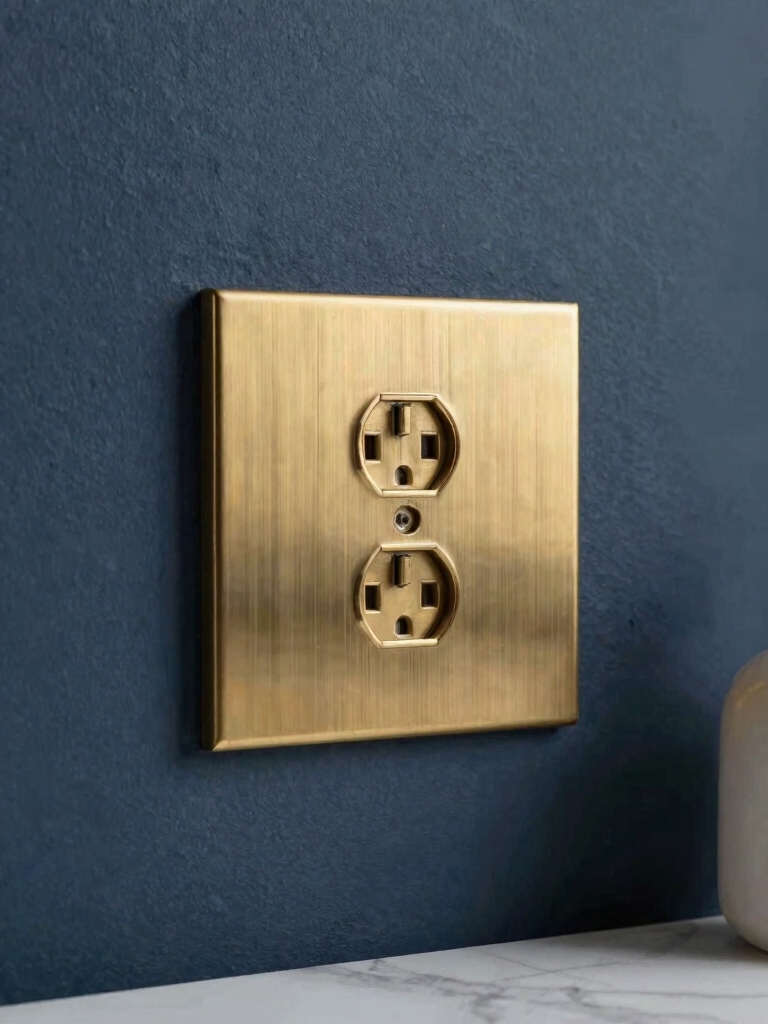
Nobody photographs outlet covers, but cracked almond plates from 1994 quietly cheapen everything around them. Swap them for clean white or matte-black covers and the walls suddenly look finished. While you are at it, trade yellowed toggle switches for flat rocker switches, a tiny change that looks surprisingly current.
- Buy screw-in plates in a single finish for $1 to $3 each.
- Match them to your other trim, white with white, black with black.
- Turn off the breaker before you touch a switch or an outlet.
A kitchen looks expensive in the small stuff: clean outlet plates, matched metals, a faucet that does not wobble. The price tag is rarely the part people notice.
Upgrade the Lighting
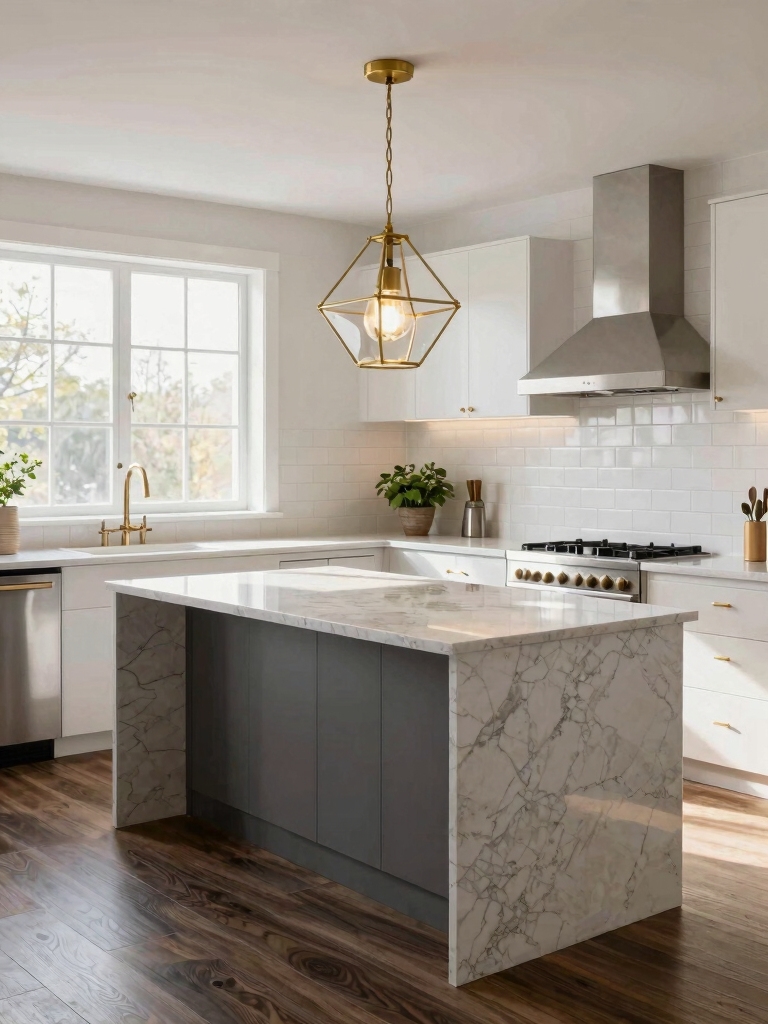
Lighting is the move that shifts a kitchen’s whole mood for the least money. Swapping a dated flush mount for a simple modern fixture, or hanging two pendants over an island, updates the room in an afternoon.
Change the bulbs while you are up there. Warm-white LEDs around 2700K to 3000K flatter wood and food, and a $20 dimmer lets one fixture handle both day and night.
- Replace a builder flush mount with a modern fixture for $40 to $150.
- Use warm-white LED bulbs, around 2700K to 3000K, for a softer glow.
- Add a dimmer so the same light works at breakfast and at dinner.
Replace the Faucet
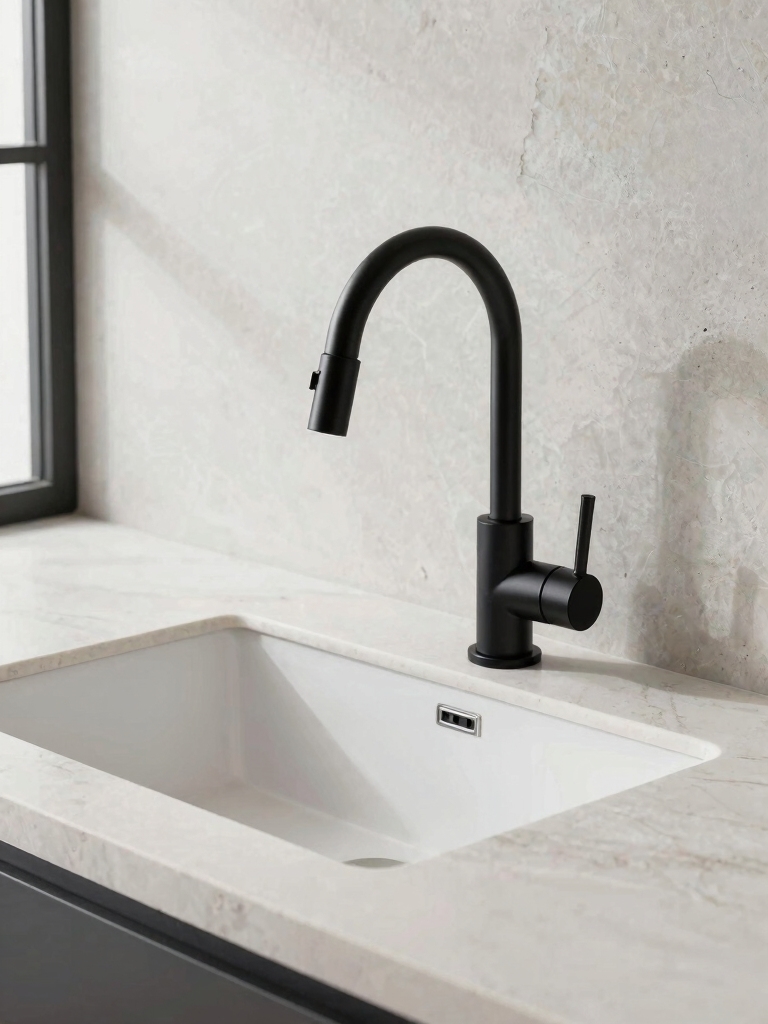
A new faucet is one of the highest-impact upgrades you can do yourself in about an hour. The old, scaled, wobbling one is something you touch dozens of times a day, so a clean modern faucet in brushed nickel, matte black, or brass makes the entire sink area feel new. A solid pull-down model runs $80 to $200 and installs with two supply lines and a wrench.
- Pick a finish that matches your new hardware for a pulled-together look.
- Shut off the under-sink valves before you start, and keep a towel ready.
- A pull-down sprayer head adds real function for a few dollars more.
💡Designer Tip
Before you buy a faucet, count the holes in your sink or counter. A single-hole faucet on a three-hole sink needs a deck plate to cover the extras, an easy fix for about $15, but only if you plan for it before checkout.
Add a Peel-and-Stick Backsplash
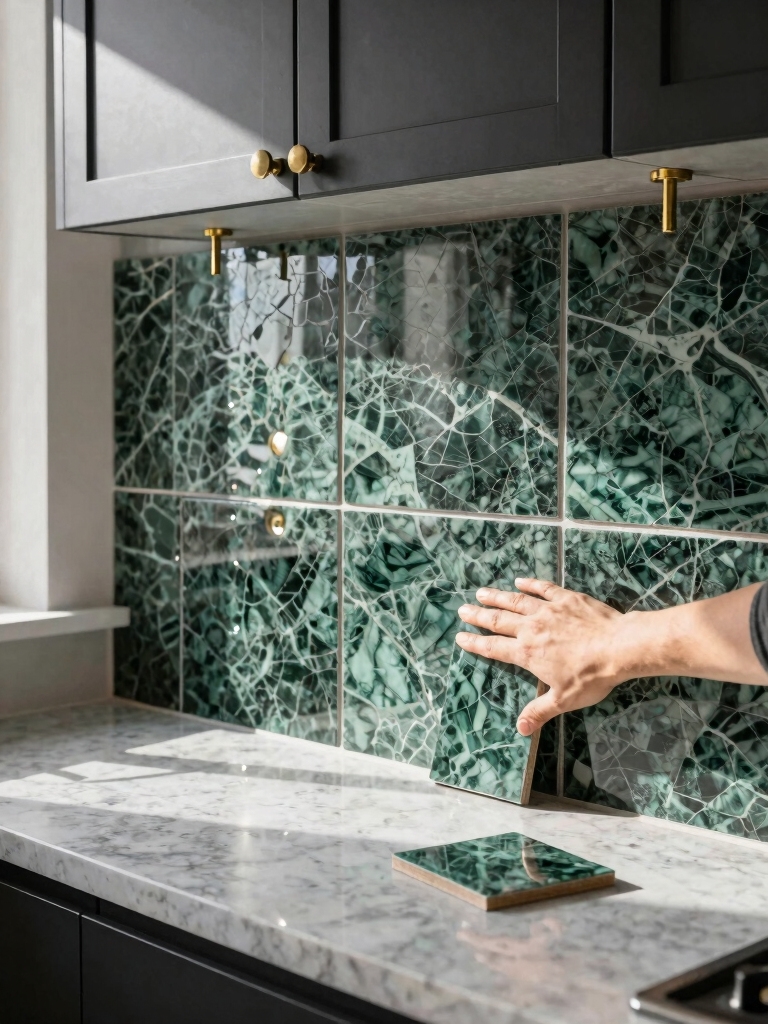
A backsplash used to mean tile, thinset, and a weekend of grout. Peel-and-stick changed that. Modern versions, from faux subway to zellige to pressed tin, go up on a clean wall in an afternoon and look far better than the price suggests. It is the fastest way to add personality, and the backsplash ideas that look most expensive usually just commit to one bold pattern.
- Budget $8 to $20 a square foot for a quality peel-and-stick.
- Wipe the wall clean and start from a level line, not the counter.
- Press firmly and run a roller over the edges so they do not lift later.
A Stone-Look Countertop Upgrade
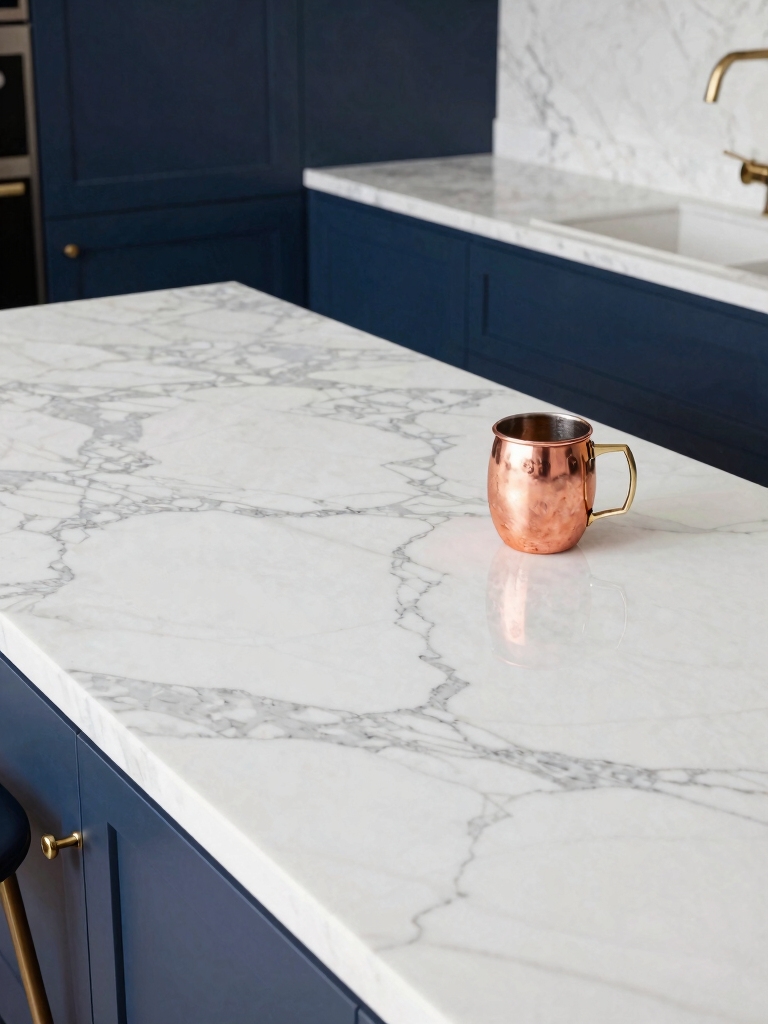
Counters are usually the budget-buster, but there are real ways to fake the look for a fraction of slab prices. A stone-look laminate, a butcher block, a remnant of quartz, or a concrete skim-coat over existing counters can all look high-end when the edges are clean. I steer most budget kitchens toward a quartz remnant when one fits the layout, since it is real stone at offcut prices.
- Call fabricators about quartz or granite remnants at a steep discount.
- Butcher block brings warmth and sands clean for decades.
- Skip cheap glossy laminate; matte stone-look patterns age better.
| Option | Rough cost | Best for |
|---|---|---|
| Stone-look laminate | $15 to $40 / sq ft | Rentals and fast updates |
| Butcher block | $40 to $100 / sq ft | Warmth, DIY-friendly |
| Quartz remnant | $40 to $80 / sq ft | Real stone on a budget |
| Concrete skim-coat | $50 to $120 total | Covering ugly tile counters |
Add Under-Cabinet Lighting
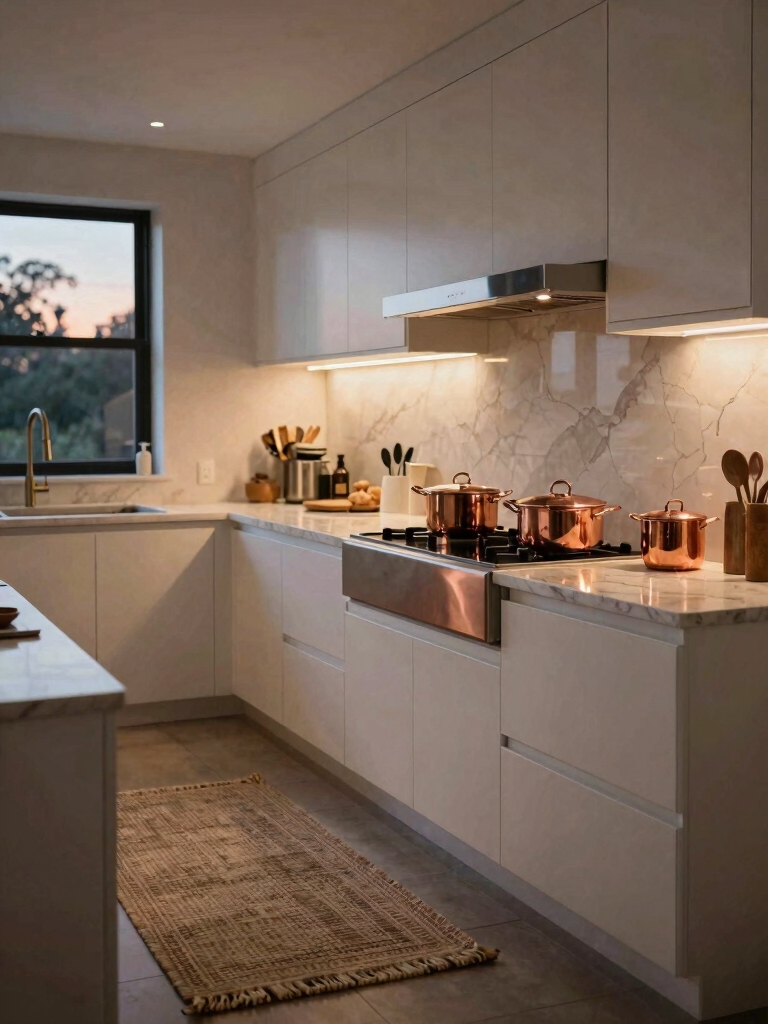
Under-cabinet lighting is the trick that makes a kitchen look custom for almost nothing. A plug-in or battery LED strip tucks under the upper cabinets, kills the shadows on your counters, and gives the room that warm, layered glow you see in showrooms. I love it for how it makes a plain kitchen feel considered. A good kit runs $20 to $60 and mounts with adhesive in under an hour.
- Choose warm-white strips so they match your other bulbs.
- Stick them to the front underside of the cabinet, aimed at the counter.
- Use a plug-in kit to skip hardwiring; hide the cord down a cabinet side.
Paint the Cabinets
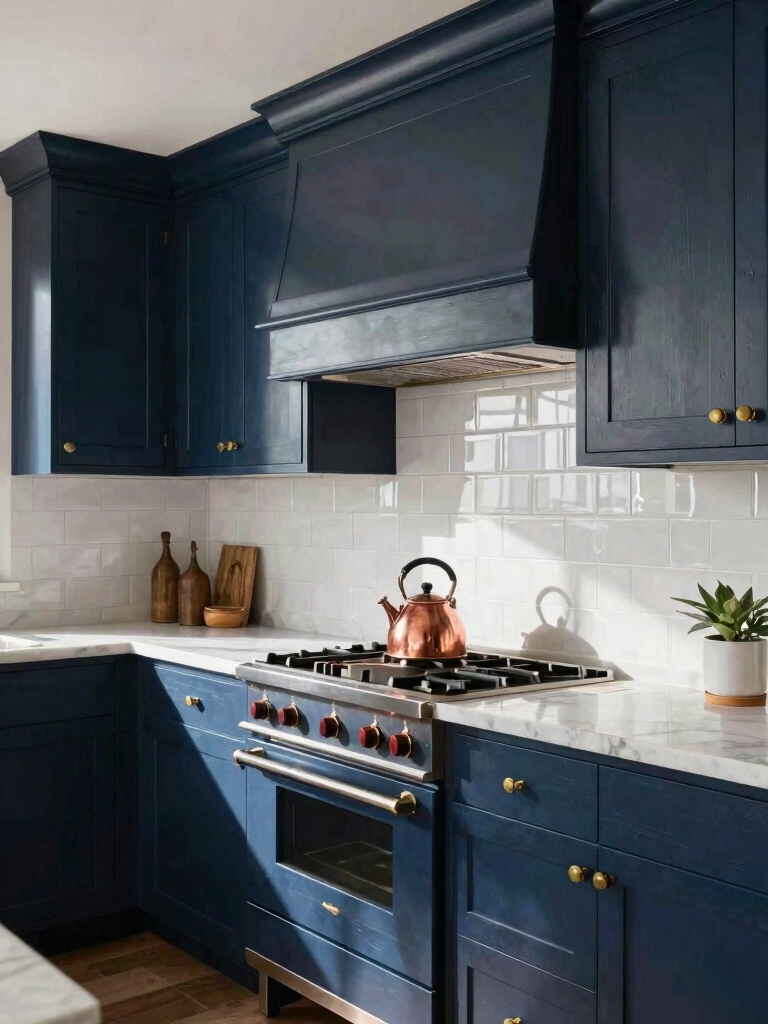
Nothing transforms a kitchen for less than paint on the cabinets. It is the single biggest visual change you can make on a budget, turning dated oak or worn white into any color for $150 to $400 in materials, against thousands to replace. The work is all in the prep: clean, sand, prime with a bonding primer, and give each coat a full day to cure. The cabinet repaint playbook rewards following step by step.
- Degrease and lightly sand every door before you prime.
- Use a bonding primer and a hard enamel made for cabinets.
- Let each coat cure a full day; rushing is what makes paint chip.
Add Molding and Trim to Cabinets

Builder-grade cabinets often look cheap because they float, with a gap above and flat, featureless doors. A little trim fixes both at once.
Close the Gaps
Crown molding across the top of the uppers, a strip of trim under the lowers, and simple applied molding on flat doors give stock cabinets a custom, furniture-like look for the price of a few boards and some paint.
It is a patient project, more measuring than skill. Painted the same color as the cabinets, the trim disappears into the design and passes as built-in.
A Cohesive Appliance Update
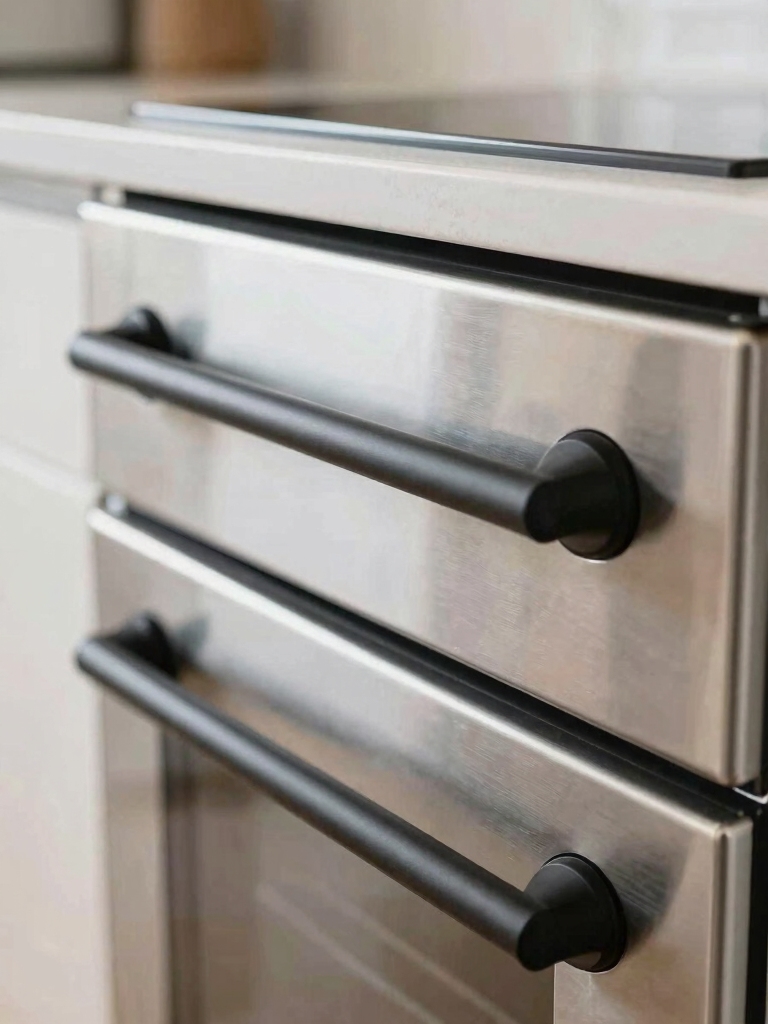
A mismatched fridge, stove, and dishwasher make a kitchen feel cobbled together. You do not need new appliances to fix it, just a consistent finish.
Stainless or matte-black appliance paint and stick-on panel kits let you bring everything into one look for a fraction of replacement cost. Sometimes matching the handles alone pulls the whole set together. It is the cheapest way to make a mismatched kitchen feel intentional rather than accidental.
- Use appliance epoxy or a panel kit to fix the odd-one-out unit.
- Stick to one finish family: all stainless, all black, or all white.
- Replace a broken handle rather than a whole working appliance.
Where to Splurge and Where to Save
A budget remodel works best when you are honest about where money shows. I recommend spending on the things you touch and use hard: the faucet, the cabinet hardware, and a good paint. Those take daily abuse. A cheap version of any of them gives itself away within months.
Save on the parts that only have to look right from a few feet away. A peel-and-stick backsplash, a remnant counter, and appliance panels all photograph and live beautifully for a fraction of the premium versions. Put the dollars where fingers land, and fake the rest with a clear conscience.
Make It Look Finished, Not Cheap
The gap between a budget kitchen that looks smart and one that looks cheap is often the last ten percent. Clear the counters down to two or three things you actually use. A bare, clean counter looks more expensive than almost any upgrade you can buy.
Then add one truly nice touch. A wood cutting board left out, a small plant, a matched set of canisters, or a single good light fixture will do it. One real object among tidy basics tricks the eye into seeing the whole room as considered. It costs next to nothing and finishes everything else you did.
Common Mistakes to Avoid
The fastest way to waste a budget is to spread it thin across everything. A little new paint next to an old faucet next to a dated light just looks like a half-finished project. Pick a few moves and finish them completely.
The other common slip is skipping prep to save time. Paint over greasy cabinets peels, peel-and-stick on a dusty wall lifts, and a faucet rushed without shutting the valves floods the cabinet below. Budget remodeling rewards patience more than money; the kitchens that look expensive are simply the ones finished with care. For where a dollar goes furthest, the moves that add real value follow the same logic.
Small Moves, Stacked, Read Like a Fortune
None of these changes is dramatic on its own. Stacked together, new hardware, a fresh faucet, better light, and painted cabinets add up to a kitchen that looks like it cost ten times what you spent. That is the whole secret of a budget remodel: many small, well-finished moves beat one big splurge.
Start with the cheapest, most visible swap, the hardware, and let each finished project fund the next. For a dose of motivation, the before-and-after stories that went viral almost all started exactly this way.


