The myth that keeps people stuck with a kitchen they hate is that a transformation means ripping the cabinets out. It almost never does. The most striking before-and-afters I have seen kept the same boxes and changed everything else, paint, hardware, a little molding, a glass door, for a tiny fraction of a gut renovation.
These seventeen makeover techniques are the ones that actually transform a kitchen on the cabinets you already own. For each I have noted what it costs, how hard it is, and the kind of tired kitchen it rescues. Stack two or three of them together and the after photo really does stop people, without the renovation budget behind it.
Transform Without Replacing
- You rarely need new boxes. Paint, hardware, and small upgrades transform the cabinets you have for a fraction of replacement.
- Paint is the biggest single change: a quality repaint runs $200 to $600 in materials versus thousands to replace.
- Stack techniques for a bigger after: paint plus new hardware plus one detail like molding or glass.
- Most of these are weekend projects, and the priciest visible payoff, hardware, is the cheapest of all.
A Transformative Cabinet Makeover, Start Here
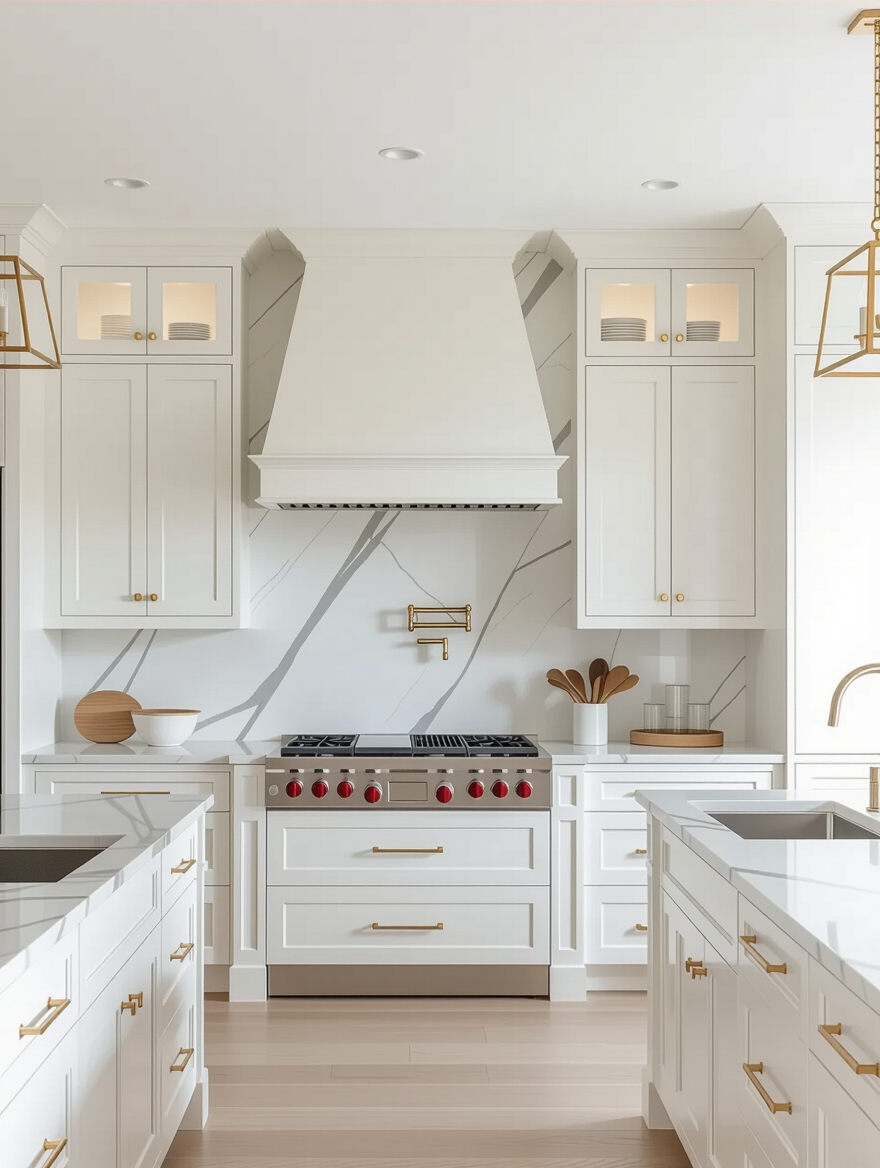
Every dramatic cabinet makeover starts in the same place: paint. A full repaint changes more about a kitchen than any other single move, taking dated oak or tired white to a fresh, current color for a few hundred dollars in materials. It is the foundation that most of the other techniques build on.
The whole game with paint is the prep. Cabinets carry years of cooking grease, so degrease, scuff-sand, and prime before the color goes on, or the finish peels within months and the makeover undoes itself. Take the doors off, label the hinges, and roll two thin coats of cabinet enamel, giving each an hour or two to set.
Done patiently, a painted kitchen rivals one that cost twenty times as much. For the green version, see green cabinet makeovers worth copying.
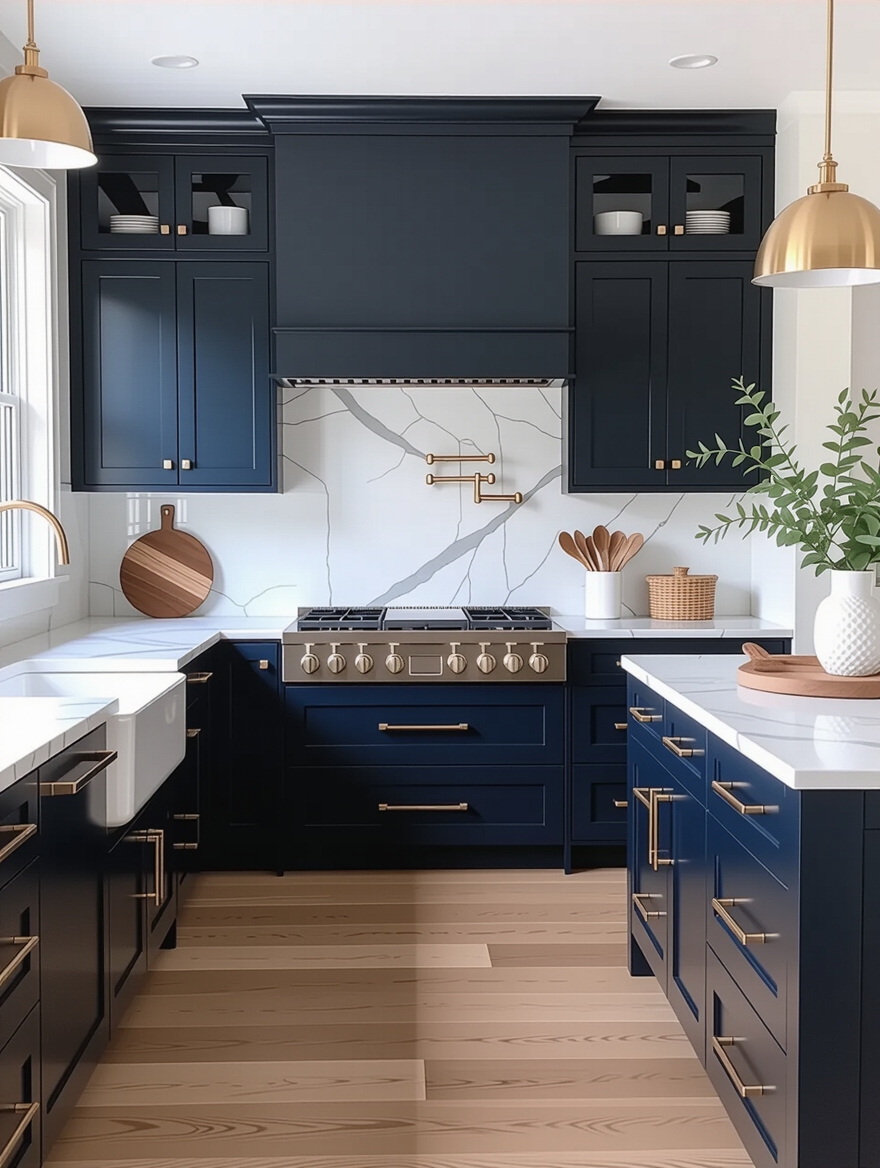
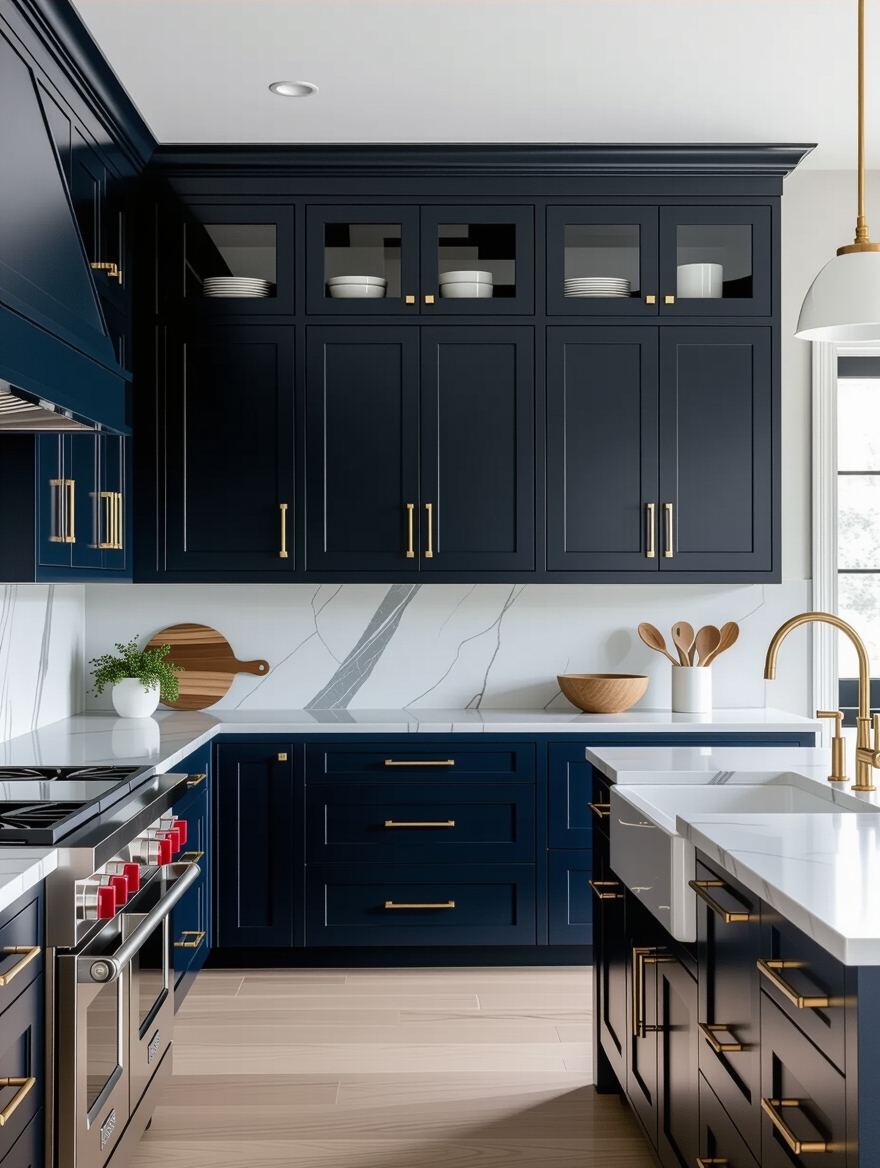
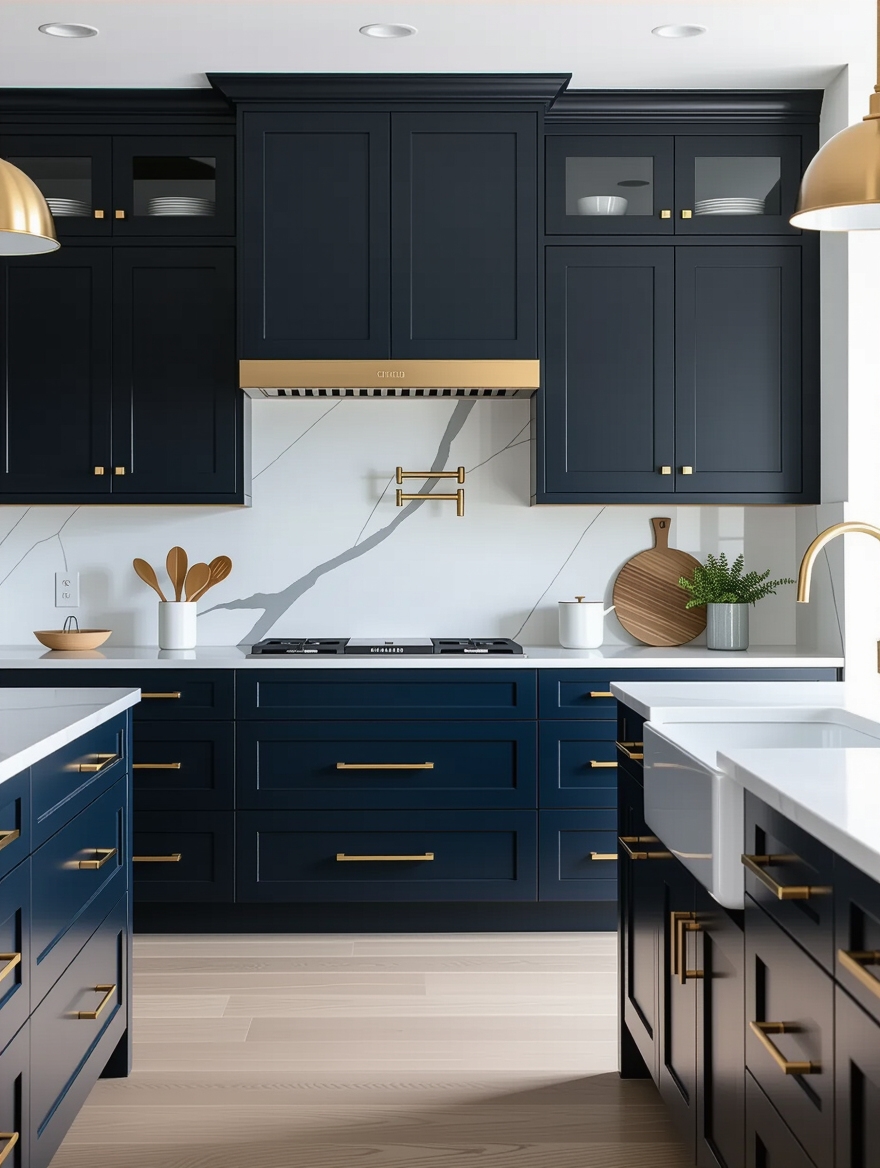
Two-Tone Cabinet Color Combinations

Painting the lowers one color and the uppers another is the makeover that looks like a designer touched it for the cost of a second can of paint. Two-tone adds depth a single color cannot, grounds the room, and lets you be a little bold below while keeping things bright above. It is the highest-impact paint move there is.
A few choices keep two-tone looking deliberate.
- Put the darker or bolder color on the lowers so it anchors the room and the uppers stay airy.
- Run one hardware finish across both colors so the two halves feel connected.
- Keep the undertones related so the contrast looks planned. See how two-tone proves its worth.
🅰️Paint the cabinets
The biggest single transformation, $200 to $600 in materials, and works on any sound cabinet. The catch is the prep, which makes or breaks the finish.
🅱️Re-stain the cabinets
Keeps and shows off real wood grain in a current tone. Best for solid-wood cabinets you love, but it is more labor and mess than painting.
Transform Cabinets With a New Stain
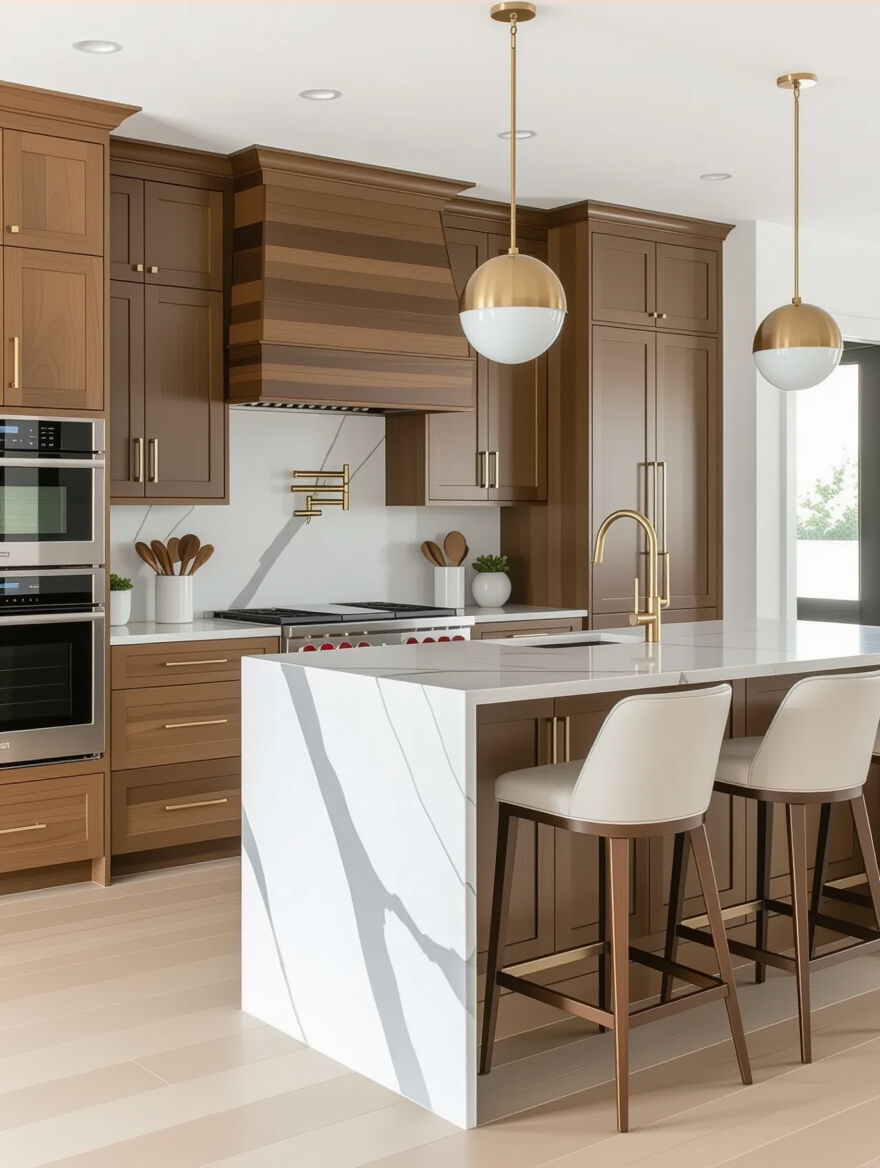
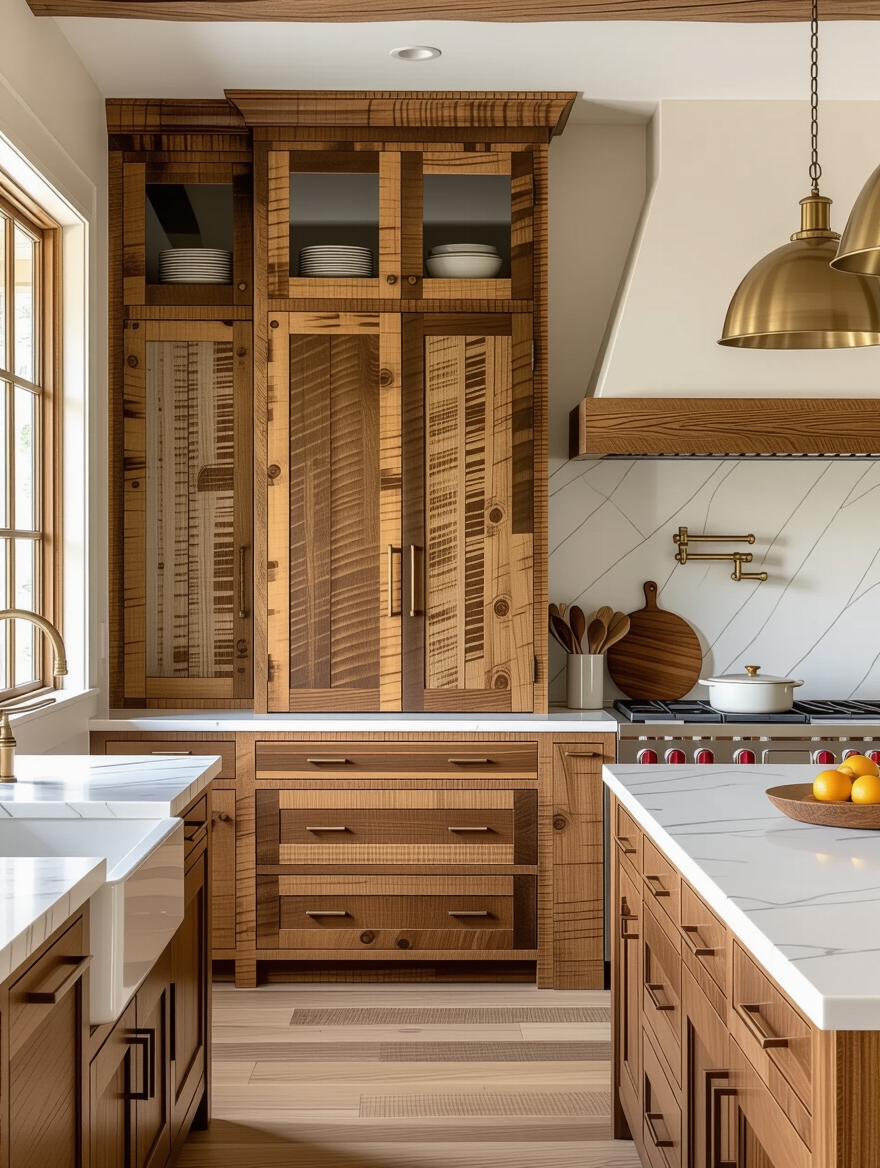
If your cabinets are solid wood and you love the grain, re-staining transforms them while keeping what makes them special. Stripping the old orange-toned finish and re-staining in a current tone, a soft white-oak wash, a deep walnut, a warm honey, takes dated wood cabinets straight back into style while keeping their warmth and character.
Re-staining is more involved than painting, so know what you are signing up for.
- Expect more labor than paint, since stripping the old finish is the slow, messy part of the job.
- Test the new stain on a hidden door first, since the existing wood affects how the color takes.
- Seal it well with a durable topcoat, since stain alone will not survive kitchen use.
Distressed Cabinets That Add Warmth
A light distressing technique turns flat painted cabinets into something with age and character, perfect for a farmhouse or cottage makeover. Sanding back the edges and corners where natural wear would happen lets a hint of the wood or an undercoat show through, giving the cabinets a softly worn, collected look that feels warm rather than brand-new.
Distress Only Where Wear Happens
The key is restraint and realism. Distress only the spots that would actually wear, edges, around handles, lower corners, and keep it subtle, since heavy, all-over distressing looks fake and dated fast. A whisper of wear reads charming; a sandblasted look reads like a craft project gone wrong.
This technique suits a specific kitchen, so be honest about your style before you reach for the sandpaper. In a cottage or rustic home it adds soul; in a sleek modern kitchen it would feel out of place. Matched to the right space, gentle distressing is a cheap way to buy years of character.
- ✓Are the cabinet boxes structurally sound, so a makeover is worth doing rather than replacing?
- ✓Have you planned the prep, degrease, sand, prime, that makes paint actually last?
- ✓Did you measure existing hardware holes before buying new pulls?
- ✓Are you stacking two or three techniques for a bigger before-and-after?
- ✓Do you have a labeled pint of paint set aside for future touch-ups?
Metallic Accents on Cabinets
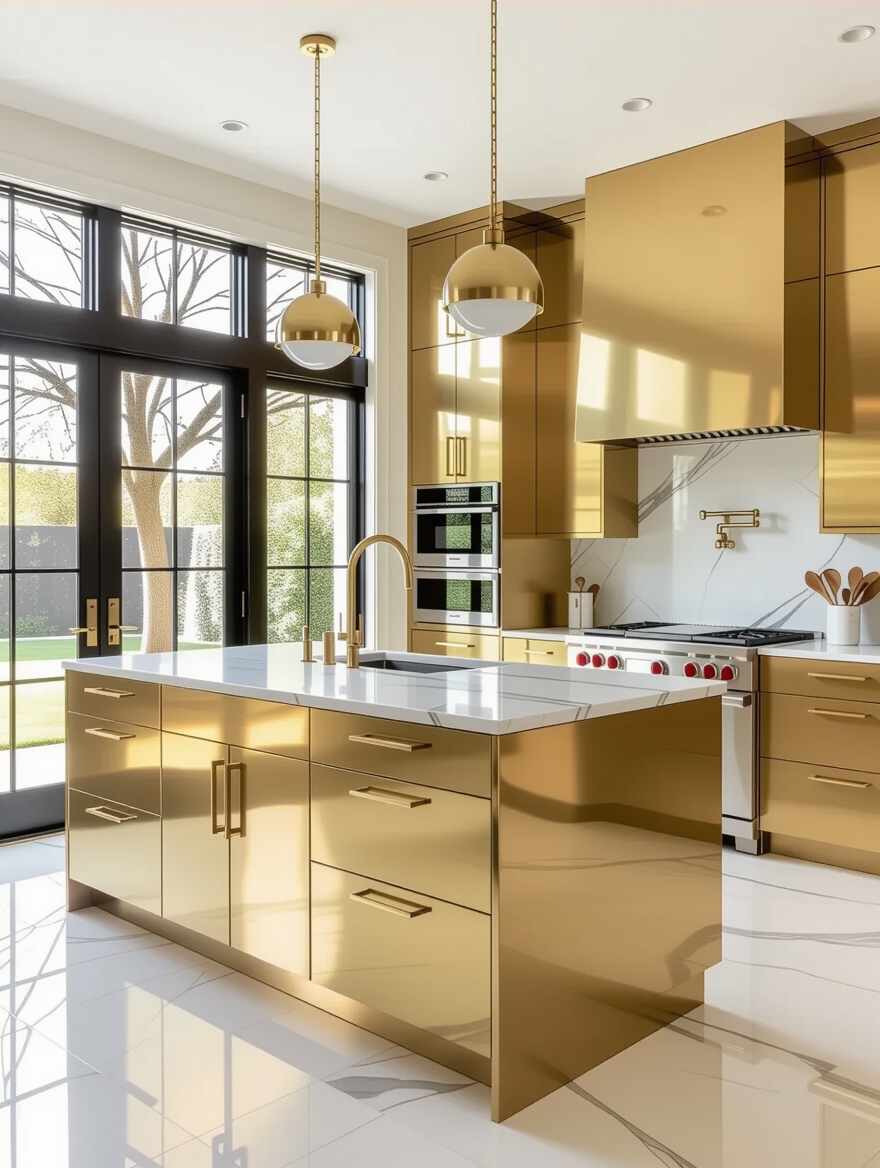
A hit of metallic is the small makeover move that punches above its cost, adding a glamorous, custom touch to plain cabinets. Gold leaf on a panel detail, a metallic-painted interior behind glass doors, or simply warm metal hardware brings a glint that lifts the whole kitchen. The eye treats metal as luxury, so even a little goes a long way.
Keep metallics as an accent and the effect stays sophisticated. A whole cabinet wrapped in gold would overwhelm, but a brass-painted reveal, a metallic-lined glass cabinet, or a row of warm pulls gives the makeover a polished finish for very little money. Pair the metal with a quiet cabinet color so the shine is the special detail, not one of several competing ideas.
Transform a Kitchen With New Hardware
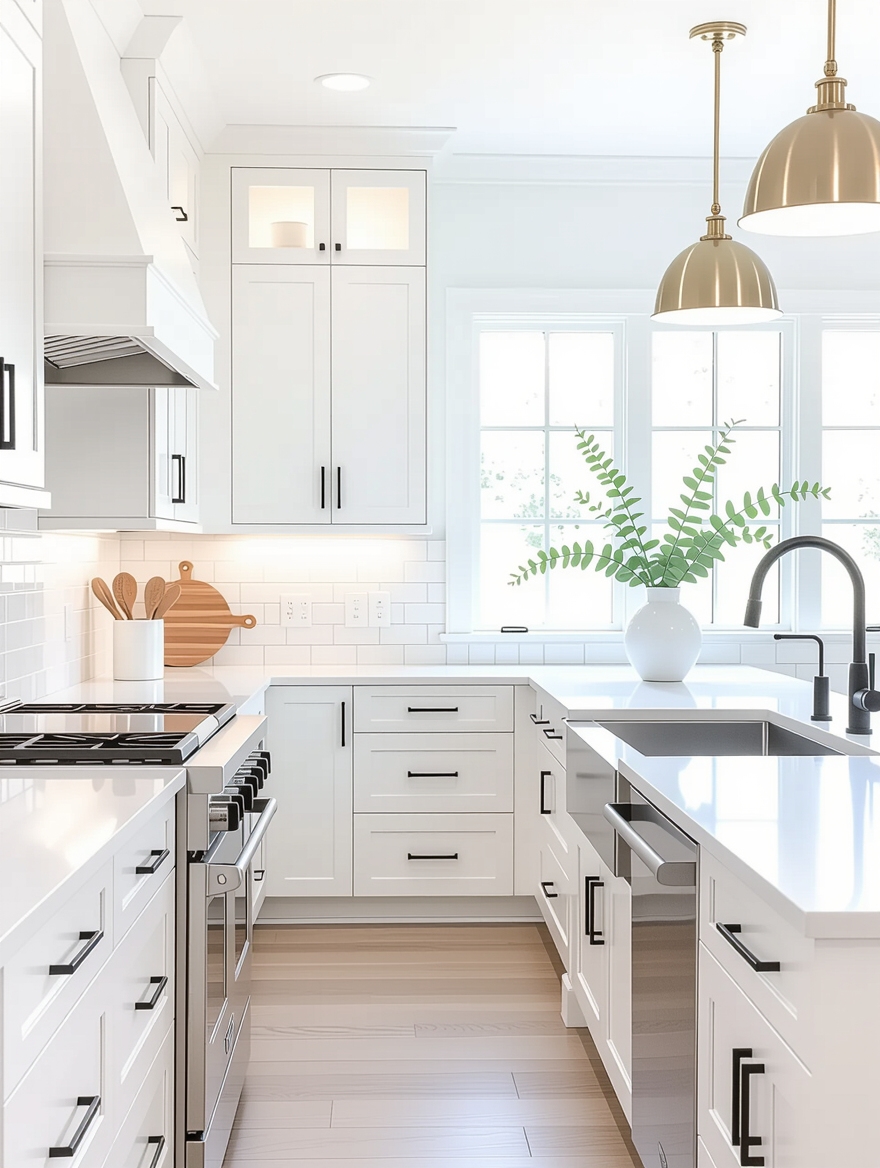
If you do nothing else, change the hardware, because no other one-hour project transforms a kitchen for so little. Swapping dated or builder-grade knobs and pulls for current ones resets the whole look of the cabinets, and it costs a fraction of anything else here. This is the makeover everyone should start with. Here is how to get it right.
- Budget $80 to $150 for a full set of quality pulls and knobs for an average kitchen.
- Choose warm brass for traditional warmth or matte black for a crisp, modern edge.
- Measure your existing screw holes first, since matching the hole spacing saves drilling new ones.
Match the makeover to your kitchen’s problem.
🎯Dated color, sound boxes
Paint, or two-tone for more impact. The single biggest change for the money.
🎯Flat, builder-grade doors
Added molding plus paint, which gives plain slab doors a custom, shaker-like detail.
🎯Heavy, closed-in wall of cabinets
Glass fronts or open shelving on a few uppers to lighten and open the room.
🎯Tight budget, want a fast win
New hardware. An hour, $80 to $150, and the whole kitchen looks updated.
An Easy Kitchen Transformation in a Weekend
The most striking makeovers are usually not one grand gesture but a stack of small ones done together over a weekend or two. Fresh paint, new hardware, and one extra touch like glass inserts or open shelving combine into an after photo that looks like a renovation, even though no boxes were touched. The whole is far greater than the parts.
The smart approach is to sequence the cheap, high-impact moves first. Start with the hardware swap, since it is the fastest win, then tackle the paint, then add the one detail your kitchen most needs. Doing them in order lets you stop whenever the kitchen looks right, and often you discover the hardware and paint alone did most of the work.
Set realistic expectations on time and mess. A paint-and-hardware makeover takes the kitchen partly out of commission for a few days while coats cure, so plan around it, but the payoff is a transformed room for a few hundred dollars rather than the tens of thousands a full remodel costs.
Add Molding to Plain Cabinets
Adding molding is the trick that makes builder-grade flat cabinets look custom and expensive. Applied trim, a simple frame of molding glued onto a plain slab door, or crown molding atop the wall cabinets, brings the architectural detail that flat doors lack, and once painted it is nearly impossible to tell from the real thing. It is a genius low-cost upgrade for a dated builder kitchen.
Trim Frames and Crown Molding
Two molding moves do the most. Adding a thin rectangular trim frame to flat doors gives them a shaker-like detail for the price of some molding and glue; topping the upper cabinets with crown molding closes the awkward gap to the ceiling and instantly reads finished. Both are weekend projects with a miter saw and patience.
The finishing step is paint, which is what unifies the added trim with the door beneath. A coat of cabinet enamel over the whole thing makes the molding look original to the cabinet, turning a flat-pack door into something that looks milled. Done well, no one ever guesses the detail was added later.
Glass-Front Cabinet Upgrades
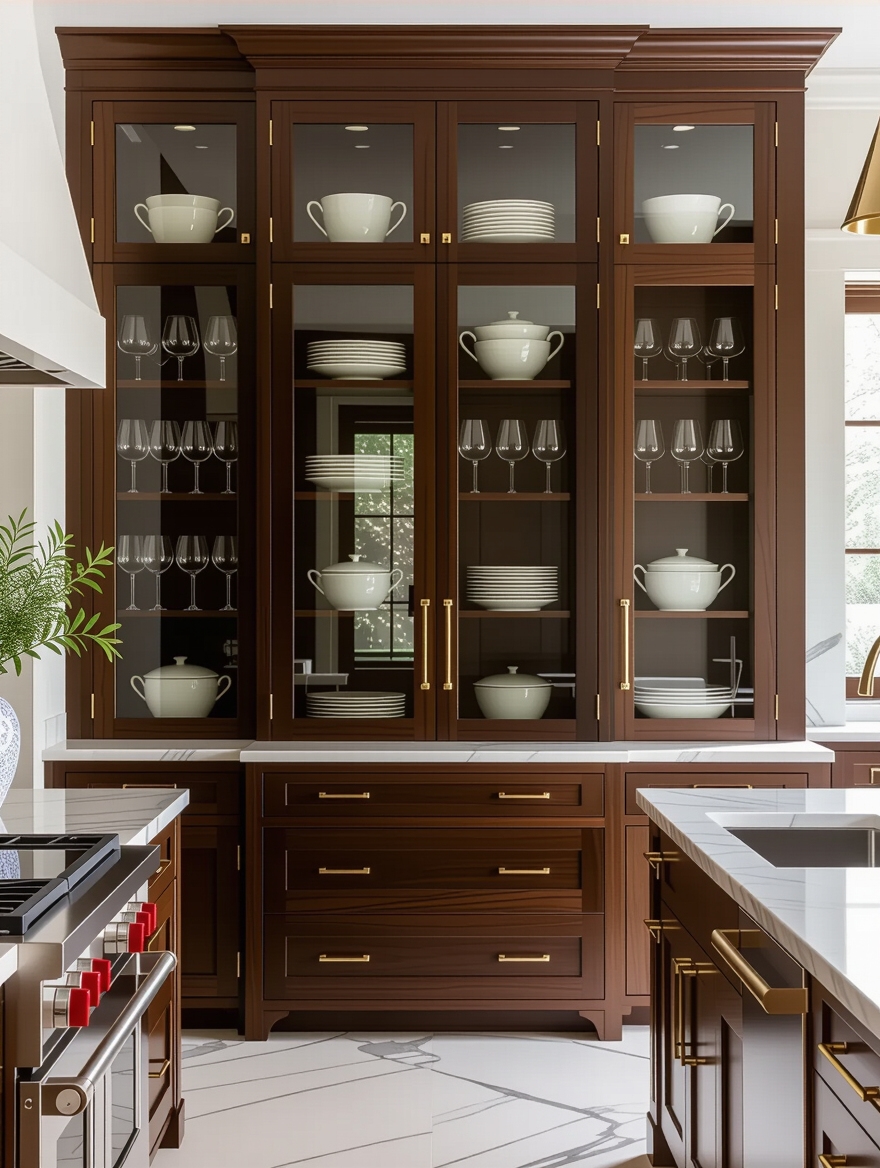
Swapping a few solid upper doors for glass fronts is the makeover that lightens a heavy wall of cabinetry and gives the kitchen a custom, curated feel. The glass breaks up the run, lets light move through, and turns a couple of cabinets into a place to show off pretty dishes, all of which makes a boxy kitchen feel more open and considered.
Clear, Reeded, or Seeded
You do not need new doors to do it. Many cabinet makers and DIY kits let you cut a panel out of an existing solid door and fit a glass insert, or replace just a few door fronts with glass-ready ones. Reeded or seeded glass is the forgiving choice, since it lets light through while gently hiding a less-than-perfect shelf behind it.
Keep it to two or three doors so the effect stays special and you are not committing to keeping everything behind glass tidy. The most successful glass upgrades frame a small, styled moment, your nicest bowls or glassware, rather than a whole wall of open viewing.
Stylish Open Kitchen Shelving
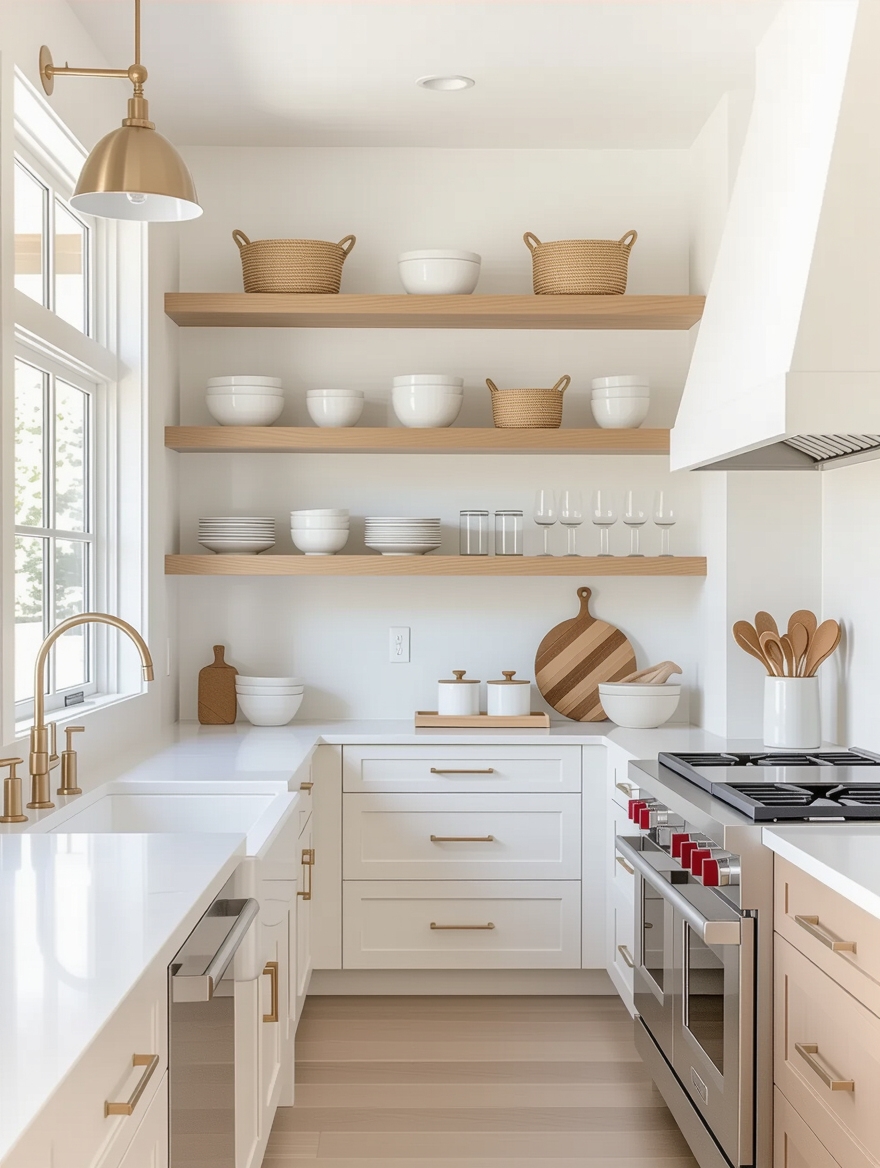
Removing a few upper doors entirely, or replacing a cabinet with open shelves, is the makeover that opens up a closed-in kitchen for almost nothing. Open shelving lightens the visual weight of a wall of cabinets and turns daily dishware into casual decor, giving a tired kitchen a fresh, current feel with a screwdriver and an afternoon. Here is how to keep it from looking like clutter.
- Open up just one or two sections, not a whole wall, so the kitchen stays practical and easy to keep tidy.
- Style the shelves with restraint, the pieces you use and love, leaving breathing room around them.
- Paint the cabinet interior behind open shelves, or the wall, to make the opened space look deliberate. See open cabinets that stay clutter-free.
Styling Tips to Finish the Makeover
Once the big techniques are done, a few styling touches make the makeover look finished rather than half-complete. The most important is consistency: carry one hardware finish and one or two colors through the whole kitchen, so the transformed cabinets read as a single, planned scheme. A makeover undone by mismatched pulls or a stray leftover color looks accidental, however good the paint job was.
Finish with the small, warm details that signal a cared-for kitchen. A styled open shelf, a runner, a plant, and good lighting turn a freshly painted box of cabinets into a room someone clearly loves.
And keep a labeled pint of your cabinet color in the garage for the inevitable chip near a handle, since a five-minute touch-up is what keeps a weekend makeover looking fresh for years. For the storage side of a great makeover, see cabinet ideas worth stealing.
Cabinet Makeover Questions, Answered
?Can I transform my kitchen without replacing the cabinets?
Almost always, yes, as long as the boxes are structurally sound. Paint, new hardware, added molding, glass inserts, and open shelving transform the look of existing cabinets for a few hundred dollars and a weekend or two, versus thousands to replace them. Replacement only makes sense when the boxes themselves are damaged or falling apart.
?What is the most dramatic cabinet makeover for the money?
A quality repaint, full stop. It changes more about a kitchen than any other single move for $200 to $600 in materials. Pair it with a hardware swap, another $80 to $150, and you have transformed the two most visible elements of the cabinets for well under a thousand dollars and a couple of weekends of work.
?Should I paint or re-stain my cabinets?
Paint if you want a color change, a fresh look, or to cover dated or damaged wood; it works on nearly any sound cabinet and offers any color. Re-stain if you have solid-wood cabinets with grain worth showing and simply want a more current wood tone. Re-staining keeps the wood character but takes more labor, since stripping the old finish is slow work.
?How do I make flat builder-grade cabinets look custom?
Add applied molding. Gluing a simple rectangular trim frame onto plain slab doors gives them a shaker-like detail, and topping the upper cabinets with crown molding closes the gap to the ceiling. Once everything is painted the same color, the added trim looks original to the cabinet, transforming a flat builder kitchen for the cost of molding and paint.
Keep the Boxes, Change Everything Else
The thread through all seventeen of these is that a head-turning kitchen rarely requires new cabinets; it requires transforming the ones you have. Paint resets the color, hardware resets the style, and a single detail, molding, glass, open shelving, adds the custom touch that sells the whole thing. Stack two or three of these over a weekend or two and the after photo looks like a renovation that cost a fraction of what people assume.
Pick the technique that fixes your kitchen’s biggest eyesore first, then add one more on top of it. Which transformation would change your kitchen the most?


