

The first outdoor kitchen I ever helped plan was a single stainless grill marooned in the middle of a patio, with the host running back inside for every plate, knife, and cold drink. That trek is what separates a real outdoor kitchen from a grill with ambitions. A makeover that impresses solves the trek first and worries about the pretty stone later.
These ideas run from a few hundred dollars to a serious build, and I have flagged the rough cost and the honest catch on each, plus which yard and budget it suits. We will move from layout through materials, shade, and the install details that decide whether your outdoor kitchen lasts ten years or rusts in two. For the style side, our backyard outdoor kitchen spaces guide pairs well.
Outdoor Kitchen Planning at a Glance
| Decision | Why it matters | Budget reality |
|---|---|---|
| Layout near the house | A short trek to the indoor kitchen saves a fortune in plumbing and steps | Free to plan; saves thousands versus a far-flung build |
| Weatherproof materials | Sun, rain, and frost destroy indoor-grade cabinets and stone fast | 304 stainless and sealed stone cost more upfront, less over a decade |
| Licensed gas and electric | Outdoor gas lines and GFCI power are safety-critical, not DIY | Budget $500 to $2,000+ for a pro to do it right |
An Outdoor Kitchen That Actually Improves Entertaining
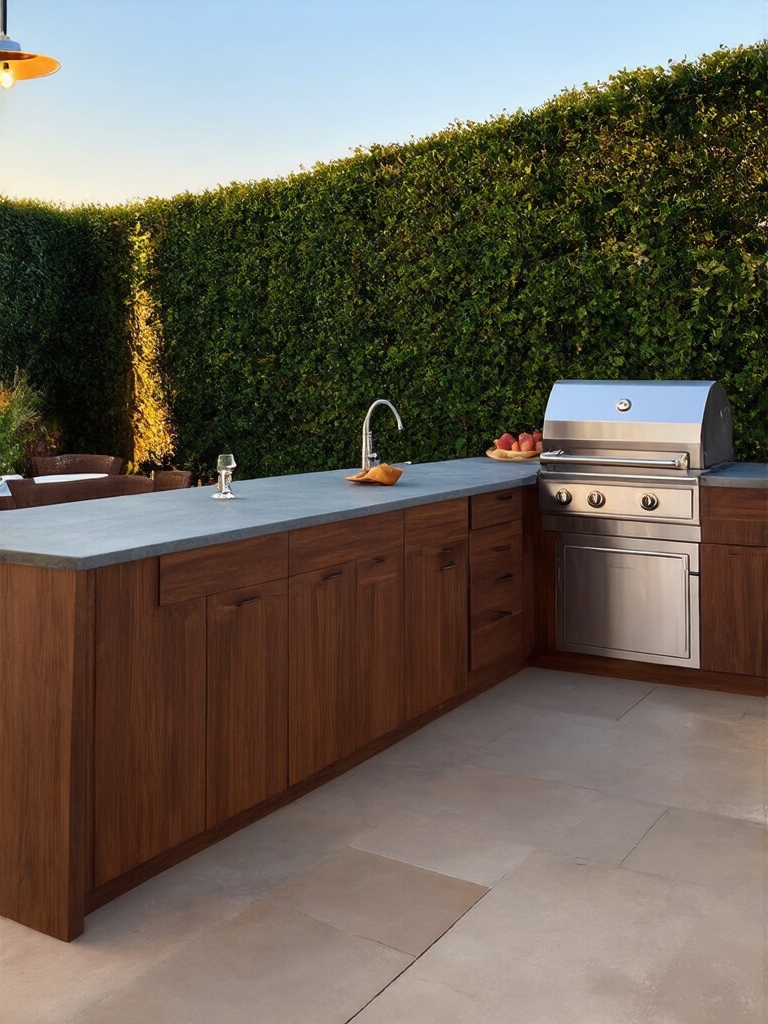
The whole point of an outdoor kitchen is to keep the cook in the conversation. The makeover that impresses people is rarely the priciest one. It is the one where the host flips burgers, pours a drink, and talks to guests, all from the same spot.
Plan the work triangle, then the seating
That comes down to the work triangle, the same grill-fridge-prep relationship you have indoors, shrunk to fit a patio. Put the grill, a small fridge, and a stretch of counter within a step or two of each other, and the space suddenly works. Add seating that faces the cook so guests are part of it.
Be honest about how you really entertain before you build. A couple who hosts two big parties a year needs something different from a family that grills four nights a week. I always ask that question first, because it decides the size, the storage, and how much you should spend.
Fit a Compact Outdoor Kitchen Into an Urban Yard
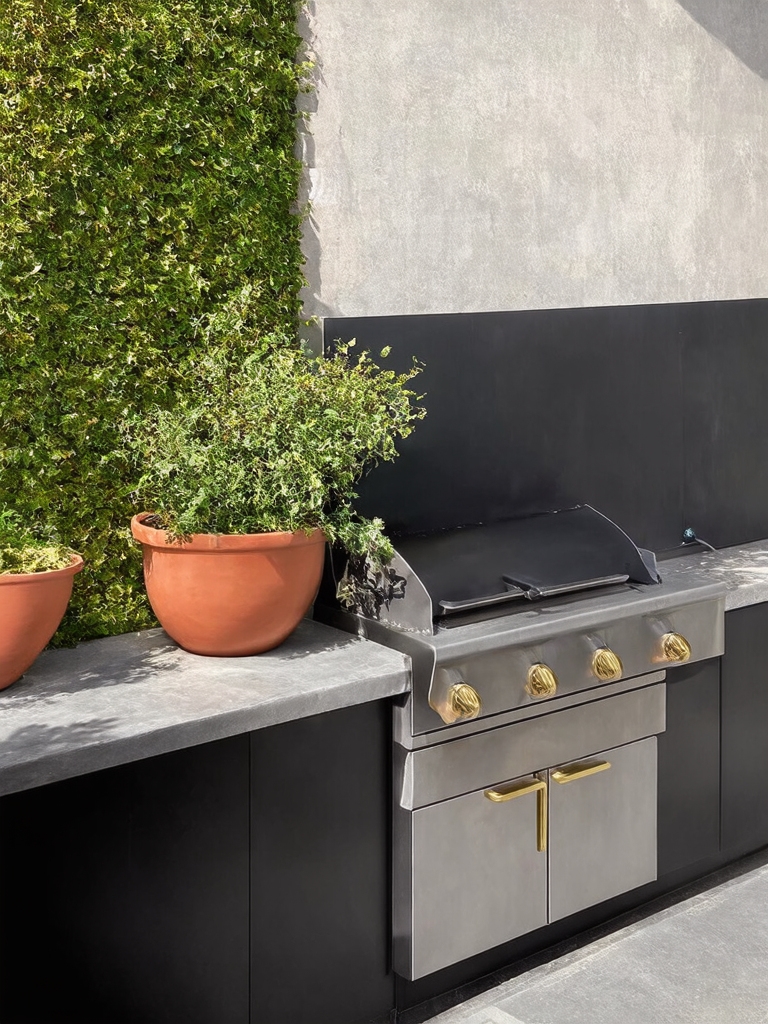
A tiny city yard or balcony does not rule out a real outdoor kitchen. It just means editing hard. A single run of counter against a wall, a built-in grill, and a narrow prep surface can deliver most of the experience in six to eight linear feet.
Go vertical where the floor is tight. A wall-mounted shelf for spices, hooks for tools, and a slim cabinet underneath the counter keep everything close without eating square footage. The same logic behind our small-kitchen storage tricks works just as well outdoors.
The honest trade-off is capacity. A compact setup handles weeknight cooking and small gatherings comfortably, but it will feel cramped if you regularly host twenty people. Match the build to your real life, and a small footprint never feels like a compromise.
👍Build an outdoor kitchen when
- +You entertain or grill often and keep running indoors for everything
- +You have a spot within a short run of the house for gas, power, and water
- +You are ready to budget for weatherproof materials and a licensed install
👎Hold off when
- –You grill only a few times a year, where a good cart setup is plenty
- –The only space is far from utilities, making the build cost balloon
- –Your budget forces indoor-grade materials that will not survive the weather
Set Up Outdoor Entertaining So It Runs Easy
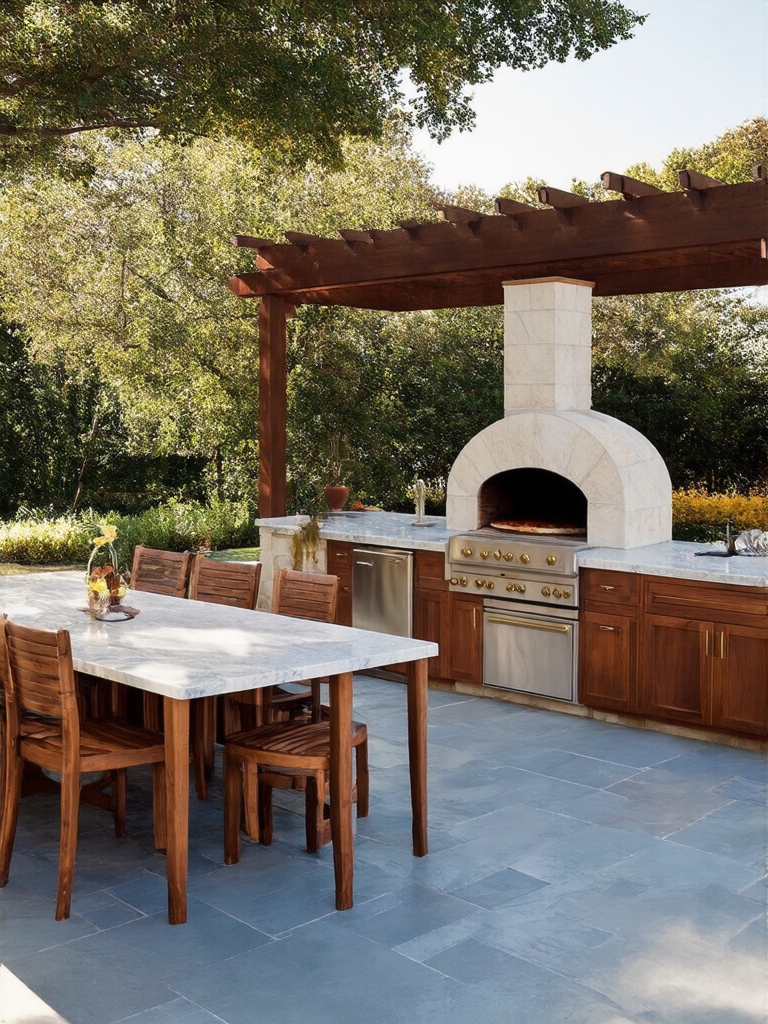
An outdoor kitchen earns its keep when a party runs itself. The trick is breaking the space into little stations so guests are not all crowding the cook. A drinks zone away from the grill, a self-serve spot for plates and napkins, and a clear landing counter for finished food keep traffic flowing.
I learned this the hard way at that first patio job, where everyone bottlenecked around the one grill. Now I plan a drinks station first, because it is the single best way to pull the crowd off the cook. Our outdoor kitchen setups worth seeing show this flow in action.
- Put the drinks and cooler away from the grill so thirsty guests do not crowd the heat
- Keep a stack of plates, napkins, and utensils at the edge for self-service
- Leave a clear stretch of counter for finished platters, around 24 inches minimum, so food has a home
Plan Poolside Kitchen Essentials
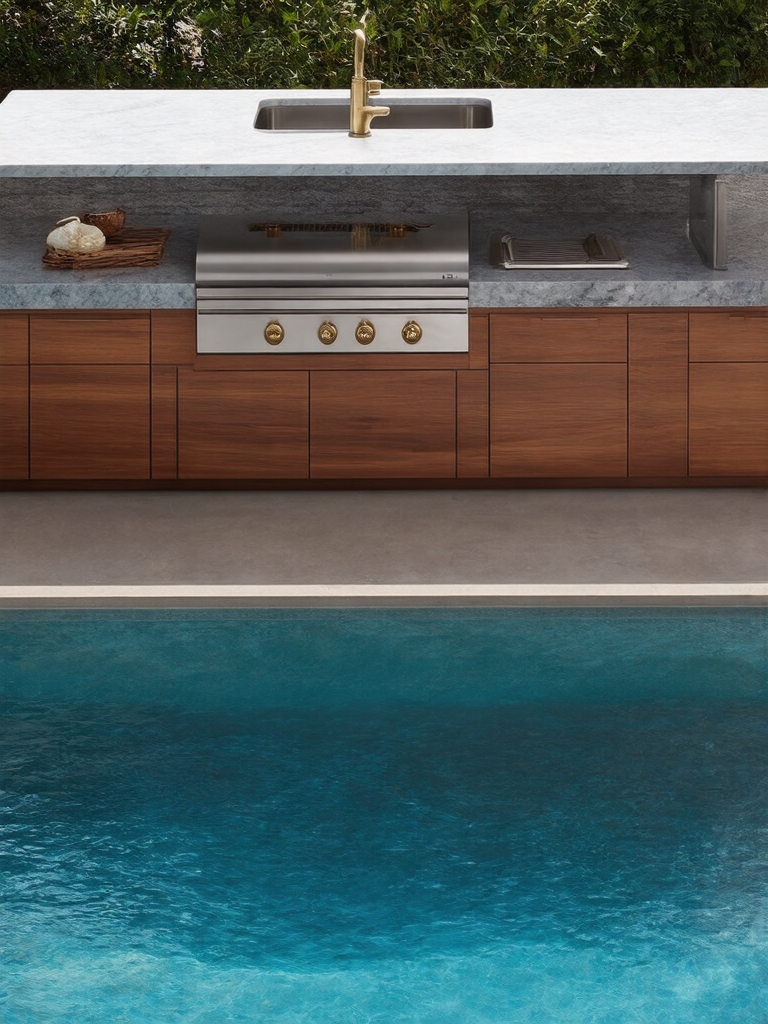
A poolside kitchen is its own animal, because wet feet, splashes, and chlorine in the air are tough on materials and a safety concern underfoot. Keep electricity well back from the water, choose slip-resistant flooring, and lean on a fridge stocked with cold drinks so nobody tracks through the house dripping.
Shade matters more here than anywhere. Bare stone counters and metal lids get scorching in full pool sun, so plan a pergola or a big umbrella from the start. Have an electrician confirm GFCI protection and safe distances from the water before any power goes in.
- Choose slip-resistant, cool-toned flooring that will not blister bare feet at midday
- Keep a well-stocked drinks fridge poolside, around $300 to $700 for an outdoor-rated unit
- Position all outlets and appliances per code distances from the water, confirmed by a licensed electrician
An outdoor kitchen succeeds when the cook never has to leave the party. Everything else is decoration.
Make the Outdoor Cooking Space Feel Cozy
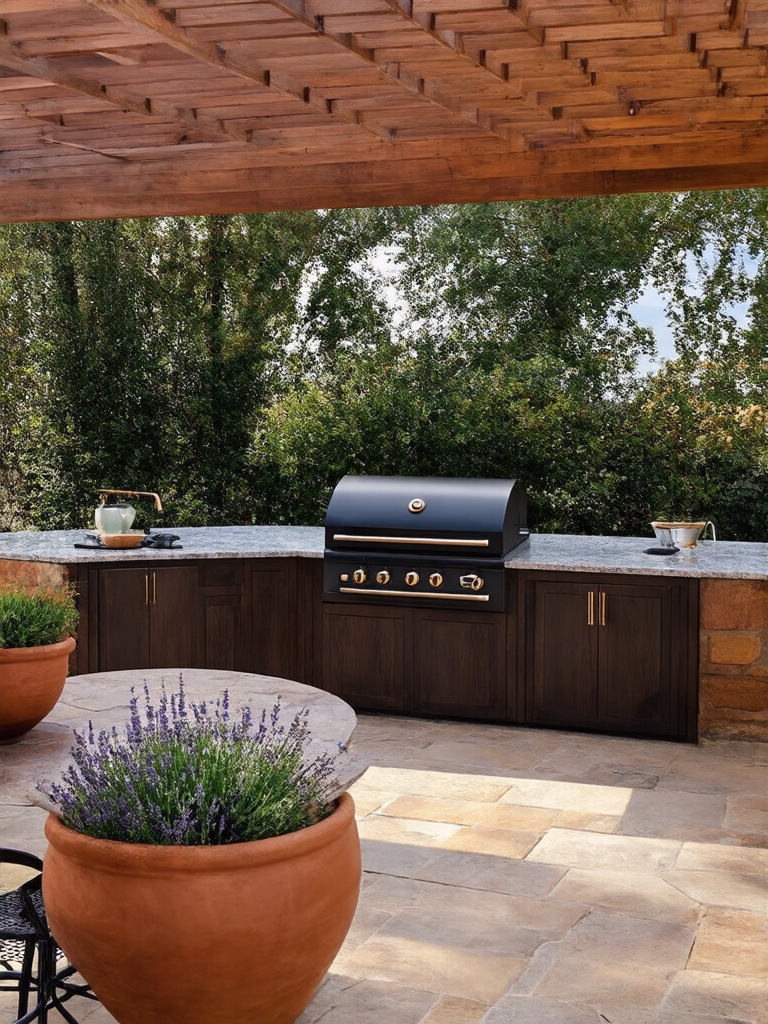
The outdoor kitchens people linger in feel like rooms, not equipment yards. Coziness comes from layering the same things you would indoors: warm light, a heat source for cool evenings, and soft surfaces the weather can handle. Get those and people stay long after the food is gone.
Layer warm light at several heights
String lights overhead and a couple of weatherproof lanterns do most of the work for a small spend, and hanging a set is about a twenty-minute job. A patio heater or a fire feature stretches your season by a month or two on each end. Outdoor rugs and cushions in solution-dyed fabric add the softness that bare hardscape lacks.
Layered light is the detail I push hardest, because a single bright floodlight makes any patio feel like a parking lot. Aim for several small warm sources at different heights instead. String lights run roughly $30 to $80 a set and change the whole mood after dark.
Build a Rustic Stone Outdoor Kitchen
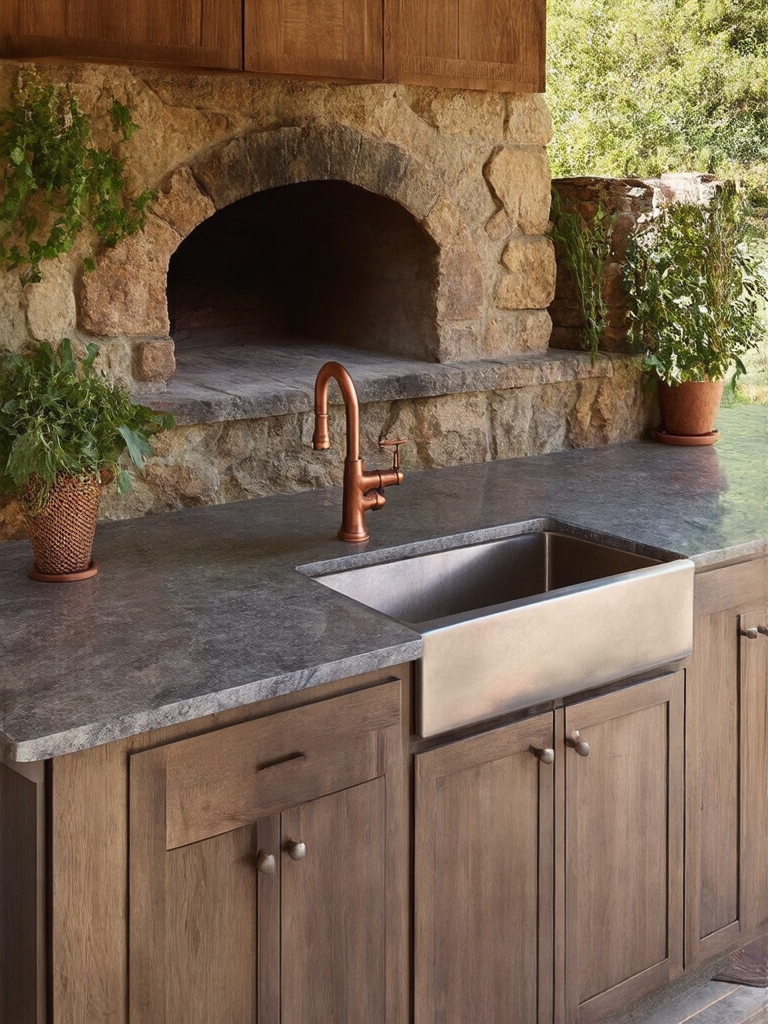
Stone is the material that makes an outdoor kitchen look like it grew from the landscape. A base clad in stacked stone or stone veneer, topped with a sealed granite or soapstone counter, has a permanence that lighter builds cannot match. It suits homes with natural materials already in play, brick, timber, flagstone paths.
The honest part is cost and weight. Full natural stone is heavy enough to need a proper footing, and a stone-clad island build commonly lands in the $6,000 to $15,000 range once you include the counter and grill. Stone veneer over a block base gives a similar look for less.
Whatever stone you choose, seal it and re-seal every year or two, since outdoor stone drinks up grease, wine, and rain otherwise. A rustic look forgives a lot of wear, which is part of why I steer relaxed, outdoorsy clients toward it. For a budget route to a similar feel, our DIY outdoor kitchen budget hacks are worth a read.
💡Designer Tip
Before you fall for a layout, stand in the spot and mime a full cookout, grilling, plating, grabbing a drink, tossing trash. Every awkward step you mime now is a step you would take a hundred times later. Move the stations until the mime feels easy, then build.
Keep It Clean With a Minimalist Outdoor Kitchen Design
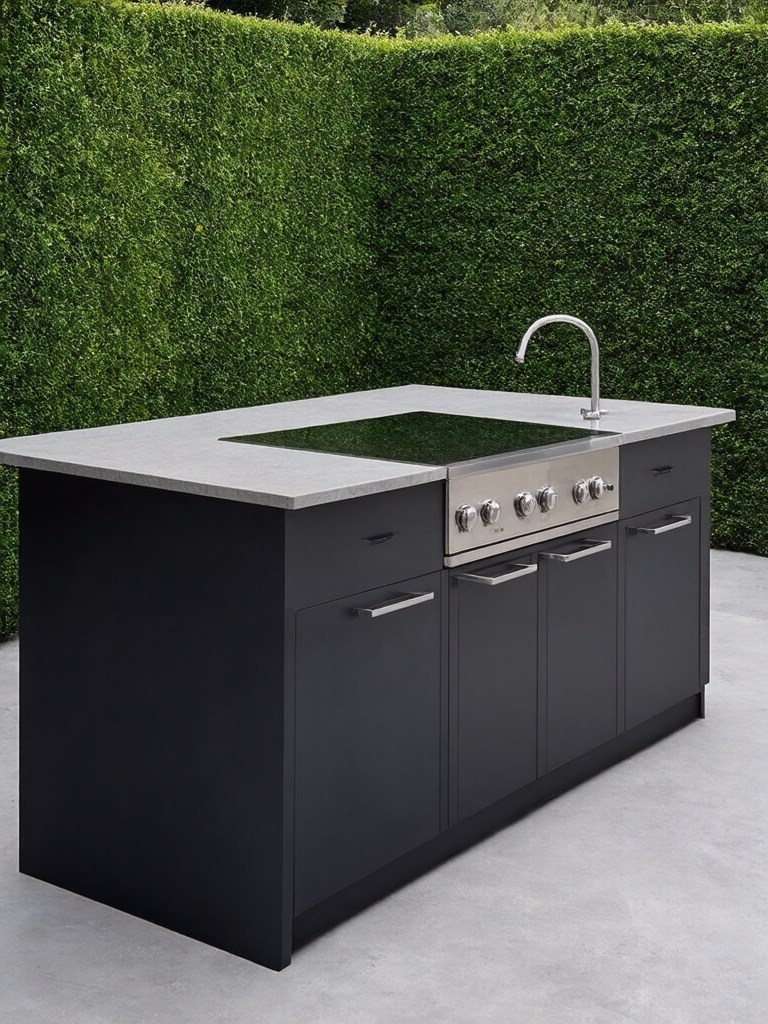
If your home leans modern, a minimalist outdoor kitchen suits it better than rustic stone. Think flat-panel stainless or polymer cabinets, a slim porcelain or concrete counter, and a tight palette of two or three colors. The clean look also happens to shed dirt and wipe down fast, which is a quiet bonus outdoors.
- Stick to a two-tone palette, charcoal and warm wood is a reliable pick, so the run looks deliberate
- Choose flat fronts and integrated handles that will not snag or collect grime
- Hide the clutter in closed cabinets and keep the counter nearly bare, since empty surface is the whole look
Design an Interactive Family Cooking Space
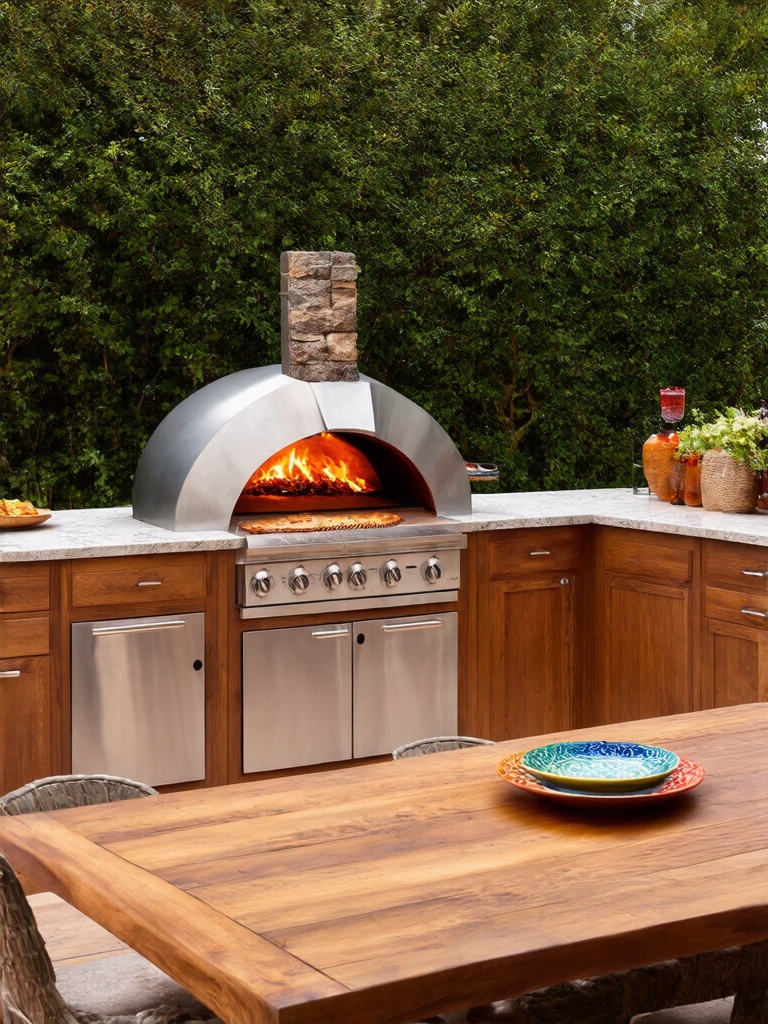
If your outdoor kitchen is really for family nights, design it so more than one person can pitch in. A lower prep counter lets kids help safely, a pizza oven or a flat-top griddle turns dinner into an activity, and bar seating along the island keeps everyone in one spot while the cooking happens. A countertop pizza oven runs roughly $300 to $1,500 and is the single best crowd-pleaser I have added to a family patio.
- Add a second, lower prep surface so kids can help away from the hot grill
- Build in bar seating along one side so the family gathers right at the cook
- Pick one interactive cooker, a pizza oven, griddle, or kamado, that makes dinner a shared project
Choose Durable, Stylish Materials for Outdoor Cooking
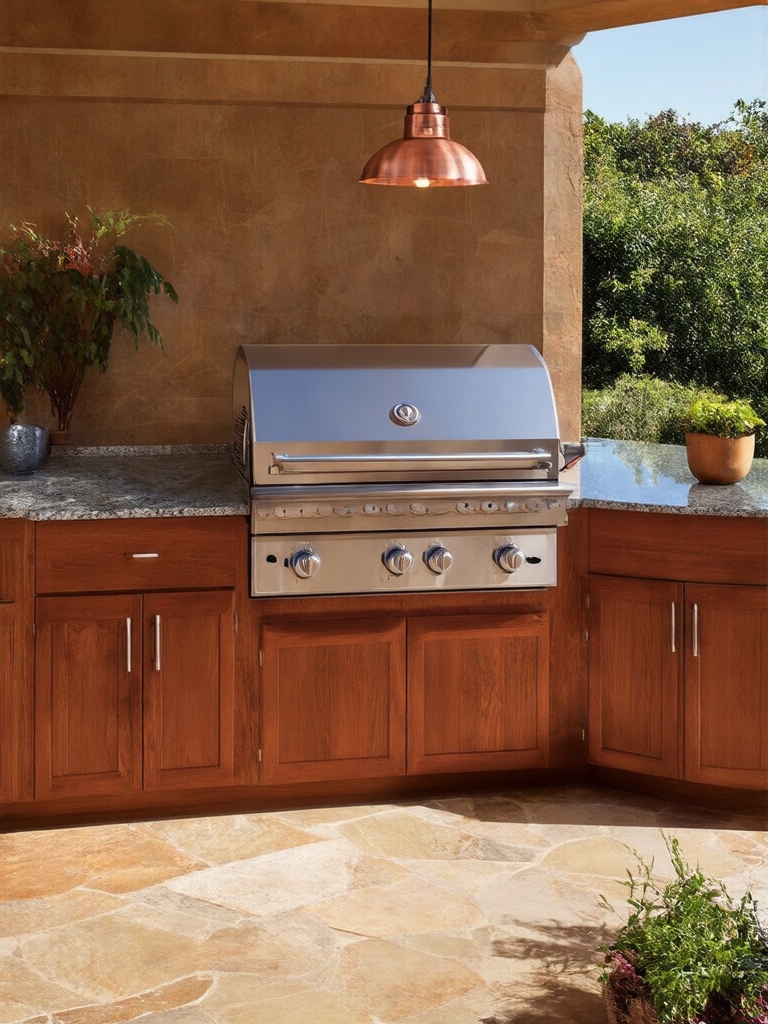
The difference between an outdoor kitchen that looks new in five years and one that rusts is almost entirely the grade of materials. Marine-grade 304 stainless resists rust far better than the cheap stainless on bargain grills, and polymer or HDPE cabinets shrug off rain that would swell wood or warp particleboard. Porcelain, concrete, and sealed granite all handle sun and frost where indoor laminate would fail in a season.
Spend your money where the weather hits hardest: the grill, the counter, and any cabinet doors. I tell clients it is worth paying for 304 stainless on the appliances even if they economize elsewhere, because that is the part that fails first and costs the most to replace. Cheaper materials are fine for shaded, protected zones.
Get Outdoor Appliance Installation Essentials Right
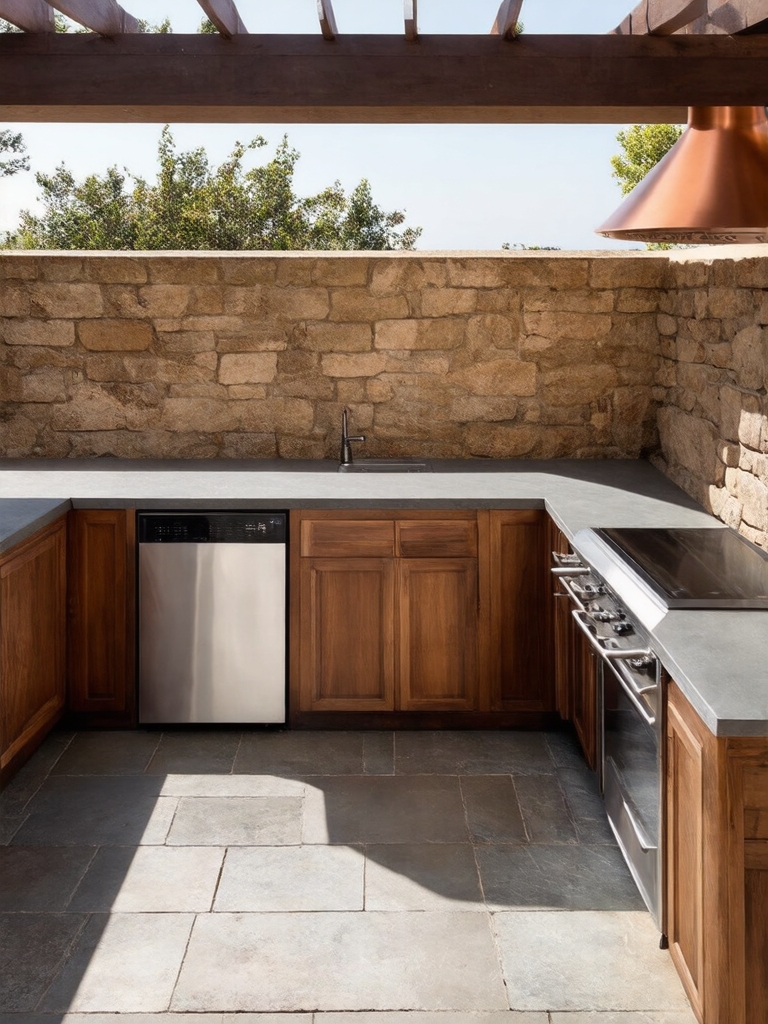
This is the part the inspiration photos never show, and it is the part that makes or breaks the build. Outdoor appliances need the right fuel, power, and water run to them safely, and that means gas lines, GFCI-protected electrical, and often a drain, all to code. None of that is a weekend DIY job.
Plan the utilities before you set a single stone, because retrofitting a gas line into a finished island is painful and pricey. A licensed plumber and electrician should handle the gas and power; for permits and inspections, your local building department sets the rules, and skipping them can void insurance.
Budget realistically for this invisible work, often $500 to $2,000 or more depending on how far the lines have to run from the house. It is the least glamorous line item and the one I never let anyone cut, since a leaking gas line or ungrounded outlet outdoors is a serious hazard, not a style choice. When in doubt, bring in a licensed pro.
Common Mistakes to Avoid
A few predictable errors sink more outdoor kitchen makeovers than any design choice. The biggest is placing the kitchen too far from the house, which balloons the plumbing and electrical cost and leaves you trekking anyway. Close behind is skimping on shade, since an unshaded cook station goes unused all summer, and underestimating storage, which leaves tools and propane homeless.
The other quiet mistake is buying indoor-grade everything to save money, then watching it rust and warp within two seasons. Build for your real climate and your real hosting habits, and bring in luxury outdoor kitchen features only where they earn their place. The makeovers that truly impress are the ones still working, and still good-looking, a decade in.
Start With the Trek, Not the Tile
The outdoor kitchens that impress are not the ones with the most stone or the priciest grill. They are the ones planned around how you actually cook and host: a tight work triangle, the right weatherproof materials, real shade, and utilities done safely by a pro. Nail those, and the styling falls into place on top.
So before you pin another magazine-worthy stone island, walk your yard and find the spot closest to the house with room for a work triangle. Plan the trek, the shade, and the install first. Do that, and even a modest makeover will draw people outside all season long.
More Looks Worth Saving


