
Stand in a well-laid-out outdoor kitchen and you feel it the way you do indoors: you turn from the grill to the counter to the cooler in a step, guests gather without crowding the cook, and nothing is a hot, awkward reach away. Stand in a badly planned one and you are walking back and forth to the house for a plate, dodging people, juggling tongs and a tray. The difference is the layout.
The shape of an outdoor kitchen decides how it cooks, flows, and entertains, just like an indoor one, and a handful of proven layouts work for almost every yard. Below are the layout designs worth copying, from a tidy L-shape to a sprawling U to a clever corner, with which one fits which space and how to plan it around the grill.
Layouts at a Glance
| Layout | Best for | Watch out for |
|---|---|---|
| L-shaped | Most yards; cooking plus dining | Needs a corner that works |
| Straight-line / galley | Narrow spaces, along a wall | Limited counter; plan prep |
| U-shaped | Big yards, serious cooks | Lots of space and budget |
| Peninsula | Patios, decks, small yards | Tight on counter; go vertical |
| Island | Open yards, entertaining | Needs clearance all around |
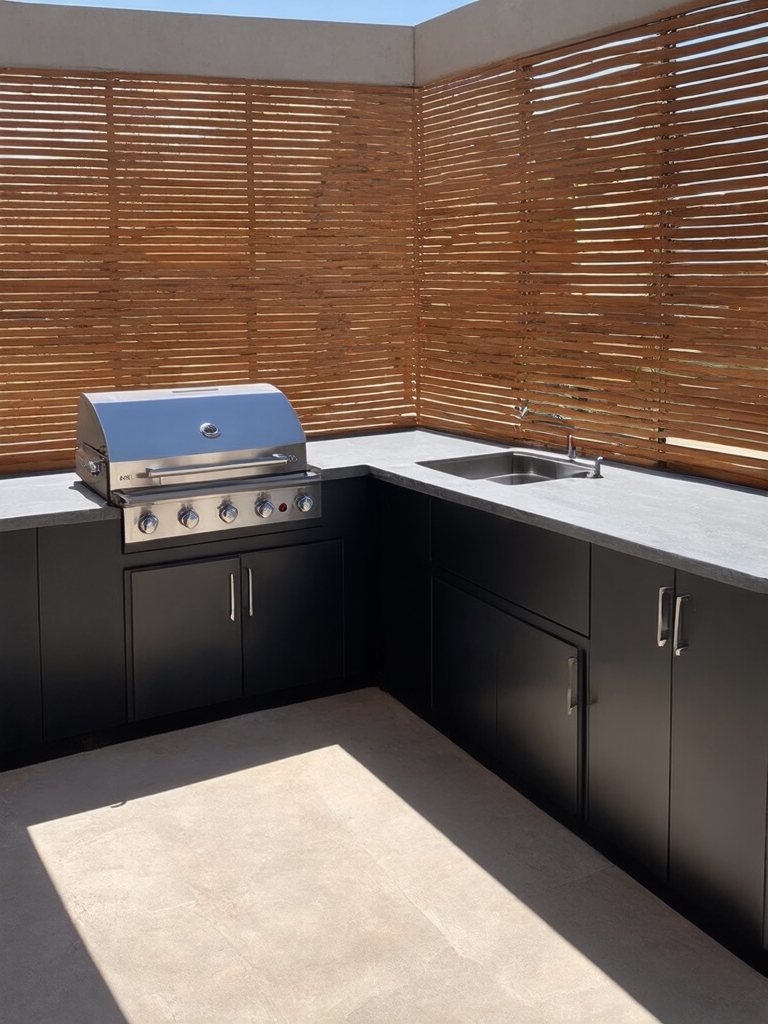
The Efficient L-Shaped Layout
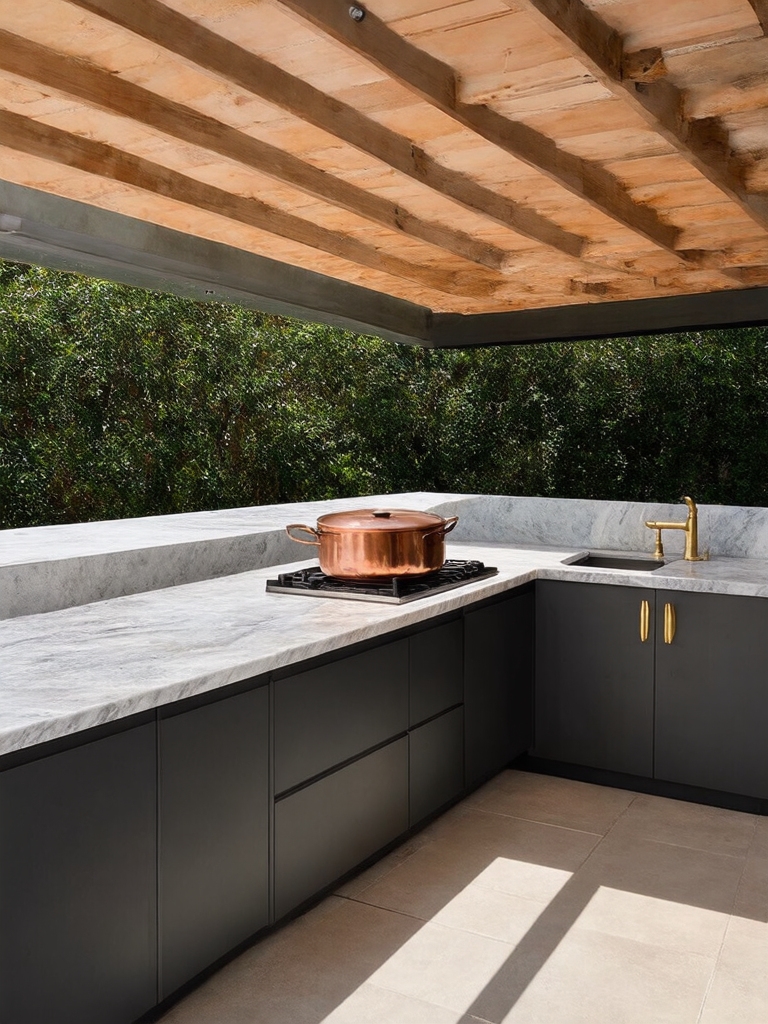
The L-shaped layout is the most-copied outdoor kitchen shape, because it suits almost any yard and cooks beautifully. Two perpendicular runs of counter, with the grill on one leg and prep, a sink, or a fridge on the other, create a natural work zone while leaving the open side for dining and traffic.
It uses a corner efficiently and keeps everything within a step or two. The L also defines the space while staying open, with one leg often doubling as a bar that faces the seating.
For most yards, decks, and patios, it is the safe, smart starting point. I tell clients to plan the outdoor work triangle the same way they would inside: keep the grill, the prep counter, and the cold storage close, and leave at least 24 inches of counter beside the grill, the thinking behind the best outdoor kitchen layouts that just work.
- Put the grill on one leg and prep, sink, or fridge on the other.
- Use the corner efficiently and leave the open side for dining.
- Keep 24 inches of counter beside the grill for prep and plating.
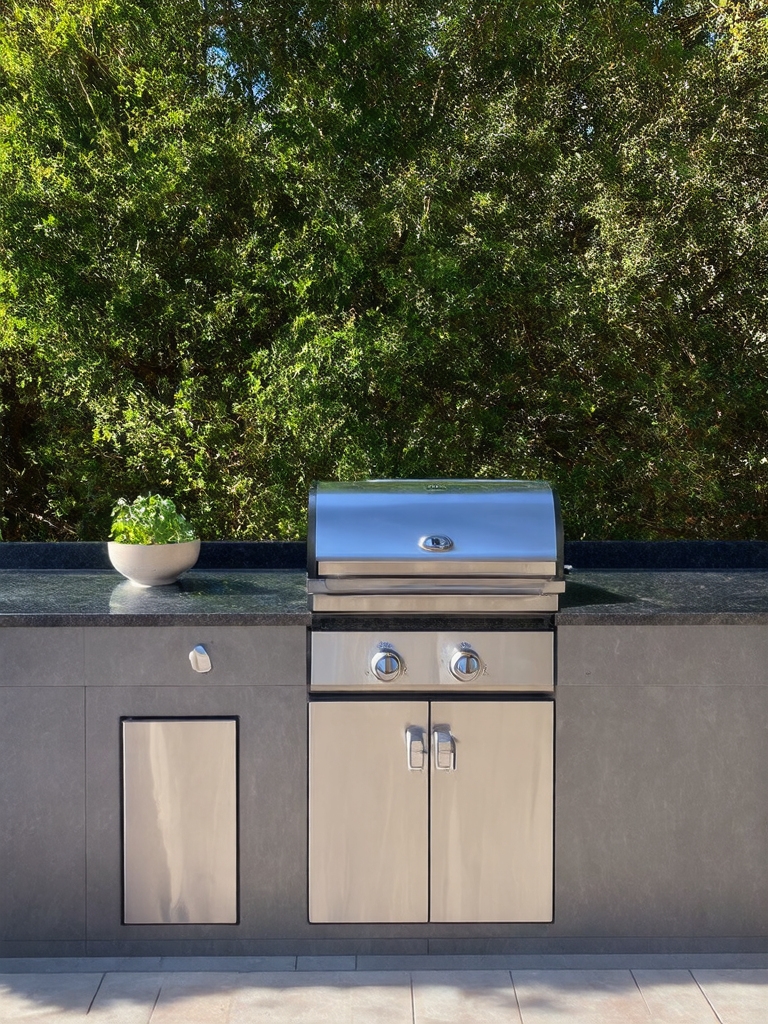
The Compact Straight-Line Layout
The straight-line, or galley, layout is the simplest outdoor kitchen there is: one run of counter with the grill, prep, and storage all in a row along a wall or fence. It is the most space-efficient shape, perfect for narrow yards, along the side of a house, or against a deck railing where a bigger build will not fit.
The trade-off is counter space, so plan the prep zone carefully. Put counter on both sides of the grill if you can, add storage below and shelves above, and keep the run long enough that you are not cramped. A straight-line layout is also the cheapest to build and the easiest to run utilities to, since everything sits along one line, much like the most efficient small outdoor kitchen layouts.
How to plan an outdoor work triangle.
1Place the grill first
It is the fixed point; everything else lays out around it.
2Add prep beside it
Counter on at least one side, ideally both, for landing space.
3Put cold storage close
A fridge or cooler within a step keeps you out of the house.
4Leave room to move
Keep the cook’s zone clear of the main traffic path and seating.
The Social U-Shaped Outdoor Layout
The U-shaped outdoor kitchen is the dream layout for big yards and serious cooks, because it wraps three sides of counter around the cook for maximum work and storage space. With the grill on one run, a sink and prep on another, and a bar or cooktop on the third, you have a fully equipped outdoor kitchen with everything in reach.
The open end faces the yard and the guests. A U-shape easily incorporates bar seating along the outside of one run, so people can sit and chat while the cook works inside the U.
It needs real space and budget, since three runs of counter, cabinetry, and utilities add up, but for someone who cooks big and entertains often, no other layout packs in as much. Give it generous clearance inside the U so two people can work side by side, the same planning behind the best backyard outdoor kitchen spaces.
- Wrap three runs of counter around the cook for maximum space.
- Add bar seating along the outside of one run for guests.
- Leave room inside the U for two people to work at once.
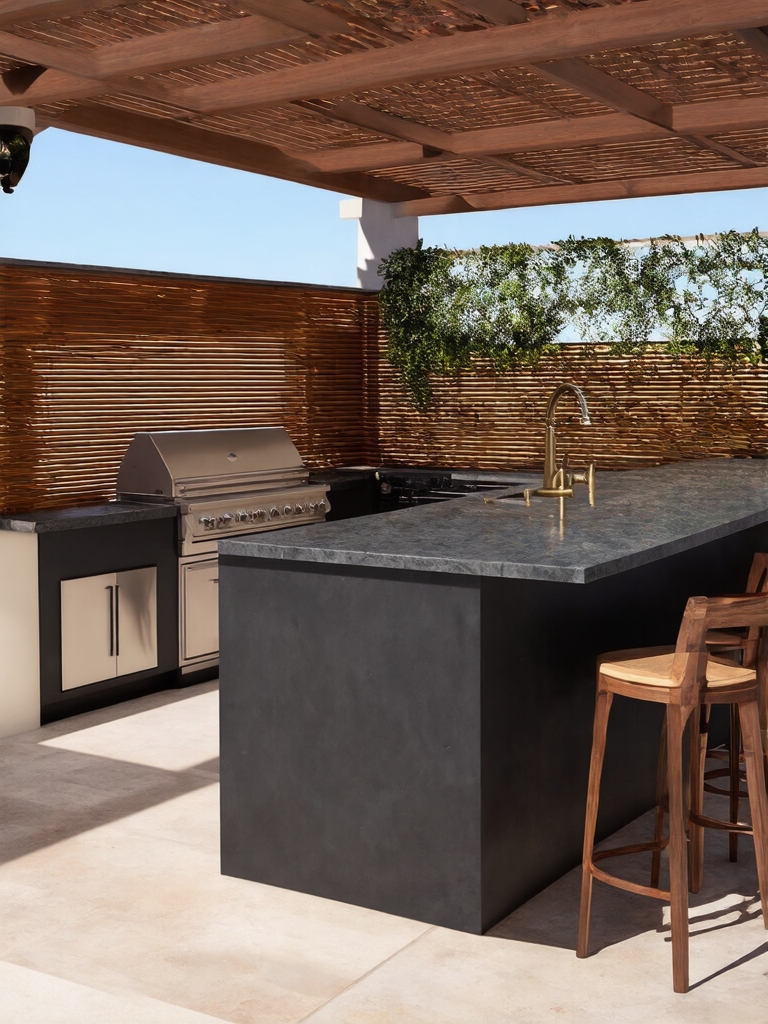
A Compact Peninsula or Cozy Nook
When a full island or U will not fit, a peninsula is the layout worth copying. One run of counter attached to a wall, the house, or a deck at one end gives you the function of an island while needing clearance on fewer sides. It tucks a real cooking and serving zone into a corner or against a structure.
A peninsula gives island function in less space
The peninsula doubles as a bar, which is its social superpower. Put the grill and prep on the working side and stools on the outer side, and the cook faces guests across the counter, exactly like an indoor breakfast bar. It is the friendliest small-space layout there is.
Go vertical to stretch a tight peninsula. Add shelves, hooks, and a tall cabinet above and below the counter, since you cannot spread out sideways. A peninsula or a cozy corner nook proves a small yard can still have a complete, social outdoor kitchen.
👍The U-shape wins on
- +Maximum counter and storage
- +Everything within reach of the cook
- +A built-in spot for bar seating
👎But demands
- –A large footprint and budget
- –Three runs of utilities and cabinetry
- –Careful clearance so it does not feel boxed in
The Island-Centric Entertaining Hub
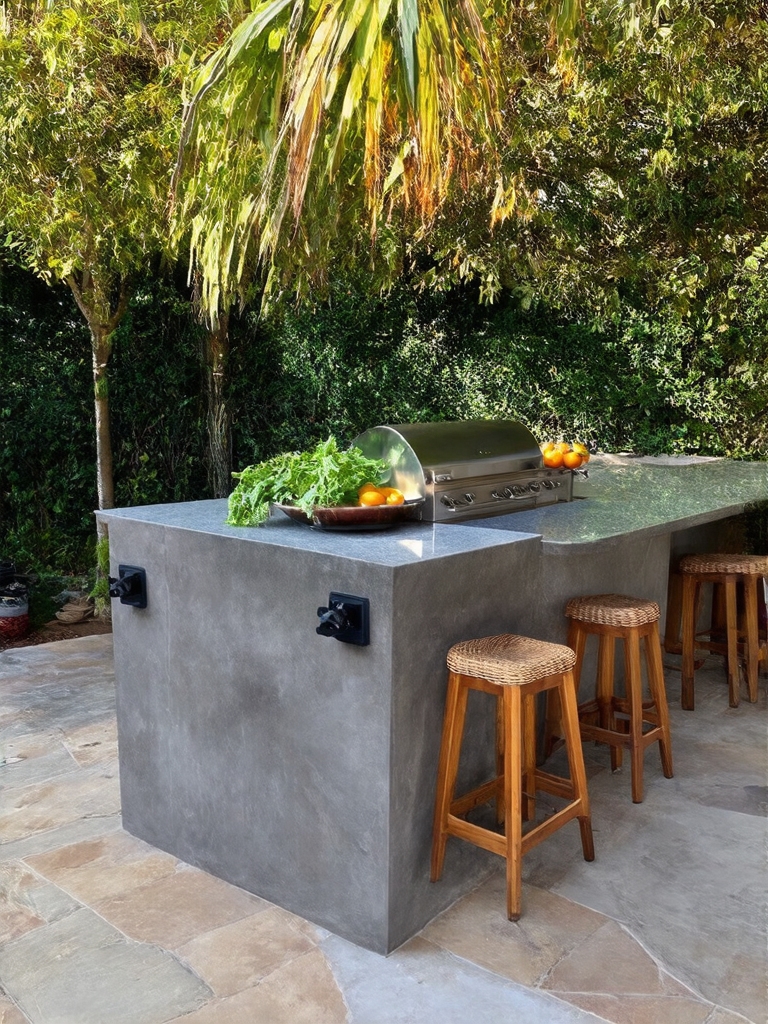
The freestanding island layout puts the outdoor kitchen in the middle of the action, so the cook is surrounded by the gathering on all sides. A central island with the grill, counter, and storage, often ringed with bar stools, makes the kitchen itself the party hub. People circulate around it, drinks in hand, while the cook works in the center.
The island suits open yards with room to spare, since it needs clearance on every side to work, ideally 36 to 42 inches all around so people and the cook can move freely. Orient the grill so smoke blows away from the seating, and put the prettiest, cleanest side toward the main gathering area. It is the most social layout, but only when the yard is big enough to let it breathe.
A Simple, Budget-Friendly Grill Layout
Not every great layout is a big build. The simplest copy-worthy setup is a freestanding grill flanked by a couple of weatherproof tables or carts, arranged in an L or a line to mimic the function of a built-in for a fraction of the cost, often under $1,000 for the grill and a couple of carts. It gives you a grill, prep space, and storage with no construction at all.
Lay it out like a built-in even though it is not one. Put a prep table on one side of the grill and a serving cart on the other, add a shelf or a small cabinet for tools and supplies, and you have a real working layout. I love this approach for anyone testing how they cook outdoors before committing to a permanent build, the same low-risk logic behind cheap outdoor kitchen ideas that look expensive.
The budget layout is also the most flexible. You can rearrange it for a party, roll pieces under cover in a minute or two when the weather turns, and upgrade one piece at a time. For renters and tight budgets, a smart arrangement of freestanding pieces is the layout that delivers the most for the least.
Heads-Up
An island grill sends smoke in every direction, so place it where the prevailing wind carries smoke away from seating and the house, not toward your guests. Keep an island grill the required clearance from overhead structures, and never run a propane line to a freestanding island without a pro, since a leak in the open is still dangerous.
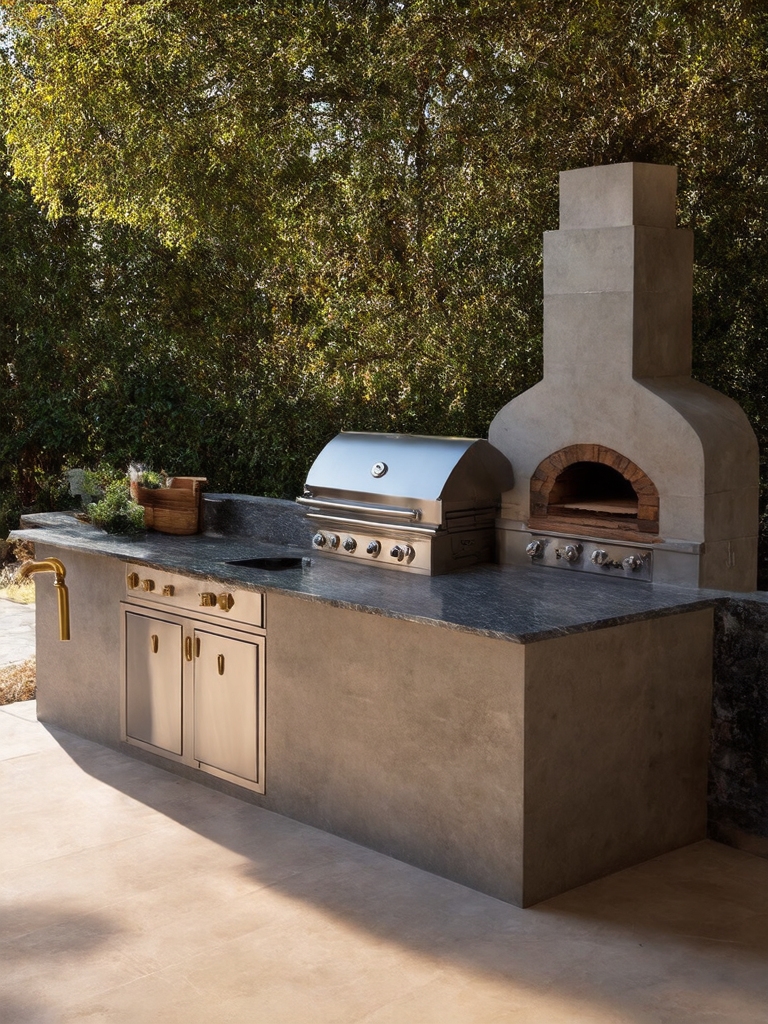
Planning an Efficient Grilling Prep Zone
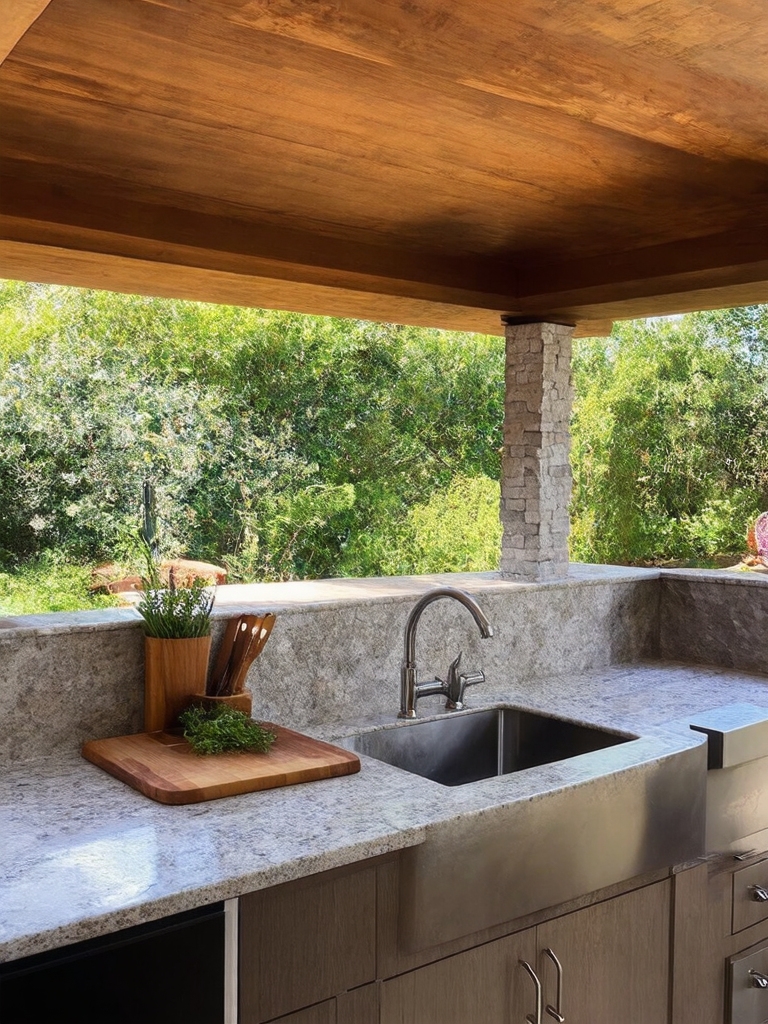
Whatever the shape, the prep zone is what makes an outdoor kitchen layout actually function, and it is the part people skip. You need landing space right beside the grill, counter on at least one side and ideally both, so you have somewhere to set raw food, plate cooked food, and rest tools. Skip it and you are running to the house mid-cook.
Plan the prep zone around the grill like a pit crew. I recommend counter on both sides of the grill, always, plus a cutting surface, a trash spot, and storage for tools within a step, which turns any layout from frustrating to smooth. Add a sink if you can run water, since washing hands and produce outside saves countless trips inside. The prep zone is the unglamorous detail that separates a layout you love from one you fight.
- Put counter on both sides of the grill for raw and cooked food.
- Keep tools, a trash spot, and supplies within a single step.
- Add a sink if you can run water, to cut trips back inside.
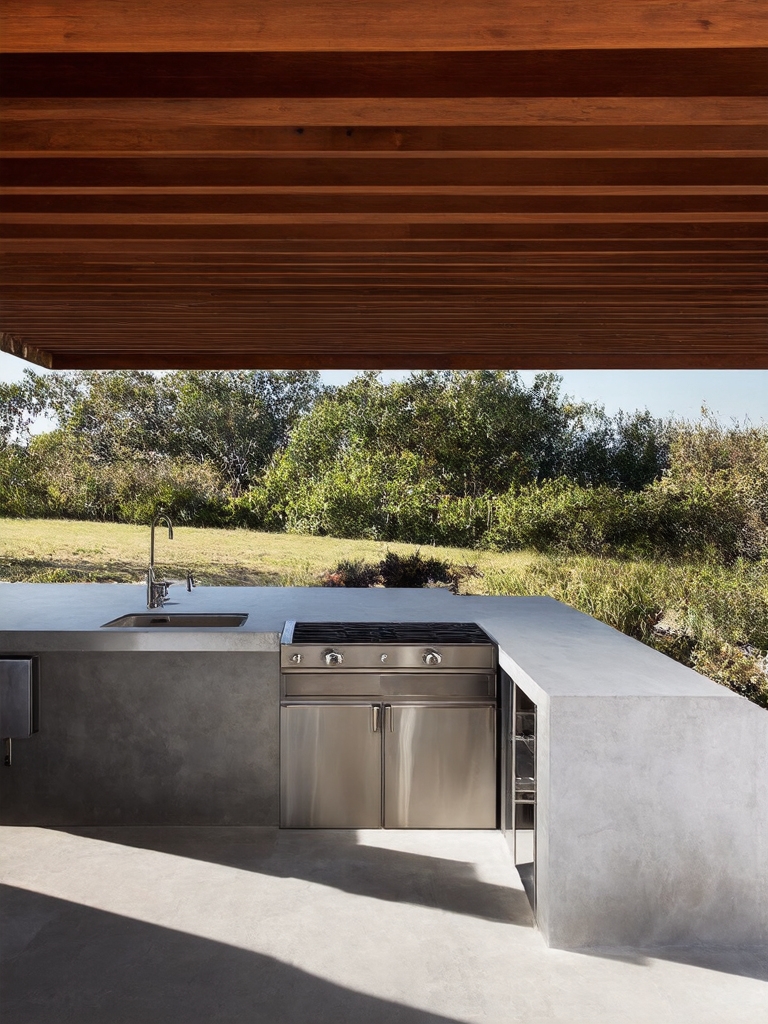
The Covered Pavilion Layout
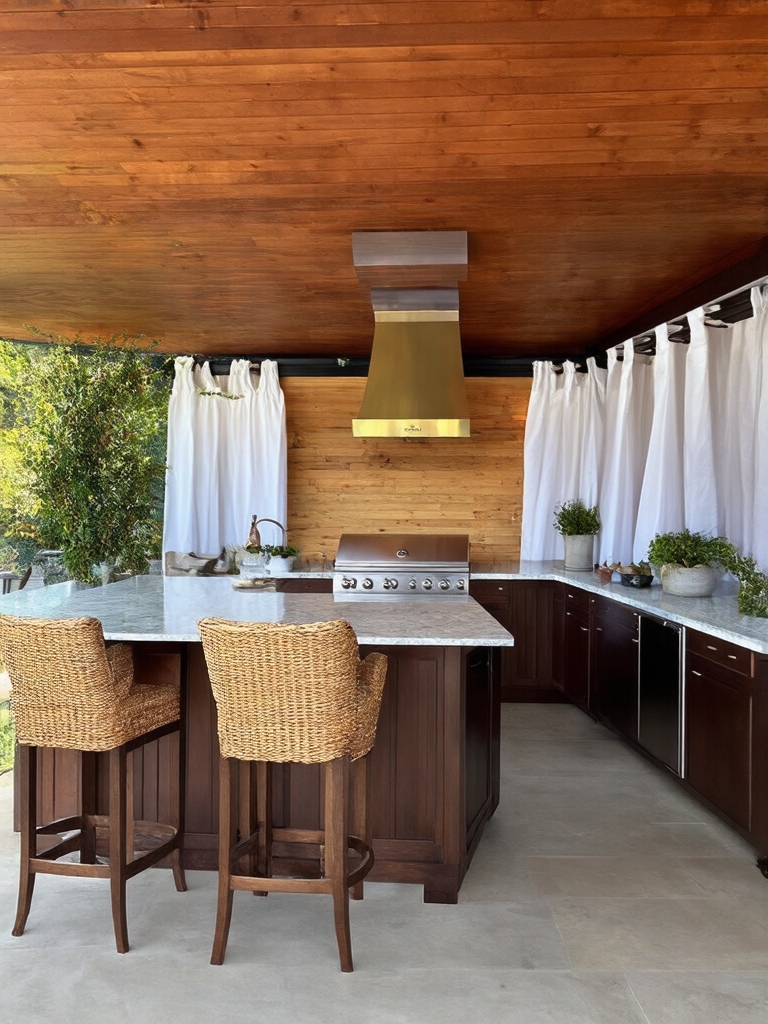
Putting any of these layouts under a pavilion or roof is the upgrade that makes an outdoor kitchen usable in almost any weather. A covered structure shelters the grill and counters from sun and rain, extends the cooking season, and lets you add lighting, fans, and even a TV. The roof turns a fair-weather layout into a year-round room.
Vent the roof so smoke can escape
The covered layout opens up more ambitious plans. Under shelter you can run a full L or U, add hanging lights and a ceiling fan, and use materials that would suffer in the open. Plan ventilation into the roof, though, since smoke and heat need an escape, so a vented roof or open sides are essential over a grill, as in any good covered outdoor kitchen design.
Position the covered kitchen to connect with the house and the yard. Place it near the indoor kitchen for easy carrying, open it to the dining and lounge areas, and orient it for the view. A pavilion is a bigger investment, but it is the layout that gets used the most, since the weather stops dictating when you cook.
Maximizing an Awkward Corner
Every yard has an awkward spot, a tight corner, a slope, a narrow side return, and the cleverest layouts turn those into the outdoor kitchen. An L or a peninsula fits a corner naturally, wrapping the cooking zone into space that would otherwise go to waste. A narrow side yard suits a straight-line galley, and even an odd nook can hold a compact grill-and-counter combo.
The trick is to shape the layout to the space rather than forcing a standard plan into a spot that will not take it. Custom counters, angled runs, and vertical storage make an awkward area work harder than a perfect rectangle ever needed to. Measure carefully, plan around the fixed obstacles, and the layout that fits your odd corner is often the most original one in the neighborhood.
- Fit an L or peninsula into a corner that would otherwise go unused.
- Use a straight-line galley in a narrow side yard.
- Shape the layout to the space instead of forcing a standard plan.
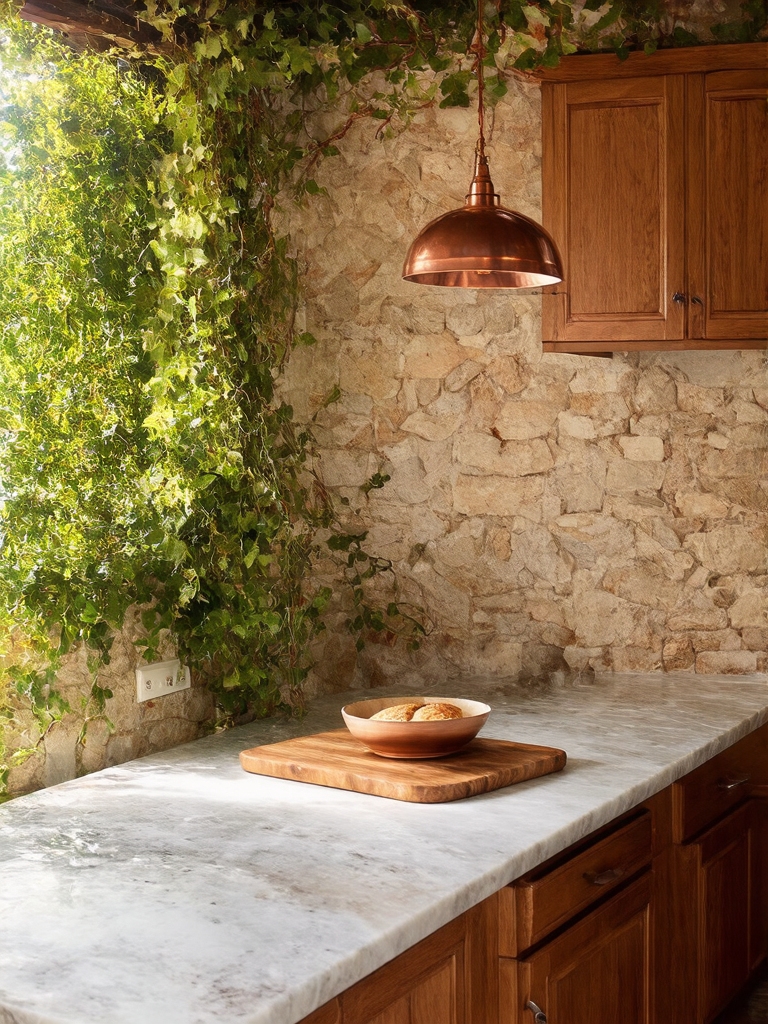
Maximizing Counter and Storage
Whatever shape you copy, the layouts that work best maximize counter and storage, because an outdoor kitchen short on both is a constant frustration. Build in more counter than you think you need, since prep, plating, and serving all compete for surface, and add closed, weatherproof storage so tools, fuel, and supplies stay out of the rain and within reach. The more self-sufficient the layout, the fewer trips to the house.
Use every dimension to claim space. Cabinets and drawers below the counter, shelves and hooks above, and storage built into an island or peninsula all add capacity without expanding the footprint. Weatherproof, lockable storage keeps cushions, propane, and tools protected through the seasons. A layout with generous counter and smart storage is the one you will actually enjoy cooking in, year after year.
- Build in more counter than you expect to need; it all gets used.
- Add closed, weatherproof storage for tools, fuel, and supplies.
- Use below-counter cabinets and above-counter shelves for capacity.
Shape the Kitchen to the Yard
The outdoor kitchen layouts worth copying all start from the same place: the grill as the fixed point, with prep, storage, and seating planned around it to suit the yard.
An L-shape fits most spaces, a straight line saves room, a U-shape rewards serious cooks, a peninsula or island turns the kitchen social, and a clever corner makes use of space others waste. Match the shape to your yard, your cooking, and your budget, plan a real prep zone and plenty of storage, and the layout will cook and entertain smoothly for years.
So before you copy a layout you saw online, ask: how do you actually cook and gather outdoors, and what shape does your yard really want? Answer those honestly, place the grill first, and build the rest around it, and you will end up with an outdoor kitchen layout that fits your space and your life, not just a photo. That is the one worth copying.


