
The best outdoor kitchen is the one laid out so you stop running back inside for a spatula every five minutes. Size is the least of it. Layout decides whether you actually cook out there or let the grill go cold, and even a narrow patio strip turns into a real kitchen once the flow is right.
These sixteen layouts are sorted by the space they need, from a single grill cart to a full U-shaped build. Each one comes with the workflow it supports, the spot it suits, and a rough cost, so you can match a plan to your patio and your budget. Start with how you actually cook outside, then pick the shape that serves it.
Outdoor Layout, in Short
Pick the layout for your space and your cooking. Let the room lead. A grill cart suits a tiny patio; an L or U shape rewards a roomier yard with prep and seating built in.
Plan the work triangle even outside: keep the grill, prep counter, and sink or cooler within a step or two. And bring in a licensed pro for any gas or electrical hookups, since those are not DIY territory.
Define Your Outdoor Kitchen’s Purpose
Before any layout, get honest about how you will use the space. A weekend griller needs something very different from a host who cooks whole meals outside. The purpose decides the plan, and skipping this step is how people end up with a pretty build they never use.
- Just grilling? A cart or single counter is all you need.
- Cooking full meals? Plan real prep counter and a sink or cooler nearby.
- Entertaining? Add seating into the layout so guests gather without crowding the cook.
Assess Your Space and Constraints

Measure the patio and note the fixed things you cannot move: the back door, a gas line, a hose bib, the prevailing wind. Those constraints shape the layout more than any inspiration photo, so map them first. I always sketch the real footprint before I let anyone fall for a design.
Pay special attention to where smoke will blow and how far the grill sits from anything flammable. A few feet of clearance from the house and overhangs is non-negotiable, and a covered build needs proper venting. When in doubt on gas or fire clearances, ask a licensed installer.
- Mark the gas, water, and power you already have, since running new lines adds real cost.
- Keep the grill a safe distance from the house, fences, and any overhead cover.
- Note the wind so smoke blows away from your seating, not into it.
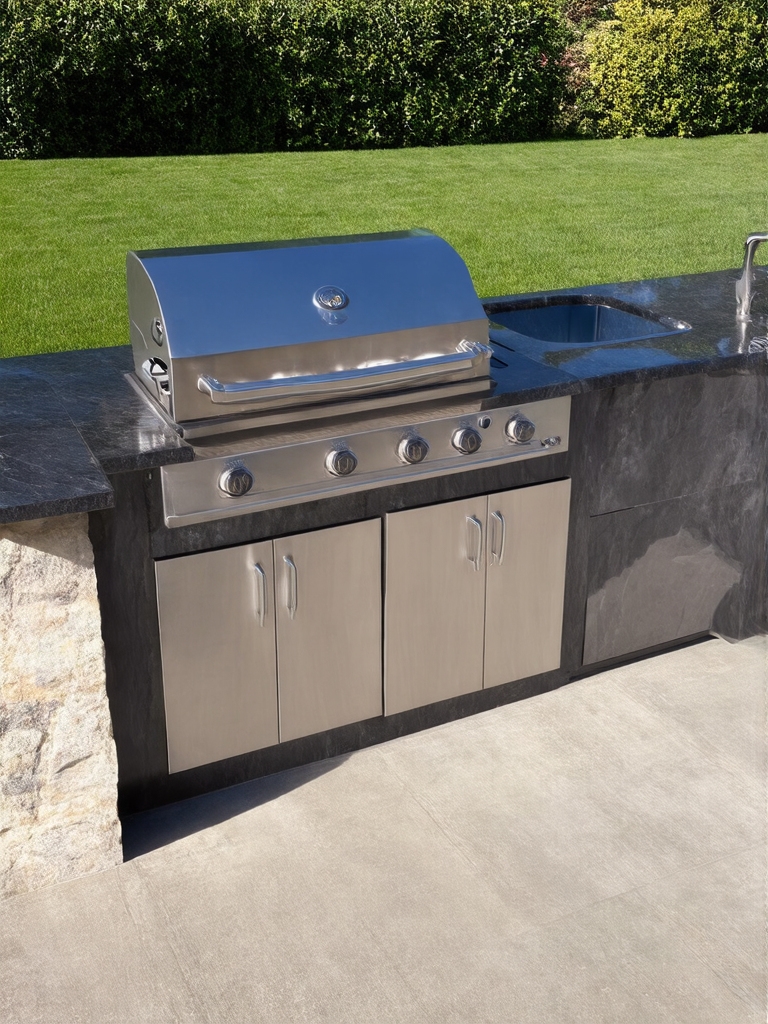
The Compact L-Shaped Outdoor Kitchen

The L-shape is the workhorse of mid-sized patios. Two counters meeting at a right angle give you a grill on one leg and prep on the other, which keeps the cook moving in a tight, efficient turn. No long walks.
Corner-friendly and efficient
It tucks neatly into a patio corner, so it uses space that would otherwise sit empty. The inside of the L becomes a natural work zone, and the outer edge can host a couple of stools for company, which is why this shape tends to win for families who want one person grilling while everyone else hangs around the same counter with a drink in hand.
This layout suits anyone cooking real meals outside with room to spare. Plan on a wide cost range depending on materials, but the shape itself is the most flexible starting point for a built-in. The same logic drives a small outdoor kitchen that punches above its size.
A few outdoor-kitchen layout terms worth knowing:
📖Work triangle
The path between grill, prep, and sink or cooler. Keeping it short makes any layout cook better.
📖Landing counter
The stretch of counter beside the grill where raw and cooked food lands. Skimp here and the cook gets cramped.
📖Peninsula
A counter that juts into the space with seating on the far side, gathering guests without crowding the cook.
The Straight-Line Outdoor Galley Station
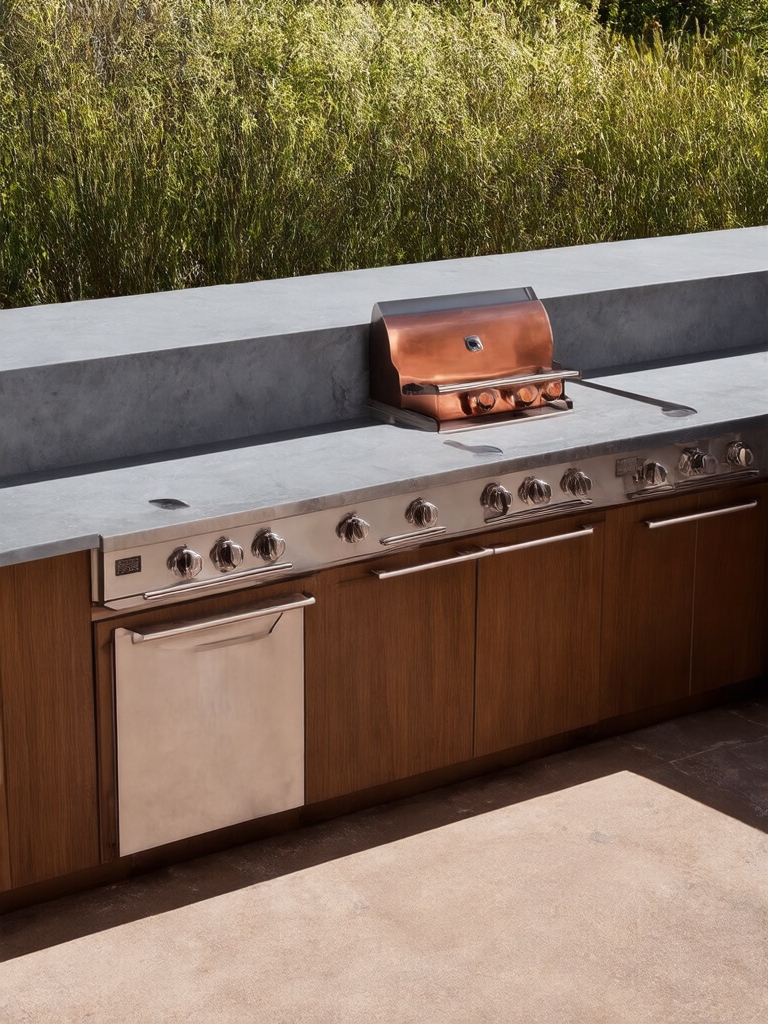
A straight-line galley puts the grill, counter, and a small sink or cooler in a single row along one wall or fence. It is the simplest built-in layout. Nothing wraps a corner, so it is also the easiest to vent.
The key is leaving a landing counter on both sides of the grill, at least a foot each, so you have somewhere to set raw and cooked plates. Without those, a straight run gets cramped fast during a real cook.
This works beautifully against a house wall or a long fence, and it keeps the rest of the patio open for a table. It is also the friendliest layout for tying into existing gas and water along that wall, much like an indoor galley layout makes the most of a single run.
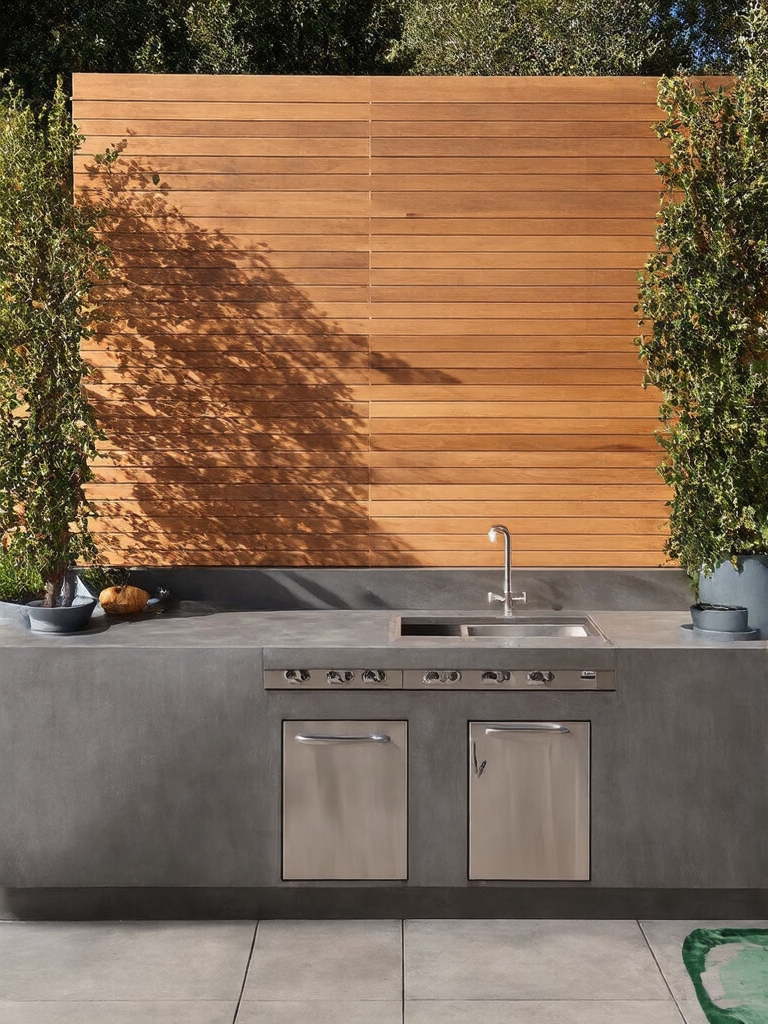
A Simple U-Shaped Outdoor Kitchen

When you have the room, a U-shape wraps three counters around the cook for the most generous prep and storage of any layout. Grill on one side, sink on another, and a long prep run on the third put everything within a single pivot. It is the outdoor cousin of the island-based layouts people love indoors.
- Give yourself at least 4 feet of clear space inside the U so two people can pass.
- Dedicate one leg to the grill, one to wet work, and one to prep and serving.
- Build in seating on the outside of one leg so guests face the cook.
The Budget Grill-Cart Combo

If a built-in is out of reach, a grill plus a rolling cart is a real outdoor kitchen in disguise. The cart adds the prep surface and storage a bare grill lacks, and you can wheel the whole setup into the garage for winter. I love this for renters and small patios, since nothing is permanent and the cost stays low, often under $200 for a sturdy cart.
- Pick a stainless or coated cart that shrugs off weather, with locking wheels.
- Set the cart beside the grill so prep and cooking sit side by side.
- Add a weatherproof cover so the whole combo lasts more than a season.
ℹ️Good to Know
Modular outdoor-kitchen frame kits have changed the math on built-ins. Instead of pouring full masonry, you assemble a steel or composite frame and clad it, which can cut both the cost and the timeline of a built-in roughly in half compared with traditional block construction.
A Single-Wall Layout for Narrow Space
A single-wall layout lines everything up against one wall or fence in a slim footprint, which makes it the pick for narrow side yards and small patios. It reads tidy and keeps the walkway clear in front.
Slim run, clear walkway
Because depth is tight, choose slim appliances and a counter no deeper than you need. A 24-inch-deep run holds a built-in grill and a stretch of prep without eating the path behind it.
This is the layout I point people to when the only usable space is a narrow strip. It is closely related to the galley but hugs a single wall, and it pairs well with a slim bar counter for casual eating. For more shapes worth borrowing, see these outdoor kitchen layouts.
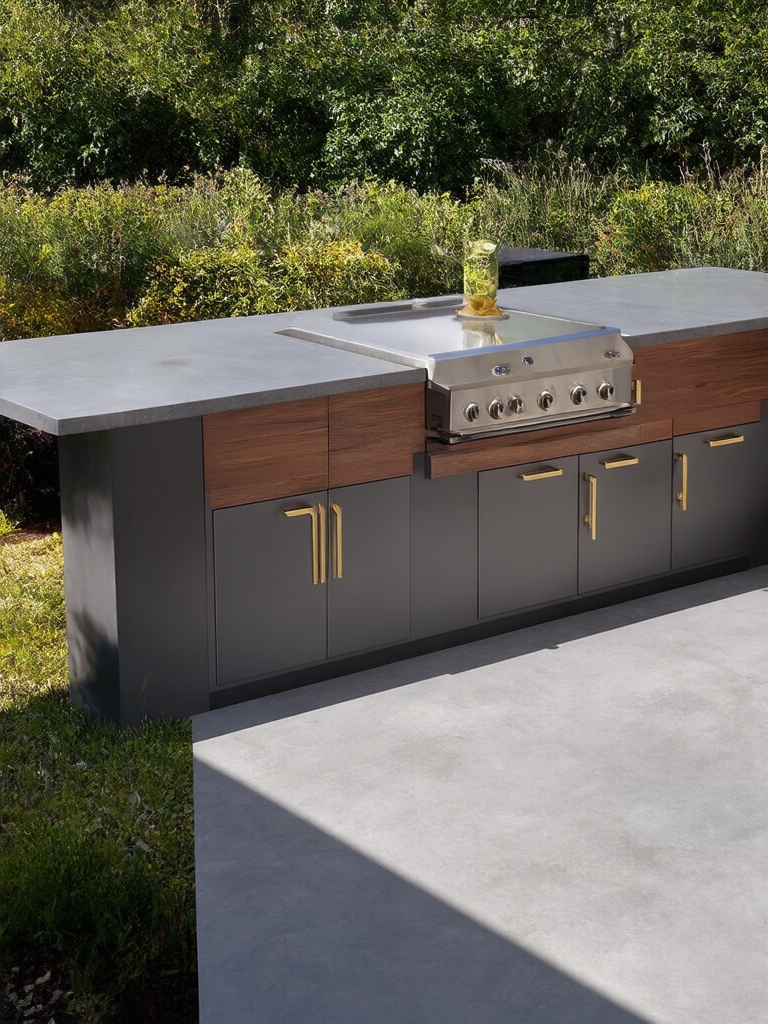
An Outdoor Peninsula With Casual Seating

A peninsula extends one counter out into the patio, giving you a built-in spot for stools on the far side. It draws guests right up to the cook while keeping them clear of the work zone. It is the social MVP of outdoor layouts.
Raise the seating side a few inches into a two-tier counter and you hide the grill mess from anyone sitting there. It is the same trick an indoor breakfast bar uses, and it works just as well outside.
- Leave about 24 inches of width per stool so seating is comfortable.
- Step the bar up a few inches to screen the cooking surface from guests.
- Orient it so seated guests face the yard or the view, not a fence.
“Stand where the cook will stand and mime a full meal: searing, flipping, plating, rinsing. Ask whether everything you reached for was within a step, and where the hot pan would land. If you found yourself turning and walking, the layout needs tightening before a single paver goes down. It is far cheaper to fix on paper than in concrete.”
Get the Kitchen Workflow Right Outside
Whatever shape you choose, the indoor work-triangle rule still applies outdoors. Keep the grill, the prep counter, and the sink or cooler within a step or two of each other, and the cooking flows. Spread them across the patio and you spend the evening walking laps. Tight beats sprawling out here.
Leave a clear landing counter beside the grill, since hot pans and raw platters both need a home. The most common outdoor-kitchen regret I hear is too little counter, so when you are deciding where to spend, buy counter before you buy gadgets.
Cost-Effective Outdoor Kitchen Touches

You do not need a five-figure build to cook well outside. A few smart, cost-effective choices give you most of the function for a fraction of the price, and they are where I tell first-timers to start. The same thinking runs through cheap outdoor kitchen ideas that still look high-end.
- Use concrete pavers or a modular frame kit instead of full masonry to save thousands.
- Add a simple weatherproof cabinet for storage rather than custom built-ins.
- Skip the outdoor fridge at first; a good cooler covers most cookouts for almost nothing.
How to Get the Look
Pulling a working outdoor kitchen together comes down to sequence and restraint. Start with the layout that matches your space and how you cook, lock in the work triangle, then spend where it counts: counter space first, a solid grill second, and weatherproof storage third.
The cosmetic touches, stone veneer, string lights, a pergola, come last and cost less than people fear, so do not let them drive the plan. A grill cart can be done in a weekend for a couple hundred dollars; a full built-in is a season-long project, so be honest about which you actually want.
Material choices keep it lasting. Choose surfaces rated for the outdoors, stainless, stone, concrete, or porcelain, and seal anything porous so winter does not wreck it. Keep weather in mind for everything: covered storage, a cover for the grill, and drainage so water does not pool on your counters.
And the part worth repeating, because it is a safety line, not a style one: hire a licensed pro for any gas line or electrical work. The cooking is the fun part; the hookups are not the place to save money.
Outdoor Kitchen Layout Questions
?What is the easiest outdoor kitchen layout?
A straight-line galley or a grill-cart combo. Both keep everything in one row, are simple to vent, and are the easiest to tie into existing gas and water along a wall. A cart needs no build at all.
?How much space do I need for an outdoor kitchen?
A grill cart fits almost any patio. A real L-shape wants roughly a 10-foot corner, and a U-shape needs enough room to leave about 4 feet of clear space inside it so two people can move.
?Can I build an outdoor kitchen myself?
The structure and cosmetic work, yes, especially with a modular frame kit. But hire a licensed professional for any gas line or electrical connection; those are safety-critical and often required by code.
?What should I spend my outdoor kitchen budget on first?
Counter space and a solid grill, in that order. The most common regret is too little landing counter, so buy work surface before you buy a pizza oven or an outdoor fridge.
Lay It Out for How You Cook
An outdoor kitchen earns its keep when the layout matches the way you actually cook, not the size of the photo that inspired it. Pick the shape your space allows, keep the work triangle tight, and spend on counter and a good grill before anything cosmetic.
Start with the simplest version that fits, even if that is just a grill and a cart this season. You can always grow into an L or a U later, once you know how you really use the space. The layout that works is the one you actually cook in.


