
You can usually feel a luxury kitchen before you can price it: the cabinet drawer that glides shut without a sound, the cool weight of stone under your palm, the warm pool of light over the island at dinner. None of that comes from spending the most. It comes from spending in the right places.
The word luxury gets thrown at anything shiny, but the ideas that actually earn their cost are the ones you notice every day for years. Here are fourteen of them, with honest price ranges and a clear sense of where the money is worth it and where it quietly is not.
Where Your Money Actually Counts
- Spend on what you touch daily and what is hard to change later: cabinetry, the range, counters, and ventilation.
- Backsplash, lighting layers, and hardware give the biggest look-for-less return.
- Custom cabinetry interiors and soft-close hardware are the quiet markers of a real luxury kitchen.
- Budget early for lead times; good cabinets take 6 to 12 weeks to arrive.
Pro-Grade Appliances Worth the Performance

Of every upgrade in a high-end kitchen, the appliances are the one I argue hardest for, because you touch them every single day. A pro-style range holds temperature where a builder-grade one drifts, and a properly sized hood actually clears the smoke instead of humming politely while your smoke alarm does the real work.
This is where performance and money meet, so buy honestly for how you cook, not for the showroom. Most appliance swaps install in a couple of hours once the space is ready.
- A pro-style range runs roughly $5,000 to $12,000; a panel-ready fridge $3,000 to $9,000.
- If you bake often, spend on the oven; if you host, spend on cooling and a second dishwasher.
- Skip the commercial 48-inch range if you cook for two. The output is wasted and the cleanup is not.
Custom Cabinetry That Earns Its Cost
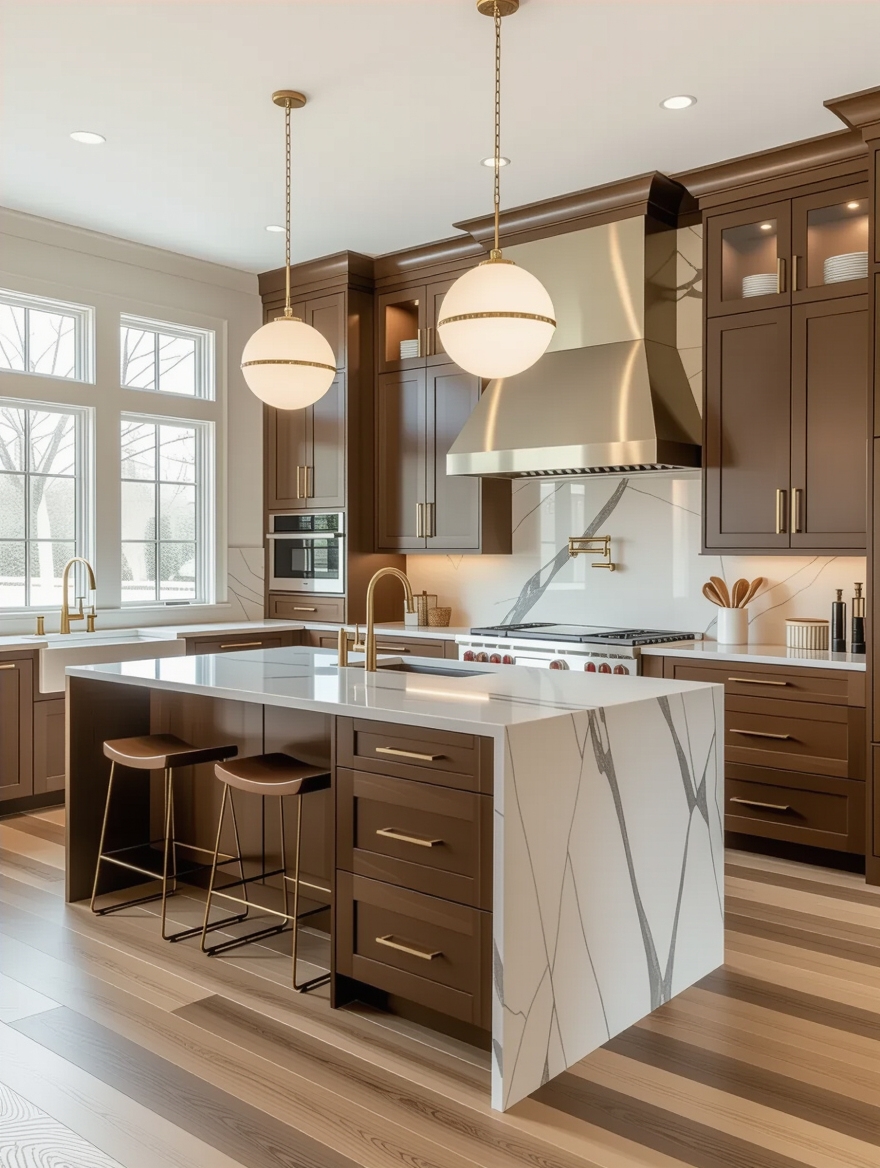
Cabinetry is usually the single biggest line on a kitchen budget, and it is also where custom work pays off most. Tailored cabinets use every awkward inch a stock box wastes, and the interiors, the dividers, the pull-outs, the spice pegs, are what make the kitchen feel calm a year later. I tell clients to spend here before almost anywhere else.
Full custom runs $500 to $1,200 per linear foot; semi-custom lands around $200 to $650 and gets most people 90 percent of the way. Lead times are real, usually 6 to 12 weeks, so order early.
Pay for soft-close hardware and solid drawer boxes. Those two details outlast every trend and quietly separate a luxury kitchen from one that just looks like one in photos.
How to get the most from a custom cabinetry budget:
1Walk your routine first
Note where clutter lands and what you reach for daily, then design the interiors around that.
2Spend inside, simplify outside
Pay for pull-outs, dividers, and soft-close; keep the door style simple to control cost.
3Order early
Confirm the 6 to 12 week lead time so cabinets are not the thing holding up your whole kitchen.
Open Shelving for Everyday Kitchenware
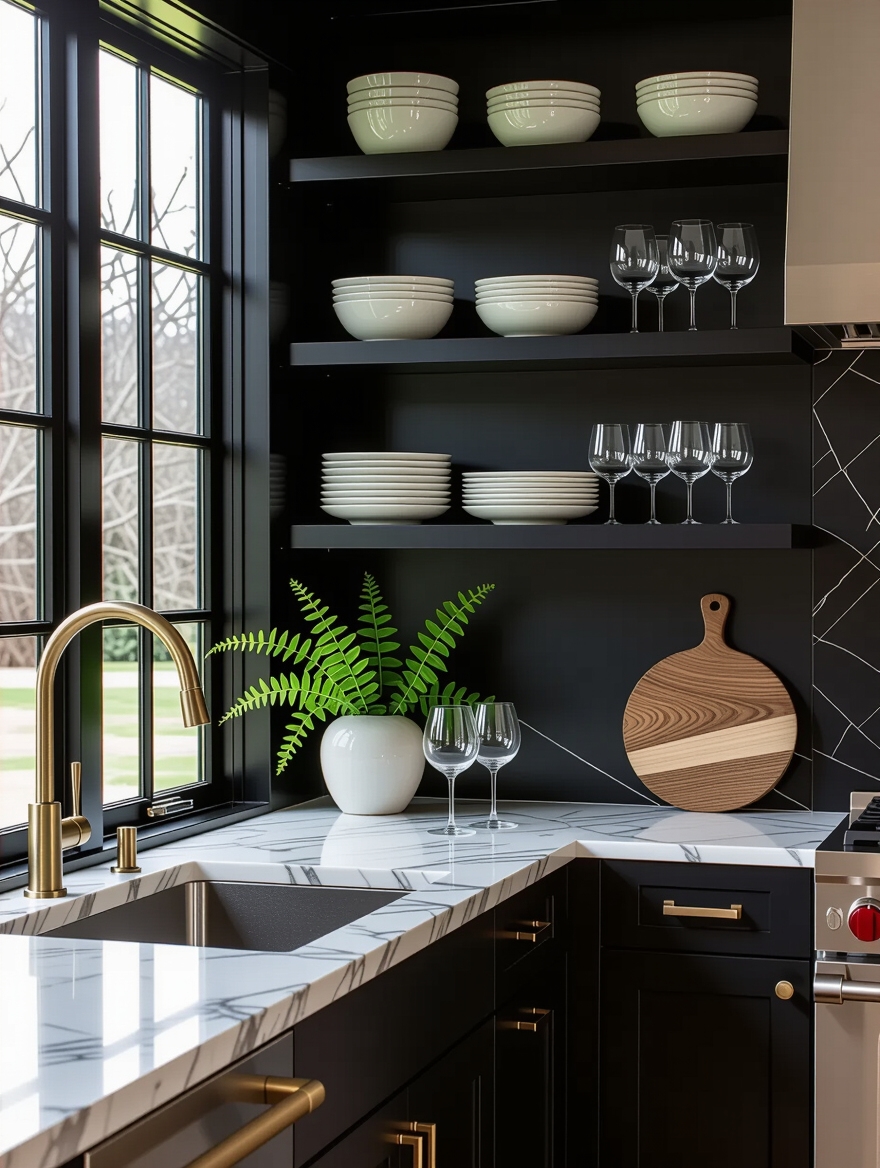
A short run of open shelving warms up a wall of cabinets and turns your nicer pieces into part of the design. The catch is honesty: open shelves reward people who keep a tidy, edited collection and punish everyone else with a daily dust-and-clutter problem. I usually limit it to one zone, near the coffee or the sink, rather than wrapping a whole room.
Keep it cheap and effective by mixing a couple of materials and leaving breathing room between pieces.
- Thick solid-wood or metal brackets look more custom than thin floating shelves.
- Store what you use daily so the dishes earn their dusting.
- Leave a third of each shelf empty; crowding is what makes open shelving look messy.
Hidden Storage That Keeps Counters Clear
A luxury kitchen is a quiet one, and quiet comes from giving every gadget a home out of sight. Toe-kick drawers, an appliance garage for the mixer and the toaster, and a deep pull-out pantry do more for the finished feel than any decorative tray on the counter.
Plan It Around Your Real Mess
The trade-off is planning. Hidden storage has to be designed in before the cabinets are built, so walk your real routine with whoever is drawing the layout and point to exactly where the clutter lands now.
Most of these add modest cost, a few hundred dollars per pull-out, and they pay you back every morning.
ℹ️Good to Know
Most hidden-storage upgrades, like toe-kick drawers or an appliance garage, have to be planned before the cabinets are built. Retrofitting them later costs far more than adding them to the original order.
Durable Countertop Materials
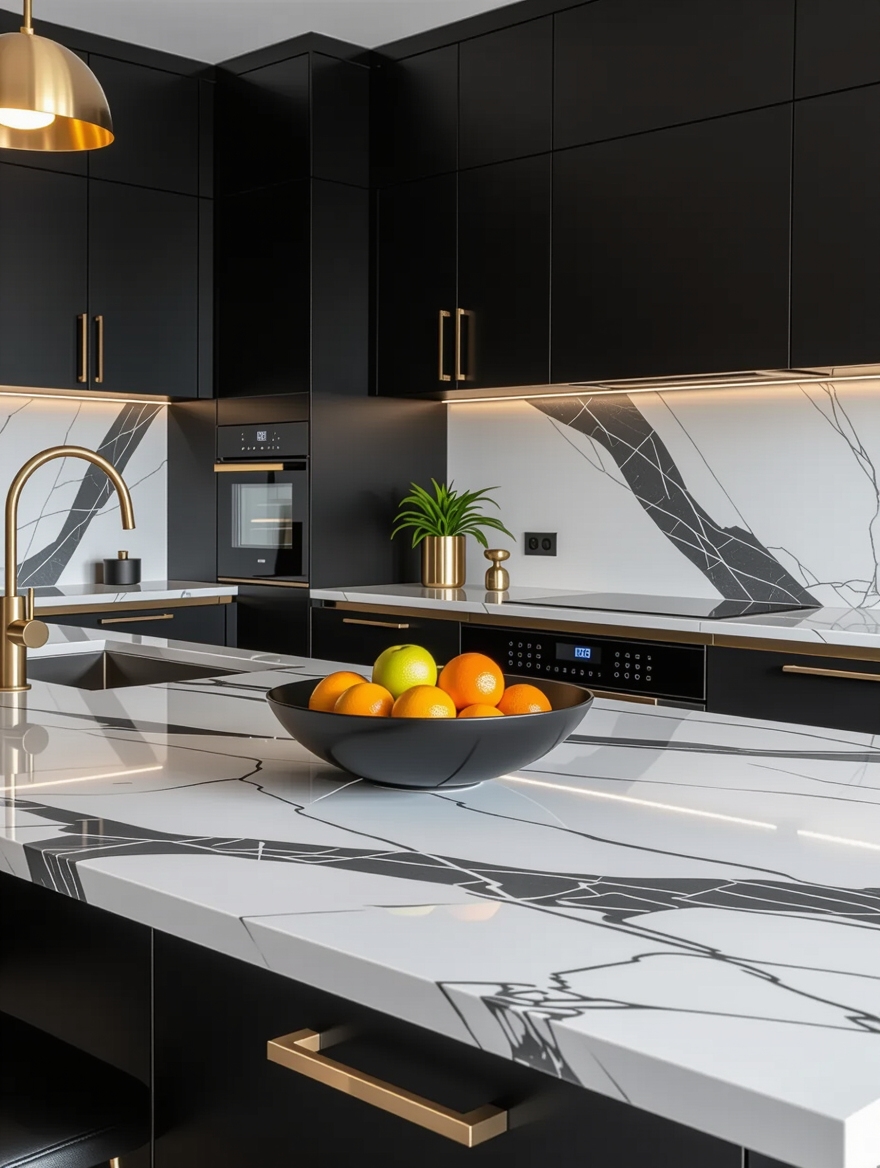
Counters are the surface your eye and your hands meet most, so they earn real money. The honest comparison is marble versus quartz: marble gives unmatched natural veining but is porous and etches, while quartz is nearly maintenance-free and now copies that look convincingly. Granite sits in between, tough and characterful.
Marble Versus Quartz, Honestly
Budget roughly $50 to $120 per square foot for quartz and $60 to $100 for marble, before fabrication. Marble wants resealing once a year; quartz wants nothing but a wipe.
If you cook hard and hate fuss, I point people to quartz. If you want the real stone and accept the patina, marble rewards you.
Bold, Textured Backsplashes
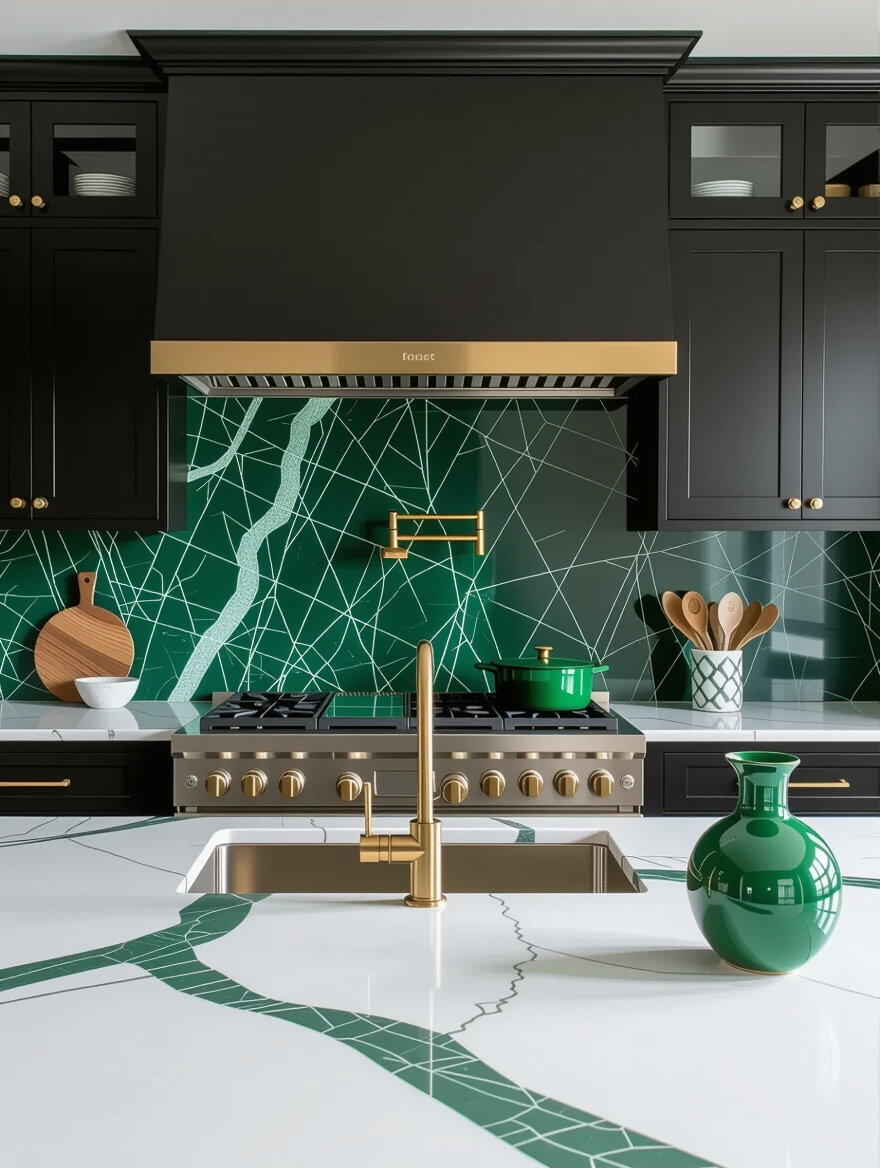
A backsplash is the cheapest place to add real personality, which makes it the best value on this list. Zellige tile with its uneven glaze, a fluted stone, or a single dramatic slab behind the range gives a kitchen a point of view without touching the layout. Because the square footage is small, you can afford a material here you could never run across all the counters.
Take the tile to the ceiling behind the range for a custom look that costs surprisingly little extra.
- Handmade zellige looks artisan-made and runs about $15 to $40 per square foot.
- A slab backsplash matching the counter looks unbroken and hides grout lines.
- Keep the grout color close to the tile for calm, or contrast it on purpose for graphic punch.
Backsplash terms worth knowing before you shop:
📖Zellige
Handmade Moroccan clay tile with an uneven, glossy glaze that gives a wall depth and movement.
📖Slab backsplash
A single piece of stone matching the counter, run up the wall to skip grout lines for a calm, custom look.
Finishes and Hardware That Set the Kitchen Style
The small finishes are what your hand notices first: the weight of a pull, the edge profile on the stone, the warmth of unlacquered brass that ages instead of chipping. None of these costs much on its own, but together they are the difference between a kitchen that feels considered and one that feels assembled. This is where a modest budget can punch far above its number.
Pick one metal and commit to it across the faucet, pulls, and lighting. Mixing two is a designer move that goes wrong fast, and the designer secrets worth borrowing almost always start with that kind of restraint.
Smart Lighting for Adjustable Ambiance
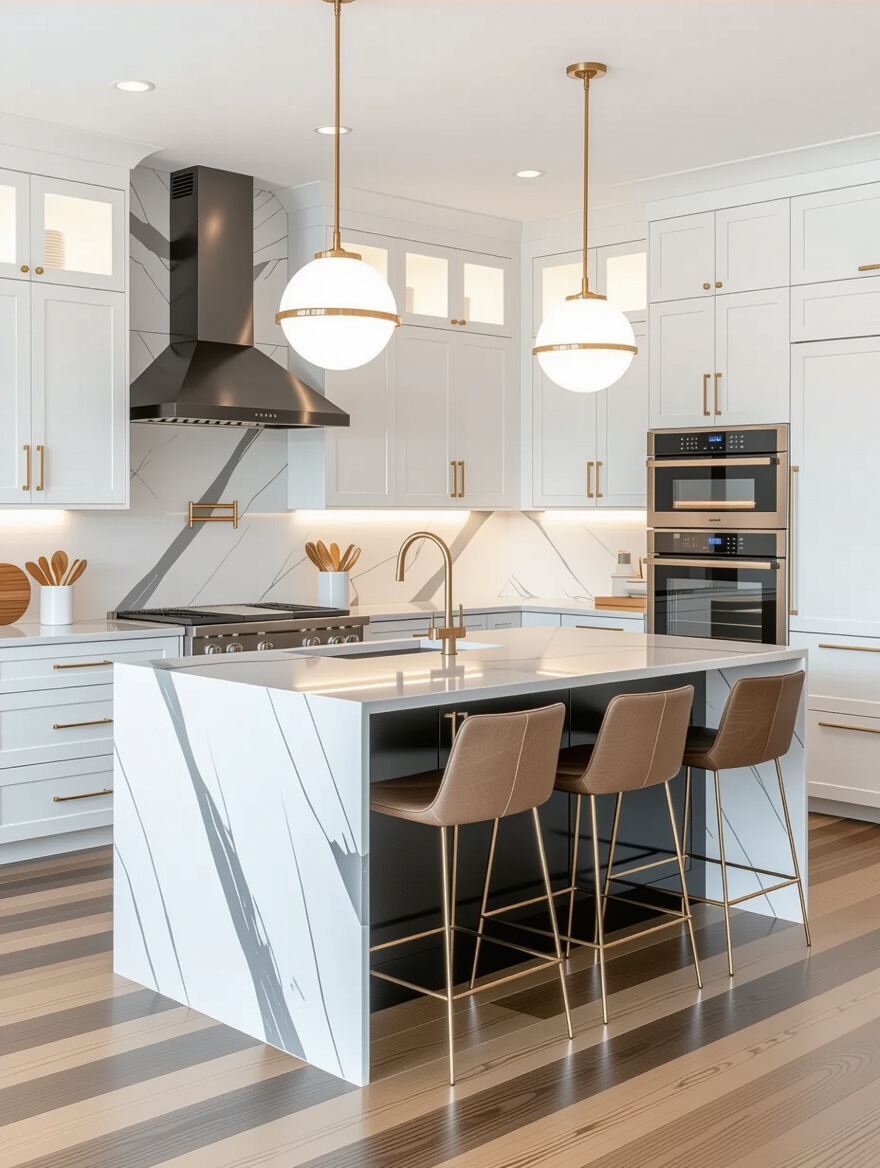
Lighting is the upgrade people underspend on and regret most. A luxury kitchen uses three layers, task light under the cabinets, general ceiling light, and a warm accent, all on dimmers so the room shifts from bright morning prep to soft evening calm. Smart controls let you set scenes, but even a plain dimmer does most of the magic.
The payoff is huge for the cost, which is why I recommend at least putting everything on dimmers even when the rest of the budget is tight.
- Under-cabinet LED strips cost little and remove the shadows you cook in.
- Choose warm bulbs around 2700K so food and skin look their best.
- Put the island and the dining zone on separate switches for real flexibility.
Designer Faucets With Real Kitchen Style
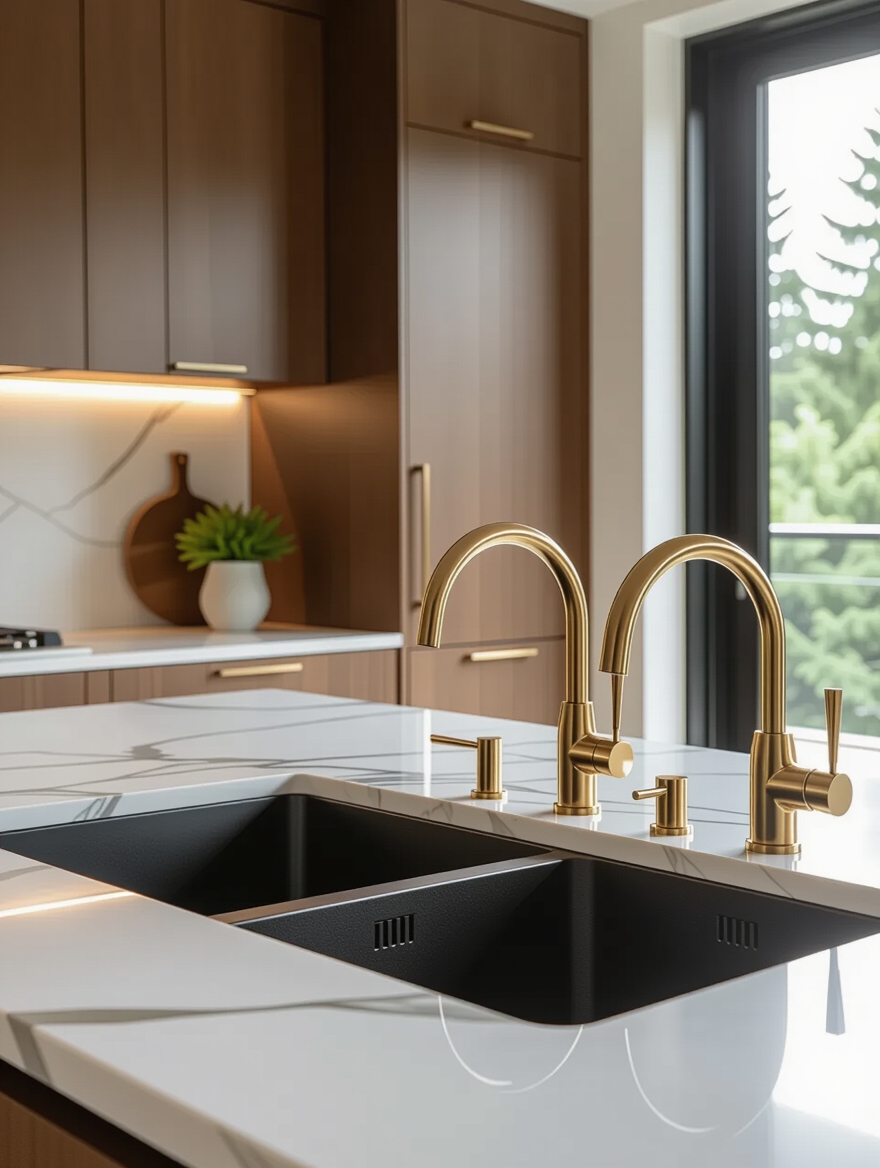
The faucet is jewelry you use forty times a day, so a good one earns its keep on looks and function together. A pull-down with a smooth, weighted spray head and a finish that matches your hardware turns a chore into something that feels solid in the hand. A pot filler over the range is a true splurge, lovely if you boil big pots often and pure decoration if you do not.
Spend on the valve, not just the shape. The cartridge inside is what determines whether the faucet still feels crisp in ten years.
Good designer faucets run roughly $300 to $1,200. Below that you often pay again in drips and a loose handle.
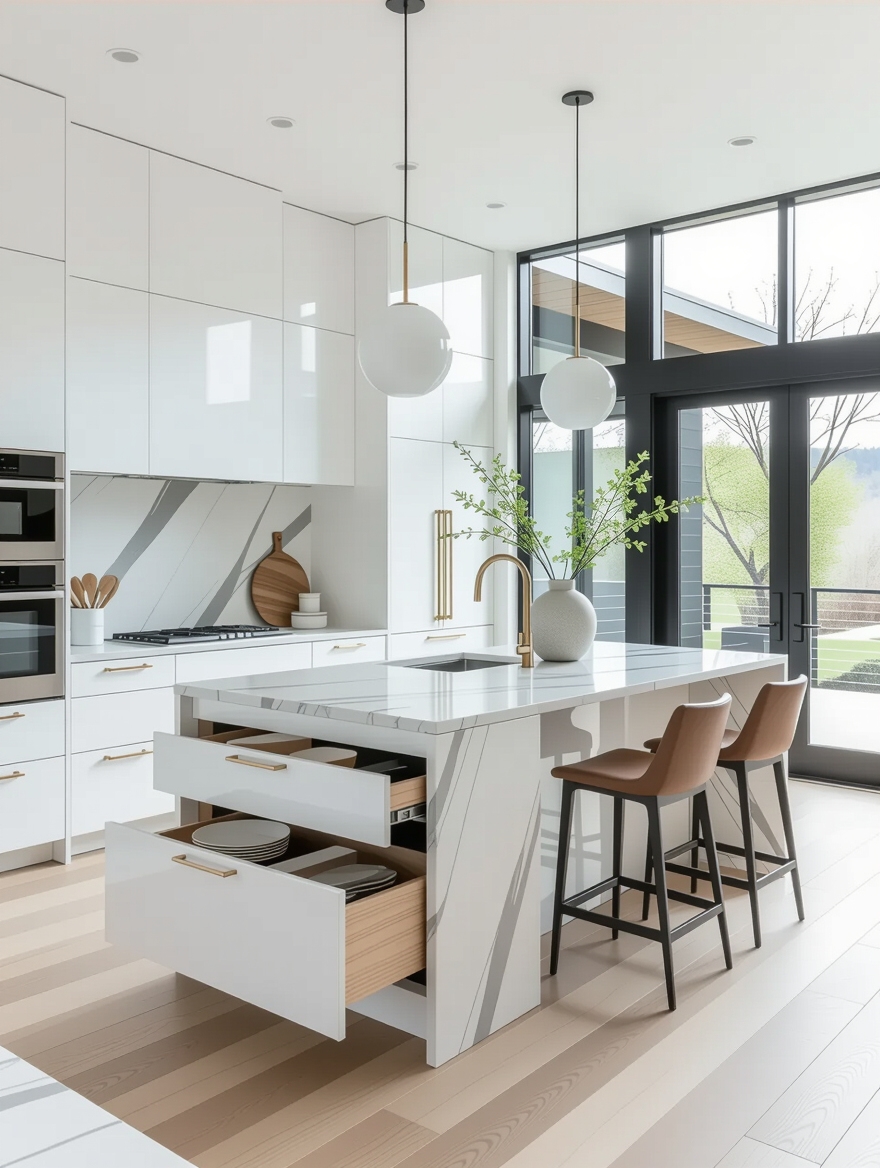
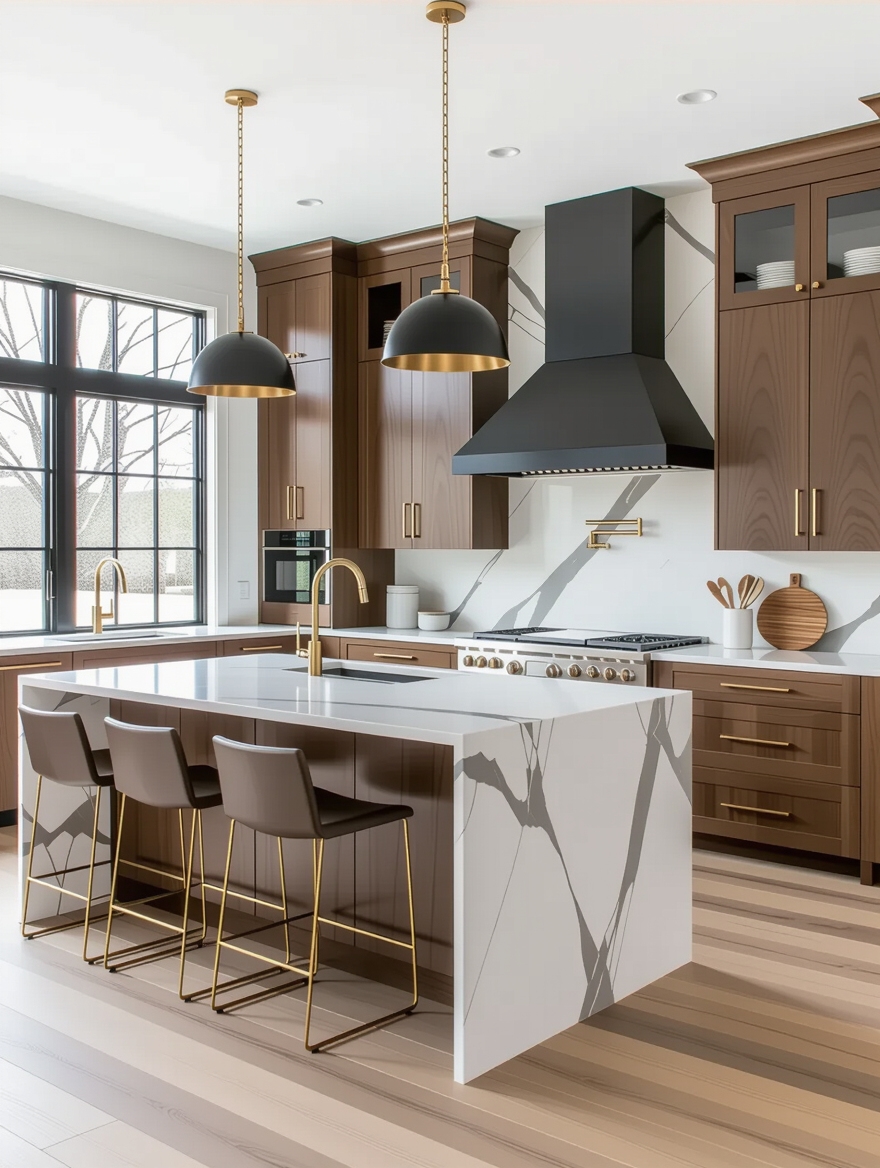
A Statement Kitchen Island
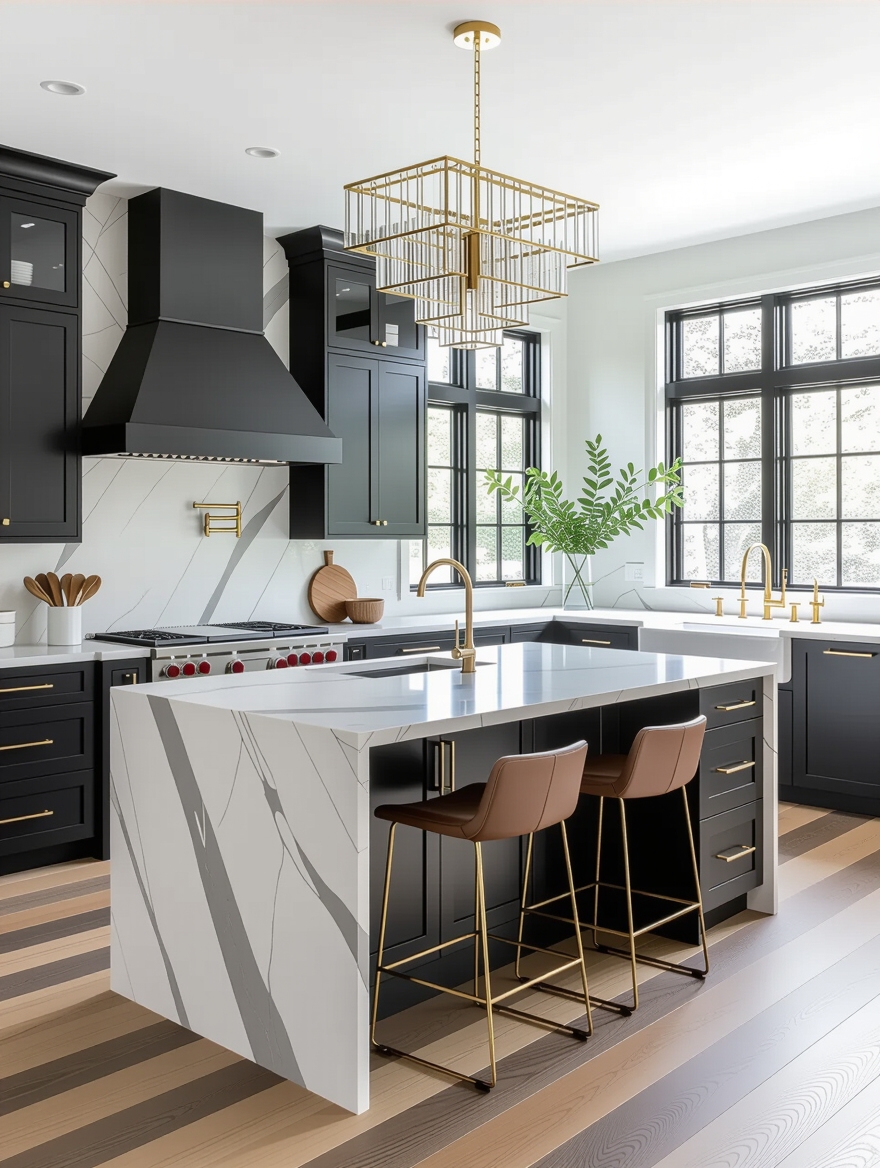
If the budget allows one showpiece, the island is the smart place to put it, because it works as both a centerpiece and the busiest surface in the room. A contrasting color, a waterfall stone end, or built-in seating turns a plain box into the heart of the kitchen. The trick is to let it do real jobs, prep, storage, and seating, not just look good.
There is a whole world of approaches here, and the island configurations worth studying show how the footprint changes what the island can actually hold.
- Build in storage on the working side and leave the seating side clear for knees.
- A waterfall edge adds roughly $1,500 to $3,000 but looks custom.
- Keep 36 to 42 inches of clearance all the way around so two cooks never collide.
Premium Flooring Underfoot
Flooring sets the foundation literally and visually, and because it runs the length of the room, a good choice quietly lifts everything above it. Wide-plank white oak brings warmth, large-format porcelain handles spills and looks like stone for less, and both forgive a busy household better than glossy tile that shows every crumb.
Hardwood runs about $8 to $15 per square foot installed and porcelain $5 to $15. Whatever you pick, splurge on the underlayment and a comfortable feel underfoot, because your back notices it long after your eye stops.
Professional Ventilation and a Quiet Hood
Ventilation is the unglamorous upgrade that protects everything else you spent on. A properly sized, vented-outside hood pulls grease and steam off your cabinets and walls instead of letting it settle into a sticky film. I see kitchens age badly mostly because the hood was an afterthought.
Size it to the range and vent it outdoors; a recirculating hood is a compromise that mostly moves smell around.
- A solid range hood insert runs about $400 to $1,500, plus ducting.
- Match the hood’s airflow to your cooktop’s output, not to the cabinet width.
- Quiet matters: look at the sone rating so dinner conversation survives the exhaust fan.
Built-In Wine and Beverage Storage
For people who host, a built-in beverage or wine cooler turns the kitchen into the natural gathering spot and keeps drinks out of your cooking fridge. Tucked into the island or a base cabinet, it lets guests serve themselves without wandering into your prep zone, which is the real luxury of a good layout.
An under-counter unit runs about $400 to $1,500. Put it on the seating side and away from the oven’s heat, and it earns its space at every dinner you throw.
Where to Spend and Where to Save
After years of walking clients through budgets, my honest rule is to spend on the things you touch and the things that are hard to change later, and save on the things you can swap in a weekend. The cabinet boxes, the layout, and the ventilation are forever decisions. Paint color, open shelving, and hardware are not.
If you treat the splurges as long-term and the cheap wins as flexible, the kitchen feels rich without the whole renovation running away from you. A thoughtful remodel plan is mostly this one decision repeated well.
- Spend: cabinetry interiors, the range, counters, ventilation, lighting layers.
- Save: open shelving, the backsplash quantity, decor, and trend colors.
- The single best value here is putting everything on dimmers, which costs little and changes the room nightly.
Buy for the Decade, Not the Photo
A kitchen that is worth every penny is rarely the one with the longest receipt. It is the one where the money landed on the surfaces you use, the storage that keeps it calm, and the light that makes it feel good at night. The flashy extras fade; the well-built bones do not.
If you only remember one thing, let it be this: pour the budget into what you touch and what you cannot redo cheaply later. Do that, and the kitchen will still feel like a splurge long after you have forgotten what it cost.


