
A new kitchen full of cabinets can run $10,000 or more. The exact same look, done with your own hands and a free weekend, can cost a couple hundred dollars. That gap is the whole reason DIY cabinet projects are worth learning.
You do not need a workshop or years of skill, just the right project for your level. Painting, refacing, papering, building from plywood, each one transforms a kitchen for a fraction of the price, and most are more forgiving than they look. Here are 16 impressive DIY cabinet projects that prove a small budget goes a long way.
DIY Cabinets, in Short
- DIY cabinet projects range from a $30 contact-paper refresh to a full plywood build for a few hundred dollars.
- Paint and reface, do not replace; keeping the solid boxes is where the real savings live.
- Prep is 90 percent of the job. Skip it and the nicest paint or veneer peels within months.
- Match the project to your tools and skill: a renter paints and papers, a builder cuts plywood.
Budget-Friendly DIY Cabinet Ideas

The cheapest way to a new-looking kitchen is almost never new cabinets. It is doing something clever to the ones you already own.
Pick Your Level of Effort
The DIY menu runs from no-tool to full build. Peel-and-stick paper or new hardware takes an afternoon and under $50, painting runs a weekend and $150 to $400, refacing with new doors lands $1,000 to $2,500, and building from plywood costs the least in materials but the most in labor. None of it needs a workshop.
I tell first-timers to start at the easy end and work up. A hardware swap or a coat of paint builds the confidence, and the budget, for a bigger project next time.
Durable, Cost-Effective Cabinet Materials

If you are building or refacing, the material is the biggest budget decision. Birch or maple plywood is the sweet spot, strong, paintable, and far cheaper than solid wood. MDF is dead-flat and perfect for painted doors but hates water, and particleboard is the cheapest and weakest, fine for a low-use cabinet but never a sink base. I recommend buying one good sheet of plywood over three cheap ones, since the extra strength is worth the few dollars.
- Birch or maple plywood: strong, paintable, the best all-rounder.
- MDF: flat and cheap for painted doors, but keep it away from water.
- Skip particleboard for anything near the sink or under heavy use.
ℹ️Good to Know
A single 4-by-8 sheet of birch plywood runs about $50 to $90 and yields several cabinet parts. Pre-finished plywood costs a little more but saves you sanding and sealing the insides, often worth it for a beginner building boxes for the first time.
Prep Your Cabinets for a Makeover

If you remember one thing from this whole list, make it this. Prep is the project. Ninety percent of a good cabinet makeover happens before any paint or paper goes on, and skipping it is why DIY jobs peel and chip.
Degrease every surface, since kitchen cabinets wear an invisible film of cooking grease; scuff-sand so the new finish has something to grip; fill holes and dents; and wipe off all the dust. An hour of careful prep separates a finish that lasts ten years from one that flakes by spring.
Budget-Friendly Cabinet Painting Tips
Paint is the highest-impact DIY cabinet project there is, and a few tricks get you a factory-smooth finish by hand. Use a bonding primer made for slick surfaces, then a hard cabinet enamel. Skip the wall paint. It stays soft and prints forever. The cabinet repaint playbook covers the full step-by-step.
Apply thin coats with a foam roller and a good brush, or a cheap sprayer if you can mask off the room. Two or three thin coats beat one thick one every time, and each needs a full day to cure before you rehang.
I love painting cabinets for how completely it changes a kitchen for so little. Label every door and its hinges as you go, so reassembly is a five-minute job instead of a frustrating puzzle.
The difference between a DIY cabinet job that looks cheap and one that looks custom is never the paint. It is the prep, the patience, and letting each coat dry.
Budget-Friendly Cabinet Transformations

The most dramatic DIY transformations usually keep the cabinet boxes and change only the faces. Refacing, new doors and drawer fronts plus a peel-and-stick veneer on the visible sides, gives a whole new kitchen for around half the cost of replacing.
It is the perfect middle project. Bigger than paint, smaller than a full build, and forgiving since the boxes stay put. You measure, you order doors built to your sizes, you swap, you skin the sides.
The before-and-after is dramatic and the layout never changes. The cabinet makeovers that look most custom are almost always refaced rather than rebuilt.
Measure, Cut, and Apply

Whether you are refacing or building, the same three steps carry the whole job: measure, cut, apply. Get the measuring right and the rest is just patience.
Measure Twice, Cut Once
Measure every opening and door twice and write it down, because a sixteenth of an inch shows on a cabinet face. Cut plywood or veneer with a sharp blade and a guide for clean, straight edges, or have the home center cut your sheets for a small fee.
Apply with the right adhesive, dry-fit before you commit, and clamp or weight pieces while they set. Work one cabinet from start to finish. Then a mistake stays small and teachable.
Match the project to your skill and tools:
🎯No tools, renting
Peel-and-stick paper and new hardware; zero cutting.
🎯Basic tools, a weekend
Paint or reface; a drill, a sander, and a brush do it.
🎯A saw and some experience
Build boxes or doors from plywood for the lowest material cost.
Transform Cabinets With Contact Paper

For renters or the truly broke, contact paper is the unsung hero of DIY kitchens. Modern peel-and-stick films, in marble, wood, or solid colors, wrap cabinet fronts, counters, even a backsplash, and peel right back off when you move out.
The whole kitchen can change for $30 to $80 and one careful afternoon. Clean the surface, work slowly to avoid bubbles, and use a smoothing tool with a hair dryer on the corners, and a paper job looks far better than its price.
An Open Shelving Kitchen Makeover

Open shelving is the cheapest cabinet makeover of all, because you may not buy anything at all. Take the doors off a few upper cabinets, fill the hinge holes, and paint the interiors, and you have the airy, open look for free.
Free Shelving, Already on Your Wall
If you want real shelves instead, a couple of stained or painted boards on sturdy brackets cost a few dollars and a Saturday. Anchor them well into the studs. Loaded shelves get heavy fast.
Style them simply so they look intentional, and keep the greasy zone near the stove behind closed doors. For the things you would rather hide, the storage tricks keep clutter out of sight.
Budget-Friendly Kitchen Upgrades

A few small DIY touches make the whole cabinet project look finished. New hardware is the classic, a few dollars a pull and an afternoon, and adding simple trim or molding to flat doors gives them a custom, paneled look for the price of a few boards.
Under-cabinet lighting, a fresh caulk line, and a toe-kick painted to match the cabinets are the little finishing moves that look expensive. None costs much, and together they pull a DIY kitchen together. For more color ideas, the cabinet colors nobody talks about go beyond the safe neutrals.
- Swap the hardware; it is the cheapest, fastest visible upgrade.
- Add trim or applied molding to flat doors for a custom look.
- Finish with under-cabinet lighting and a clean caulk line.
Build Kitchen Cabinets Easily

Building cabinets from scratch is more achievable than most people think, since a basic cabinet is just a plywood box with a face frame and a door. With a circular or track saw, a drill, and pocket-hole screws, a confident beginner can build a base cabinet in a day for the cost of materials. When I build a run, I repeat a single design across it, which is the trick to a clean, consistent kitchen. Start with one simple cabinet, learn the steps, then repeat.
- A base cabinet is a plywood box, a face frame, and a door.
- Pocket-hole screws make strong joints with no fancy tools.
- Build one, perfect the steps, then repeat the same design.
Styling a DIY Kitchen So It Looks Pro
The line between a DIY kitchen that looks homemade and one that looks professional is in the finishing, not the budget. Consistency is everything: the same paint sheen on every door, one metal repeated on all the hardware, even gaps between doors, and a clean caulk line where the cabinets meet the wall. Those quiet details are what the eye reads as quality.
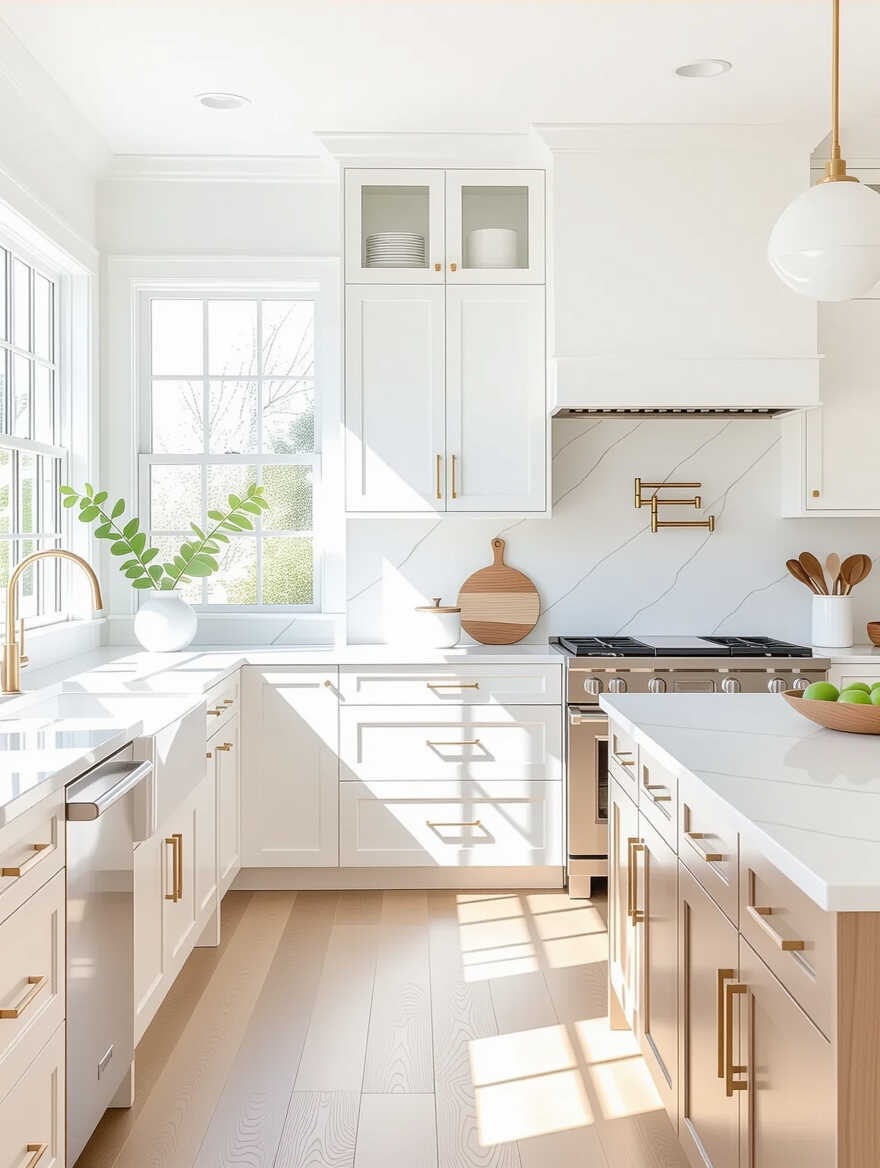
Then style it lightly. A clear, edited counter looks more expensive than any single upgrade, so put the clutter away and let one or two nice pieces show. A wood board, a plant, a bowl of fruit against fresh cabinets, and even a $200 makeover looks like it cost ten times that.
Making a DIY Cabinet Project Last
A DIY cabinet project lasts as long as the finish you protect. Give fresh paint a full week to harden before you scrub it, then clean with mild soap and a soft cloth, leaving the abrasive pads in the drawer. Touch up chips the moment they happen with the leftover paint, and they never get a chance to spread.
For built or refaced boxes, keep water off the bottoms and seal any raw plywood edges near the sink. A little care here is what keeps a few-hundred-dollar project looking sharp in five years, which is the whole point of doing it right the first time.
More DIY Cabinet Questions
?How cheaply can you DIY kitchen cabinets?
Very cheaply, depending on the project. Contact paper and new hardware can refresh a kitchen for $30 to $80, painting runs $150 to $400 in materials, and building boxes from plywood costs a few hundred dollars for a small kitchen. The biggest savings come from keeping your existing boxes.
?What is the cheapest material to build cabinets from?
Particleboard is cheapest but weakest. For a budget build that lasts, birch or maple plywood is the better value at about $50 to $90 a sheet. MDF is cheap and flat for painted doors but swells if it gets wet, so keep it away from the sink.
?Do you have to sand cabinets before painting?
You do not always have to sand to bare wood, but you must scuff-sand and degrease so the primer can grip. Skipping that step is the number-one reason DIY cabinet paint peels. A bonding primer plus a light scuff is the reliable shortcut.
?Can a beginner build kitchen cabinets?
Yes. A basic cabinet is a plywood box with a face frame and a door, and pocket-hole screws make strong joints without advanced tools. Build one simple base cabinet first, learn the steps, then repeat the same design across the kitchen.
?Is it cheaper to reface or repaint cabinets?
Painting is cheaper, at $150 to $400 in materials versus $1,000 to $2,500 to reface. Paint suits cabinets in good shape, while refacing is worth the extra when the doors are dated or damaged but the boxes are solid. Both keep your layout and save thousands over replacing.
Your Hands, a Weekend, a New Kitchen
The most expensive thing about a kitchen is usually the labor, and DIY is how you keep that money in your pocket. Whether you paper a few doors for $30 or build a whole run from plywood, the savings are real and the result is yours. There is a particular pride in a kitchen you built yourself.
Start with the project that matches your tools and your nerve, and do the prep no matter how boring it feels. Pick one cabinet or one door, get it right, and the confidence to do the rest follows. A small budget and a free weekend really can make a kitchen you love.


