

People assume a luxury island means a giant slab of marble and a five-figure price tag. The most expensive island I ever specced for a client looked busy and cold, while a modest walnut-topped one in a smaller home three streets over is still the thing guests circle around at every party.
What separates the islands that pull a whole room together from the ones that just sit there is rarely cost. It is the material pairing, the way storage and seating are planned, and the lighting overhead. Here are the design moves I keep coming back to, with honest notes on what each one costs and who it actually suits.
The Short Version
- A luxury look comes from one strong material pairing, not from using five finishes at once.
- Plan storage, seating, and a power source before you fall in love with a countertop.
- Lighting overhead does more for the finished feel than almost any single upgrade.
- Expect a custom island to run roughly $5,000 to $15,000 installed, depending on size and stone.
What Makes a Kitchen Island Look Luxury
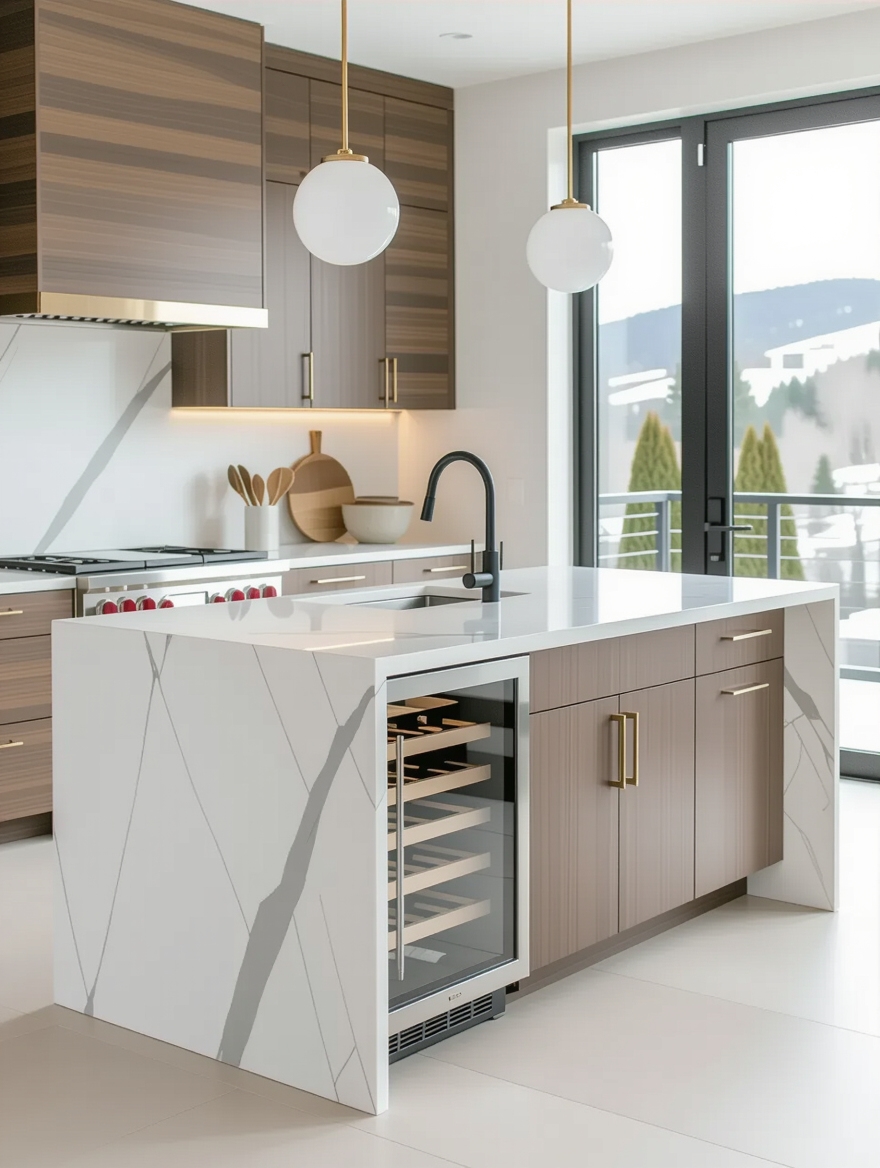
Luxury in a kitchen island is mostly restraint. The pieces that photograph well and still work on a busy weeknight share three things: a proportioned slab with a generous overhang, a material that feels substantial under your hand, and storage that hides the everyday mess.
When clients ask me to make an island feel high-end, my first question is never about budget. It is whether the island has room to actually do its job without crowding the walkways around it.
Keep at least 36 to 42 inches of clearance on every walkable side, and give seated guests two to three feet of counter each. An island that respects those numbers feels calm and expensive even in a builder-grade kitchen. One that is squeezed in to look impressive feels cramped the moment two people are in the room.
If you want a deeper look at how the footprint changes everything, the modern island configurations are worth studying before you commit to a shape.
Marble Islands for Timeless Elegance
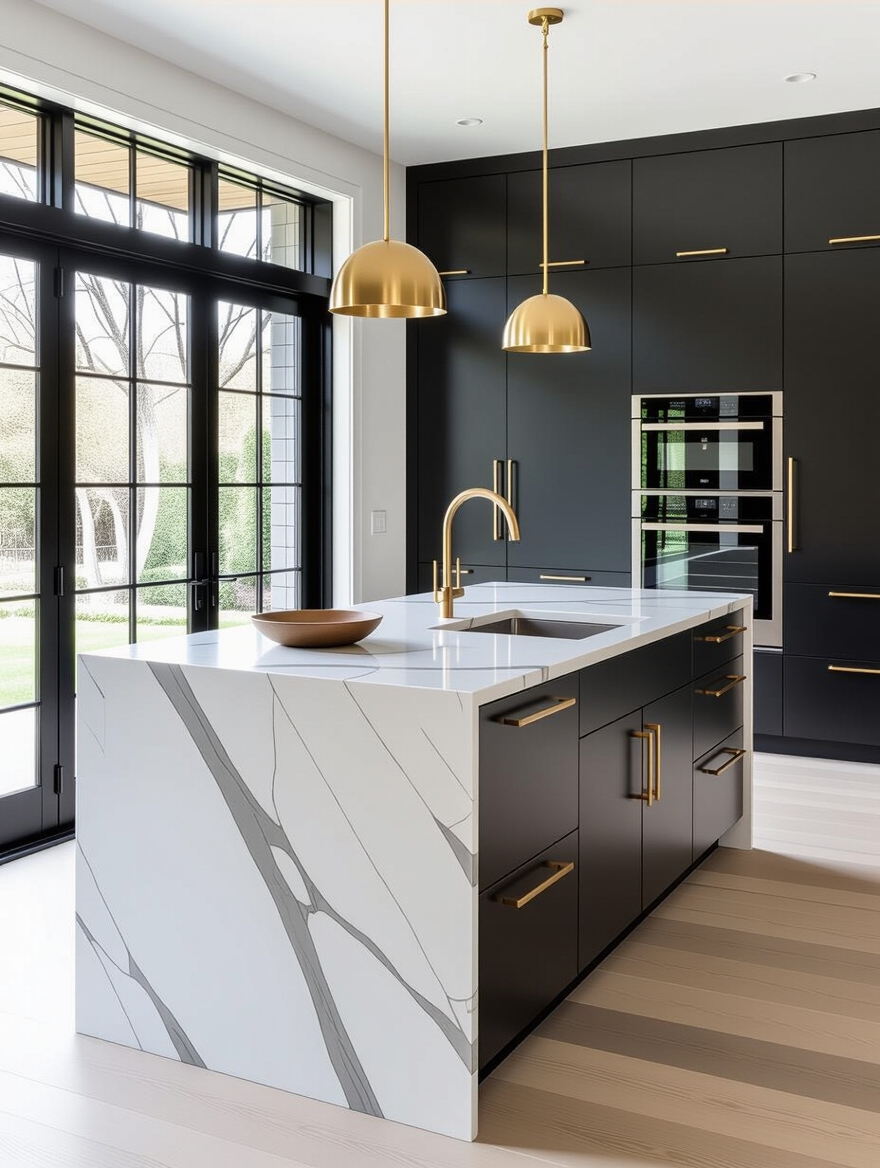
Marble earns its reputation. The soft, irregular veining gives a top character that no printed surface fully copies, and a single honed slab can carry a whole kitchen. I point people to a honed finish rather than polished, because the matte surface hides the fine etching that acid foods leave behind. Polished marble looks brilliant on day one and shows every lemon-juice ring by month three.
Be honest with yourself about upkeep before you buy. Marble is porous, so you reseal it once a year and you wipe spills quickly. Resealing itself takes about ten minutes. If that sounds like a chore you will resent, a quartz slab in a marble-look pattern gives you most of the visual payoff with none of the babysitting.
- Carrara looks cooler and grayer; Calacatta has bolder, warmer veining and costs more.
- Budget roughly $60 to $100 per square foot for the stone, plus fabrication and install.
- Round the corners slightly. Sharp marble edges chip, and a soft eased edge ages better.
📋Before You Commit to a Marble Top
- ✓Ask for a honed sample and leave lemon juice on it overnight to see how it etches.
- ✓Confirm you are willing to reseal once a year and wipe spills fast.
- ✓Price a quartz marble-look slab as a backup before you sign off.
Bold Statement Materials Worth the Splurge
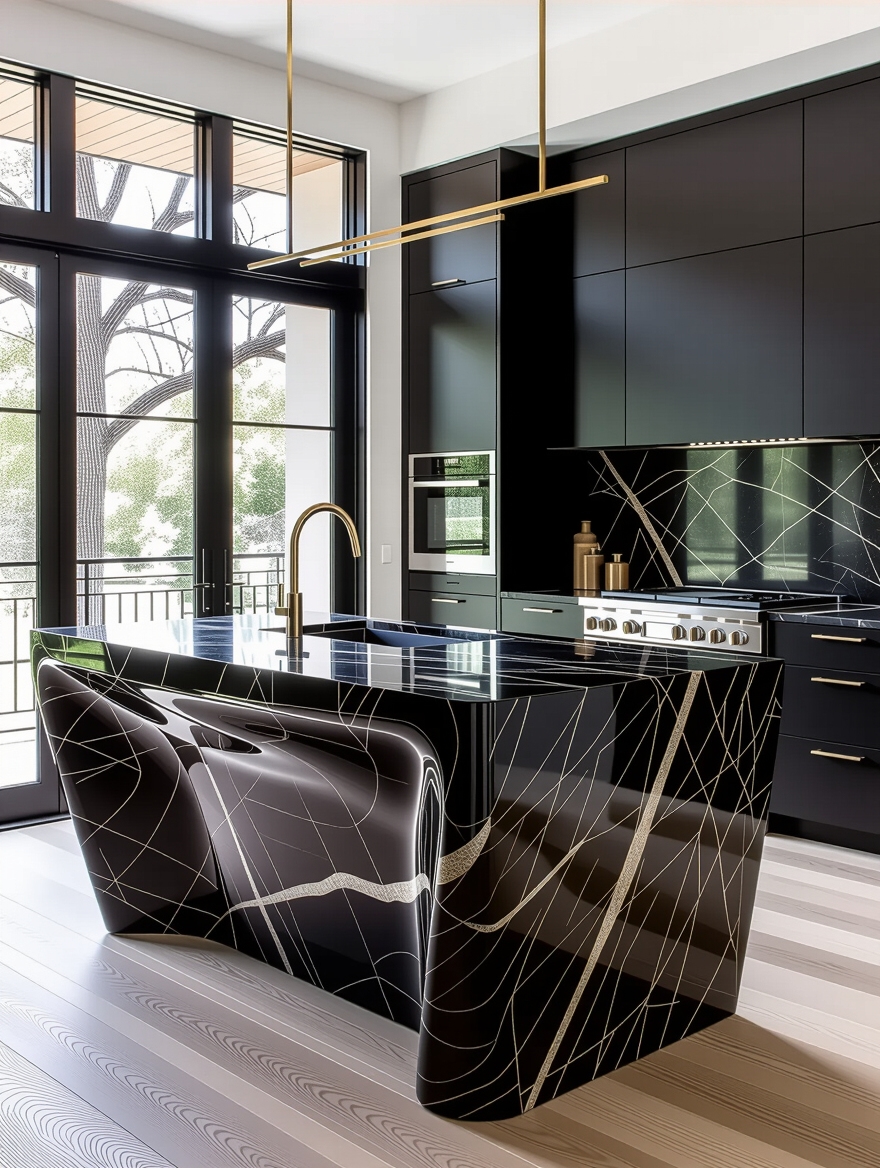
When a kitchen feels flat, the first surface I rethink is the island top, because it is the one place you can make loud without the whole room shouting. A statement material turns the island into the thing your eye lands on, which lets the perimeter cabinets stay quiet and simple. Pick one bold move and let it stand alone. That restraint is what keeps a strong material from tipping into chaos.
- Brushed brass or blackened steel facing looks custom and warms up cool stone.
- Cast or poured concrete brings a matte, architectural weight, though it needs sealing.
- A dramatic quartzite with heavy movement can carry a room better than any backsplash.
- A waterfall edge runs the stone down the sides and looks expensive, but adds roughly $1,500 to $3,000 in material and labor.
Mixing Warm Wood With Cool Stone
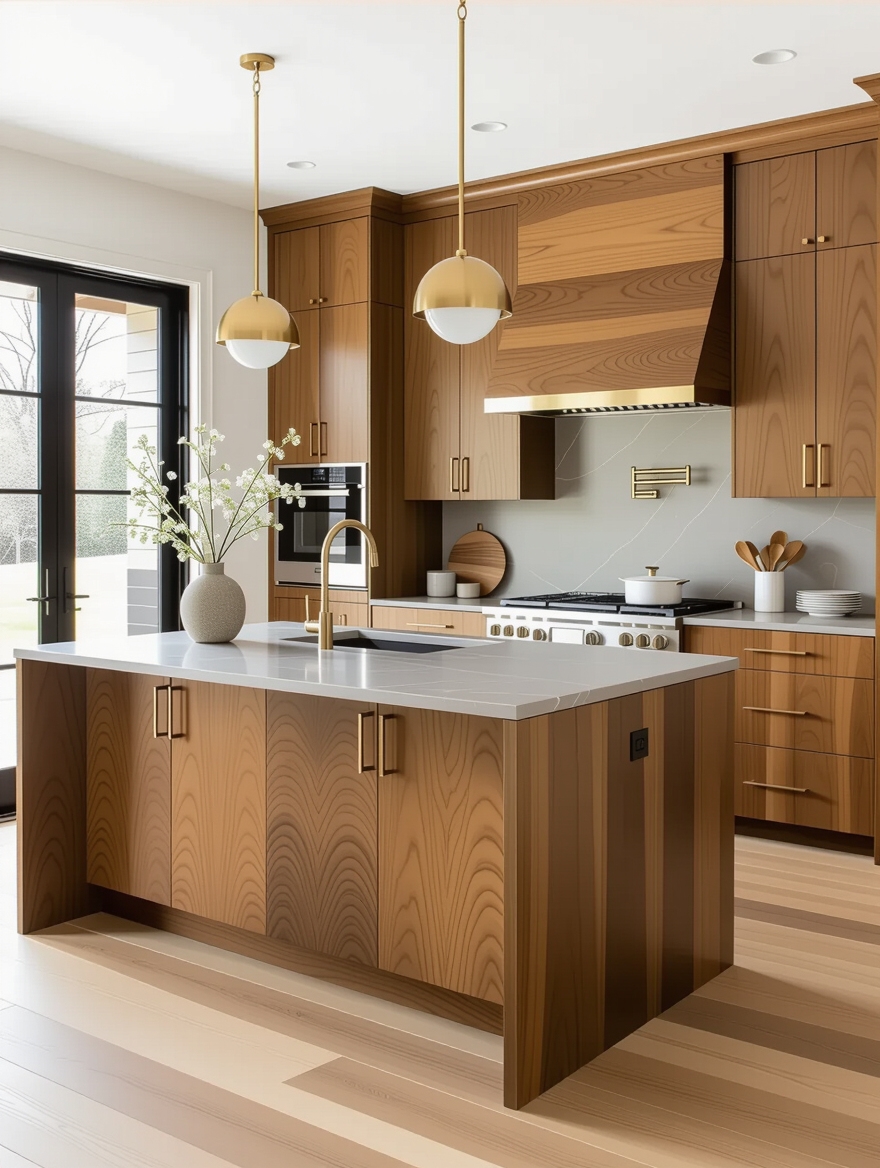
Pairing a stone perimeter with a wood island, or a stone top over a wood base, is the most reliable way I know to make a kitchen feel warm instead of clinical. The cool, hard surface and the grain play off each other, and the contrast keeps an all-white kitchen from looking like a showroom nobody lives in. White oak and walnut are the two I specify most, because both take a matte finish that hides fingerprints.
If you want the wood on the working surface, treat it like the butcher block it is: oil it every couple of months and keep standing water off it. Most clients are happier putting the wood on the base and seating side, where it gets touched but not chopped on, and reserving stone for the prep zone.
“What to ask your designer or fabricator: Which wood species holds up to daily wear here, and what finish hides fingerprints? Where exactly does the stone meet the wood, and how is that seam protected from water? Getting these two answers up front prevents the warping and staining that ruin mixed-material islands a year in.”
Curved and Organic Island Shapes
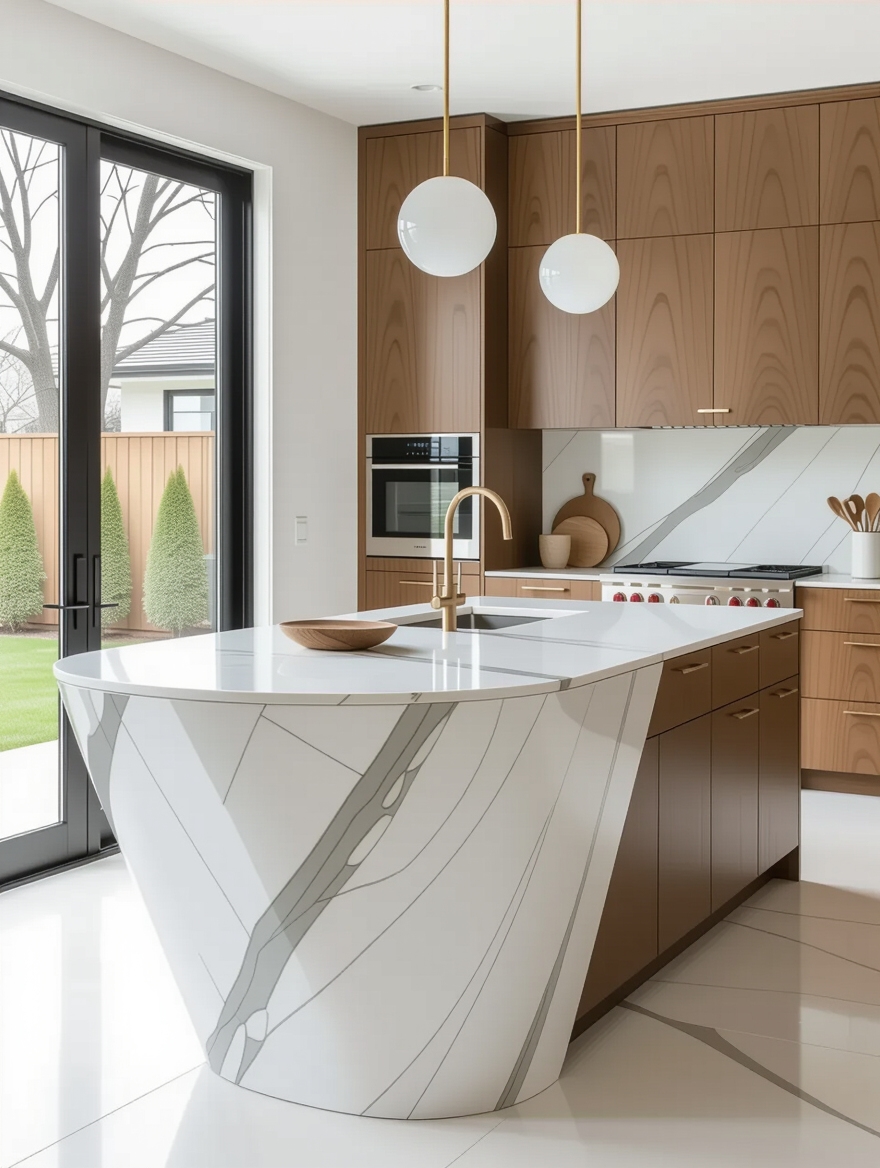
Rigid rectangles are giving way to softer forms, and there is a practical reason beyond looks. A rounded end removes the hip-height corner that everyone in a busy kitchen eventually walks into, and it eases foot traffic where the island meets a walkway. I have watched a curved end completely change how a family moves through a tight galley.
When a Curve Is Worth It
Curves cost more to fabricate because the stone has to be cut and polished on a radius, so expect a premium of a few hundred dollars or more depending on how tight the curve is. A gently rounded end is affordable and forgiving. A fully kidney-shaped island is a statement and a real investment.
If you are drawn to this direction, study how the proportions actually work in a real room first. The curved island shapes designers are leaning on right now show how to keep a curve from eating into usable counter space.
Built-In Appliances That Disappear Into the Island
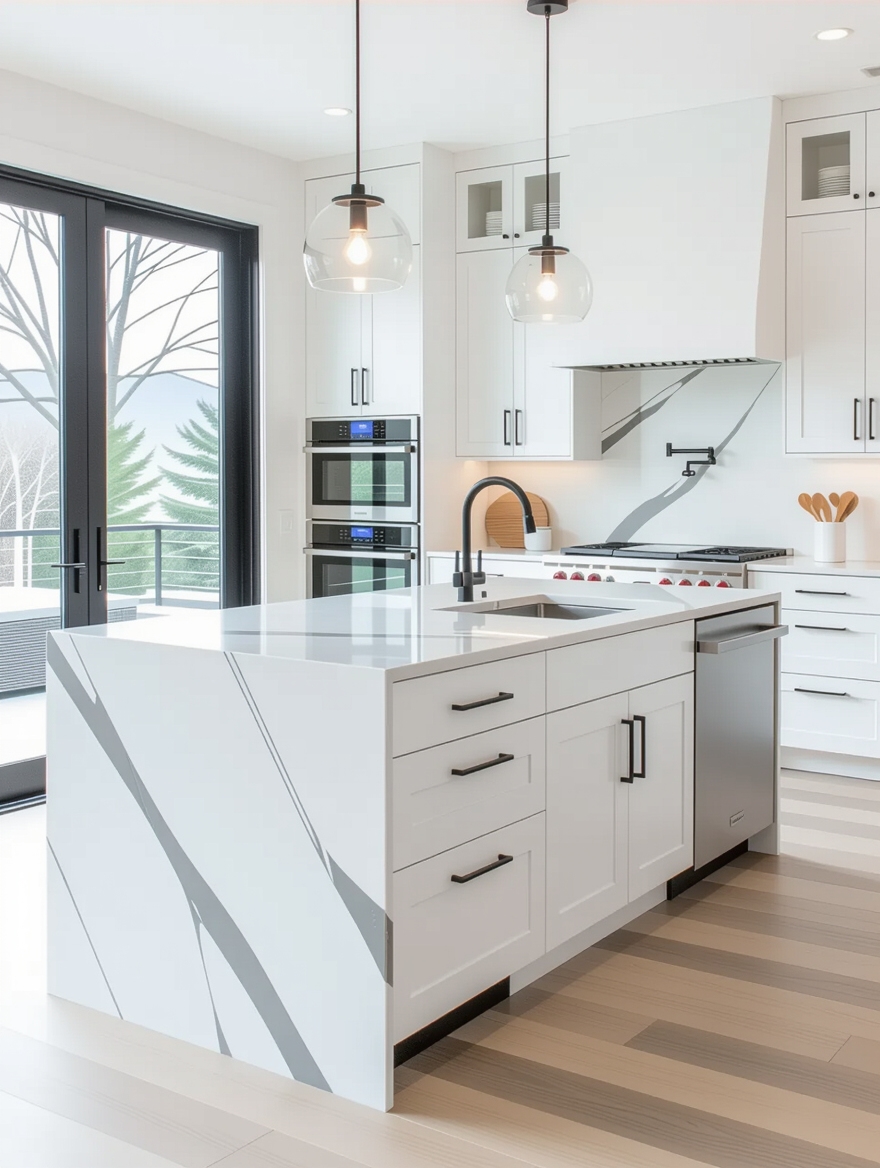
Building appliances into the island is what turns it from a counter into a second kitchen. A microwave drawer, a beverage fridge, or a second dishwasher tucked into the base keeps the perimeter free and puts the tools where you actually stand. The payoff is real, but so is the planning, because every built-in needs power and sometimes plumbing run to the island before the floor goes down.
Plan the Power Before the Floor
That last point is the one people miss. Wiring and a water line to a freestanding island are far cheaper to install during a remodel than to retrofit later. A microwave drawer runs $700 to $1,500, and an under-counter beverage fridge sits around $400 to $1,500.
Decide what you reach for daily and build that in first. Everything else can stay on the perimeter.
Only have room to build in one appliance? Match it to how you actually cook.
🎯You reheat and snack constantly
A microwave drawer at the island keeps it off the counter and within reach.
🎯You host more than you cook
A beverage or wine cooler on the seating side earns its space at every gathering.
Storage That Hides the Everyday Clutter
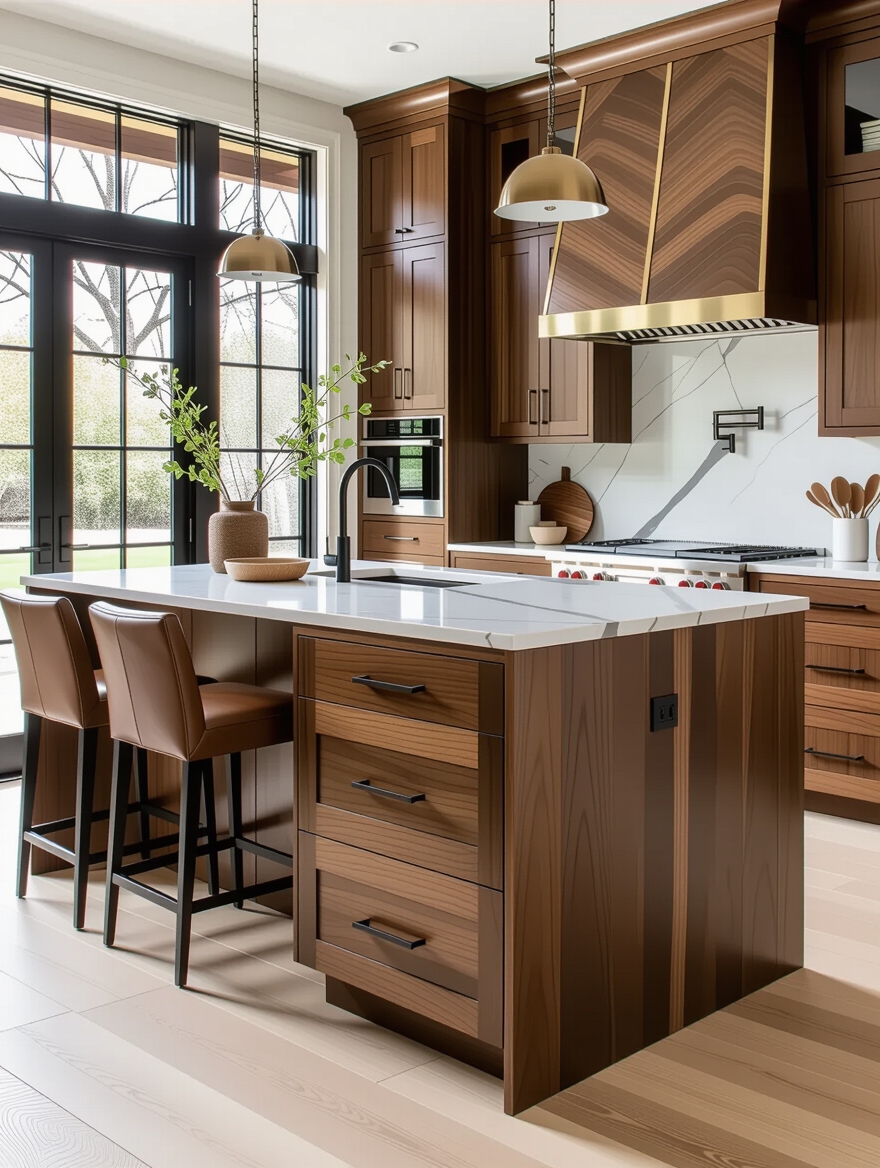
The islands that stay looking sharp are the ones with enough hidden storage to swallow the daily pile-up. Deep pot drawers on the cook side, a pull-out for trash and recycling, and a shallow utensil drawer near the seating do more for the finished feel than any decorative bowl. Open shelving on an island looks airy in photos and becomes a dust-and-clutter trap in real life.
I see the same thing in every busy kitchen: the counter becomes a dumping ground unless the storage gives that clutter somewhere to go. My rule is simple. Every linear foot of island should earn its keep with a drawer, a bin, or a cabinet. If you are working with less room than you would like, the small-footprint tricks in these smaller island ideas show how to fit real storage into a compact base.
Seating and Prep on One Multifunctional Island
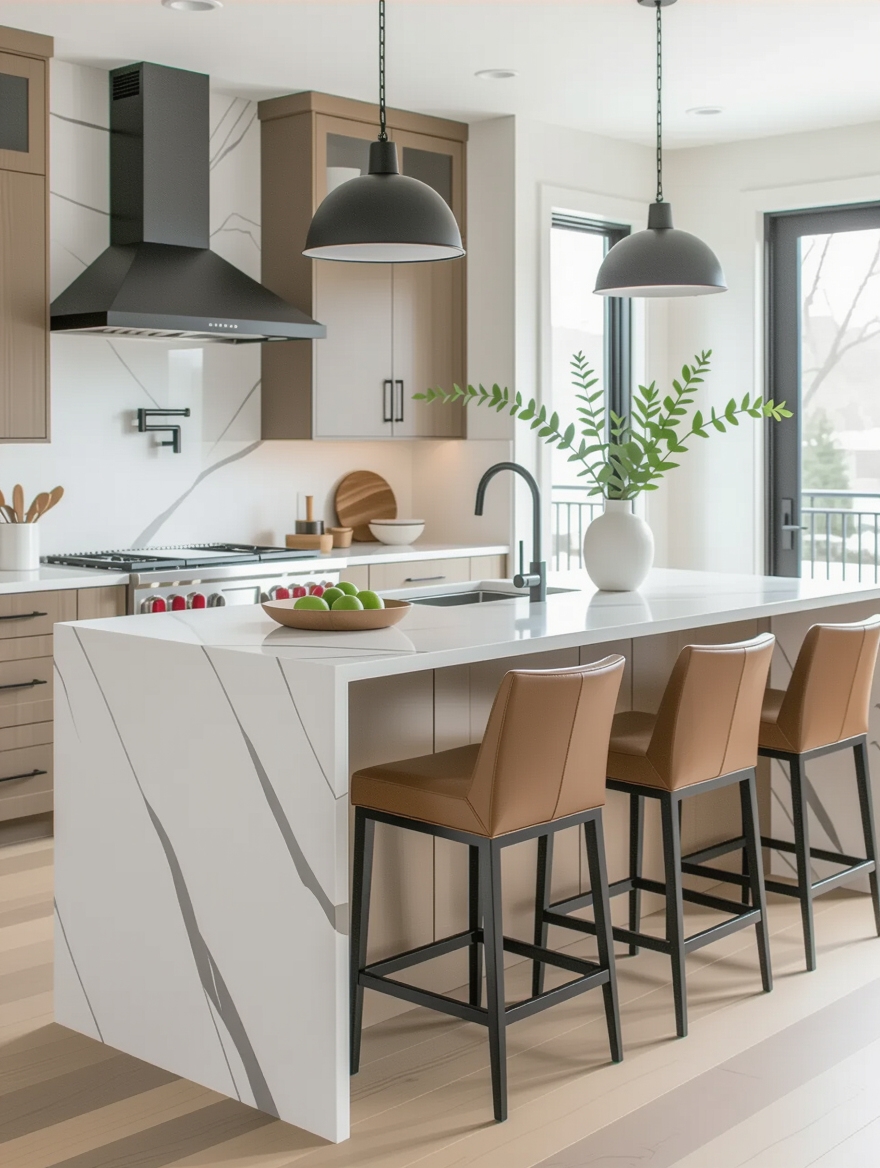
The best islands let one person cook while everyone else hovers nearby, and that only happens when seating and prep share the surface without colliding. Keep the seating on the opposite side from the cooktop or sink so guests are not leaning into your work, and give each stool about 24 inches of width to feel comfortable.
Overhang is the detail that makes or breaks it. You need 12 inches of clear knee space for a counter-height seat, and a stone top over 10 inches of overhang usually wants a hidden steel bracket so it does not crack under weight. It is a small cost that prevents an expensive failure.
For families especially, planning the seating side with intention pays off every single day. There are smart approaches in these islands built for gathering that show how to keep homework, snacks, and dinner prep from fighting over one surface.
Multi-Level Countertops for Zoned Islands
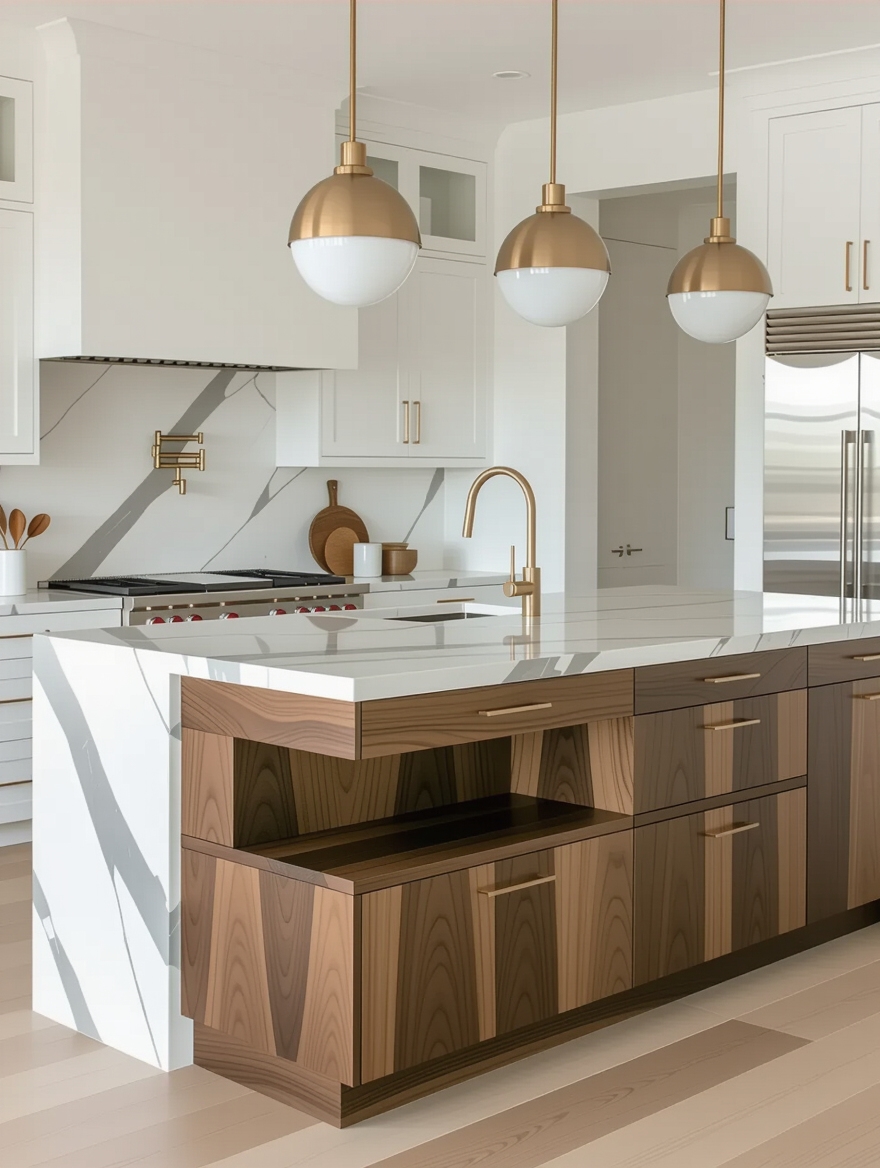
A two-tier island, with a raised bar behind a lower prep counter, used to be everywhere. It is less fashionable now, but it still solves real problems, so do not dismiss it on trend alone. The raised section hides the inevitable prep mess from anyone seated, and it gives you a comfortable bar-height perch without raising the whole island.
- Use a raised tier to screen the cooktop splatter from the dining side.
- Keep the lower surface at standard 36-inch counter height for real prep room.
- A single-level island looks more current and seats more people, so choose levels for function, not fashion.
Layered Lighting for the Right Ambiance
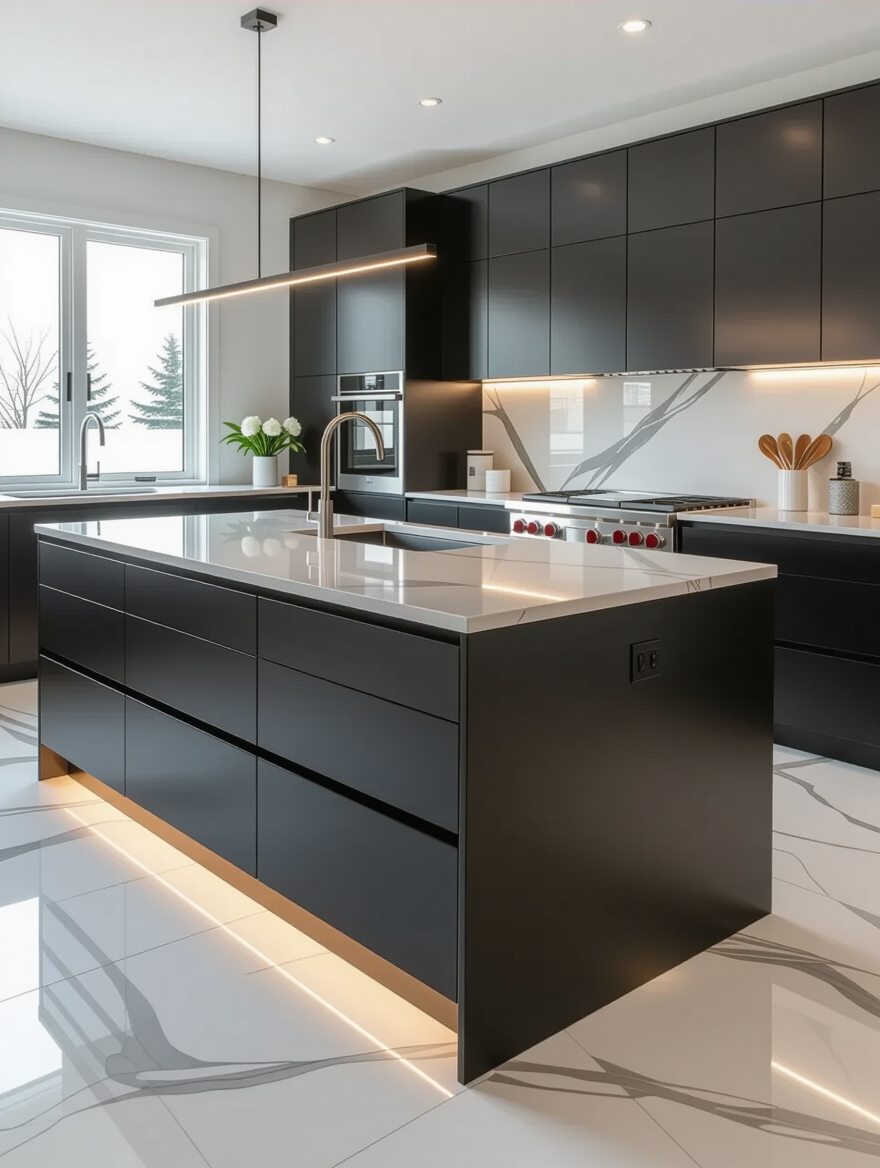
Nothing changes how an island feels at night faster than the light above it, and it is often the cheapest high-impact upgrade left after a remodel. Hang pendants 30 to 36 inches above the countertop so they light the surface without blocking sightlines, and put them on a dimmer so the same island can do bright morning prep and soft evening wine, which is why I recommend one on every job.
For more on getting the spacing and warmth right, the layered island lighting guide breaks it down by island length.
- Two pendants suit most islands; three for anything over seven feet long.
- Choose warm bulbs around 2700K so food and faces look their best.
- Quality pendants run $150 to $600 each, and the dimmer is the part people skip and later regret.
Built-In Bars, Wine Coolers, and Hidden Bins
If you entertain, the island is where the party gravitates, so build it to serve that. A small wine or beverage cooler on the seating side lets guests help themselves without crossing your work zone, and a pull-out bin keeps empties off the counter. These are the touches that make hosting feel relaxed instead of frantic.
None of this has to be lavish to work. A single under-counter cooler and a well-placed drawer for napkins and openers cover most of what a gathering needs.
- Position the cooler on the guest side, away from the cooktop heat.
- A dedicated bin for trash and a second for recycling keeps the surface clear.
- Leave one drawer empty on purpose; it becomes the landing spot for everything that does not have a home.
Luxury on a Smaller Footprint
A high-end island is not reserved for big kitchens. In tighter rooms the move is to do fewer things beautifully: one excellent material, a slim profile, and a single tucked-in stool. A compact island in quartzite with a clean waterfall end lands more polished than a sprawling one trying to hold every feature at once.
Where space is truly tight, a rolling island or a slim peninsula gives you the prep surface and storage without blocking the floor. The point of luxury here is editing, choosing the one upgrade that earns its keep and skipping the rest.
What a Luxury Island Actually Costs
Numbers help, so here is the honest range. A semi-custom island with a stone top and basic storage tends to land between $5,000 and $15,000 installed, and a fully custom build with built-in appliances, plumbing, and exotic stone climbs from there. The stone and the appliances are where the money goes; the cabinetry box is rarely the expensive part.
If the budget is tight, the priority is clear. Spend on the top and the lighting, and save on the base, because the surface and the glow are what people actually notice. The most memorable designs I have specced were rarely the priciest ones.
- Stone top and fabrication: often $2,000 to $7,000 depending on material.
- Built-in appliances and the power or plumbing to feed them: $1,000 to $4,000.
- Pendant lighting and a dimmer: a few hundred dollars for a large visual return.
Common Questions About Luxury Kitchen Islands
?How much does a luxury kitchen island cost?
Most land in the $5,000 to $15,000 range once installed, with fully custom builds climbing past that when you add appliances and rarer stone. One thing surprises people: the cabinet box is cheap, so the smartest place to trim is the base rather than the countertop.
?Is marble or quartz better for a kitchen island?
Marble gives unmatched natural veining but is porous, etches from acids, and needs resealing once a year. Quartz is nearly maintenance-free and now comes in convincing marble-look patterns, so choose marble if you want the real character and quartz if you want to forget about upkeep.
?How much clearance do I need around a kitchen island?
Leave at least 36 to 42 inches of walkable space on every open side. Tighter than that feels cramped the moment two people are working, and it makes opening the island drawers and the perimeter appliances awkward.
?Can I have a luxury island in a small kitchen?
Yes, but edit hard. One excellent material, a slim profile, and a single feature look far more pulled-together than a small island crammed with built-ins. Where the floor is truly tight, a piece on casters you can roll aside, or a narrow peninsula off the run of cabinets, buys you prep space without blocking the path.
Build the Island Around How You Live
The islands that steal the show are not the priciest ones. They are the ones where the material, the storage, and the light were chosen for one specific kitchen and one specific way of living in it. Pick the single move that excites you most, plan the practical bones around it, and let the perimeter stay quiet.
Measure your clearances first. Then choose your one material moment, plan the storage and power around it, and get the lighting on a dimmer. Do that much and the island will look considered on day one and still hold up on a chaotic Tuesday night.
More Hair Inspiration


