
Wondering whether you can build your own outdoor kitchen, or whether you are in over your head? The honest answer is that it depends entirely on which plan you pick. An outdoor kitchen is not one project but a whole ladder of them, from a Saturday drop-in station a beginner can manage to a steel-and-stone build that belongs to a pro.
This guide ranks the common outdoor kitchen plans from easiest to hardest, so you can match a build to your real skill, time, and budget. Each step up the ladder adds skills, tools, and cost. Find the rung you are honestly on, start there, and work up as your confidence grows. Here is the climb, from beginner to expert.
Plans Ranked, at a Glance
| Plan | Difficulty | What it takes |
|---|---|---|
| Drop-in grill station | Beginner | An afternoon, no skills |
| Modular kit | Beginner | Assembly, basic tools |
| Prep-sink station | Easy | Simple rinse plumbing |
| Cedar-framed station | Intermediate | Framing and carpentry |
| Masonry or block island | Advanced | Mortar, real masonry |
| Full utility build | Expert | Gas, water, power, hire a pro |
Beginner: A Simple Drop-In Grill Station
The easiest plan on the ladder is a simple drop-in grill station, the perfect first build. You are not constructing anything complex, just creating a stable surface and surround for a grill you set into place.
Dry-stack cinder blocks or pavers into a U-shape on a level base, set a countertop or a row of pavers across the top, and lower a freestanding grill into the gap. Level the base first so everything sits flat, since that is the only step that really matters here.
Add a shelf or a small cart beside it for prep and storage, and you have a working cook station in an afternoon. There is no mortar and no plumbing, which is exactly why it is the right place for a beginner to start. I tell first-timers to start right here. The whole plan runs well under $500 beyond the grill, and you can rebuild or expand it any weekend, the same easy footing behind the simplest outdoor kitchen layouts.
- Dry-stack blocks or pavers into a U on a level base.
- Set a counter on top and drop in a freestanding grill.
- No mortar, no cutting, no plumbing, just an afternoon.
Beginner: A Modular Kit Kitchen
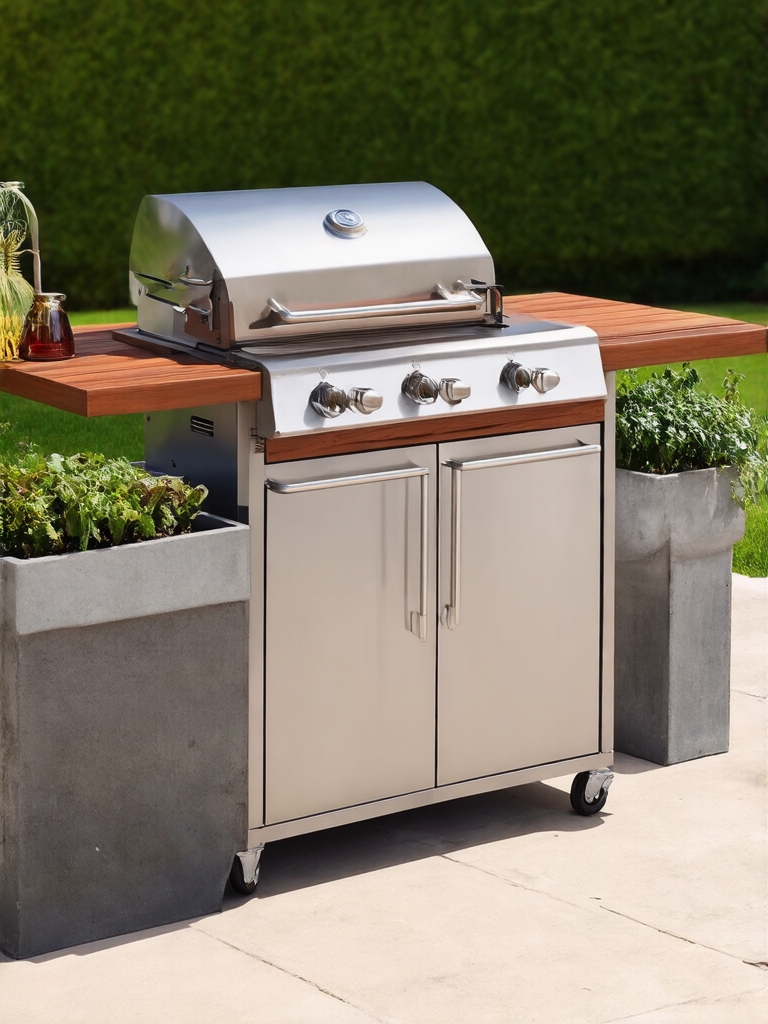
A modular kit is the next-easiest plan, and it is almost foolproof. Manufacturers sell pre-built sections, a grill cabinet, a counter run, a bar, that you simply position and bolt together, like flat-pack furniture for the backyard. The hard engineering is already done for you.
Lay a level base, then bolt the modules together
Your job is to lay a level base, arrange the modules into a layout you like, and connect them per the instructions. Most kits use weatherproof materials and snap or bolt together in a day or two with basic tools. You get a finished, coordinated look without any cutting, mixing, or masonry.
The trade-off is cost: a quality modular kitchen runs roughly $2,000 to $6,000 depending on the pieces. For a beginner who wants a polished result without the skill or the risk, it is the safest way to a real kitchen, and it scales up cleanly if you add modules later.
💡Find your honest starting rung
Before you pick a plan, take stock of three things: the tools you own, the weekends you can spare, and the builds you have actually finished before. Start one step below where your ego puts you. The skills from an easy plan are exactly what the next one up requires.
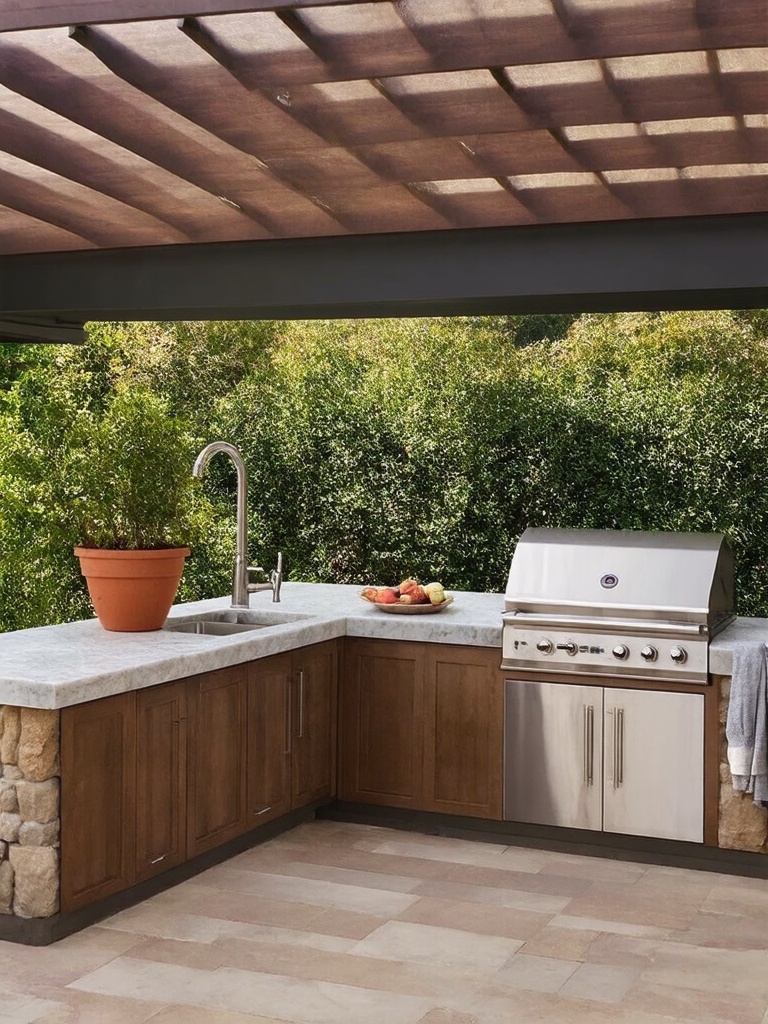
Easy: Add a Prep Sink Station
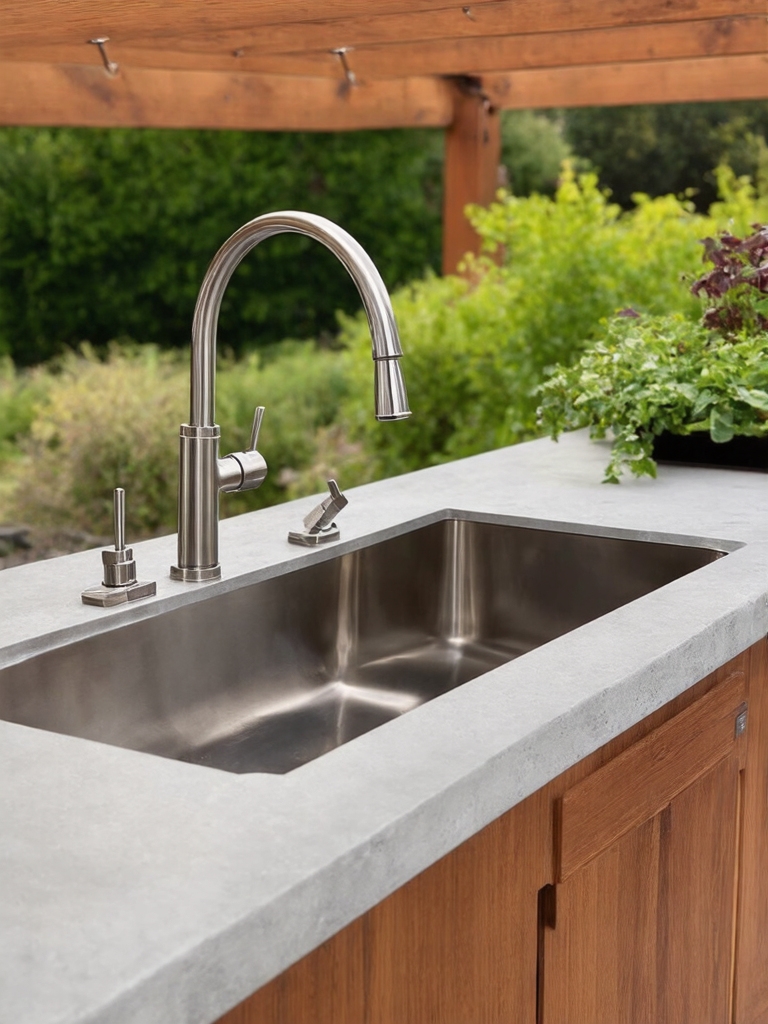
Adding a simple prep sink is the first plan that touches plumbing, and a rinse station keeps it easy. You are not tying into the home’s supply and waste lines, just rigging a basin for washing hands, produce, and tools.
Build or buy a counter with a cutout, drop in a bar sink or a basin, and feed it from a garden hose for fresh water. Run the drain into a bucket or a graywater line out to the garden, and keep the whole thing to cold-water rinsing. Set the sink beside the grill so prep and cleanup happen in one spot.
I love how much a simple rinse sink changes everyday cooking. This plan is a confidence-builder: it adds a really useful feature with only basic tools and no real plumbing skill. If you want a true hard-plumbed sink on supply and waste lines, that is a job for a licensed plumber, so know where the easy version ends. Done as a rinse station, though, it is a weekend upgrade any beginner can pull off, much like a smartly planned small outdoor kitchen layout.
- Drop a bar sink into a counter cutout, fed by a garden hose.
- Drain to a bucket or graywater line; keep it cold-water only.
- Leave any hard-plumbed supply and waste lines to a pro.
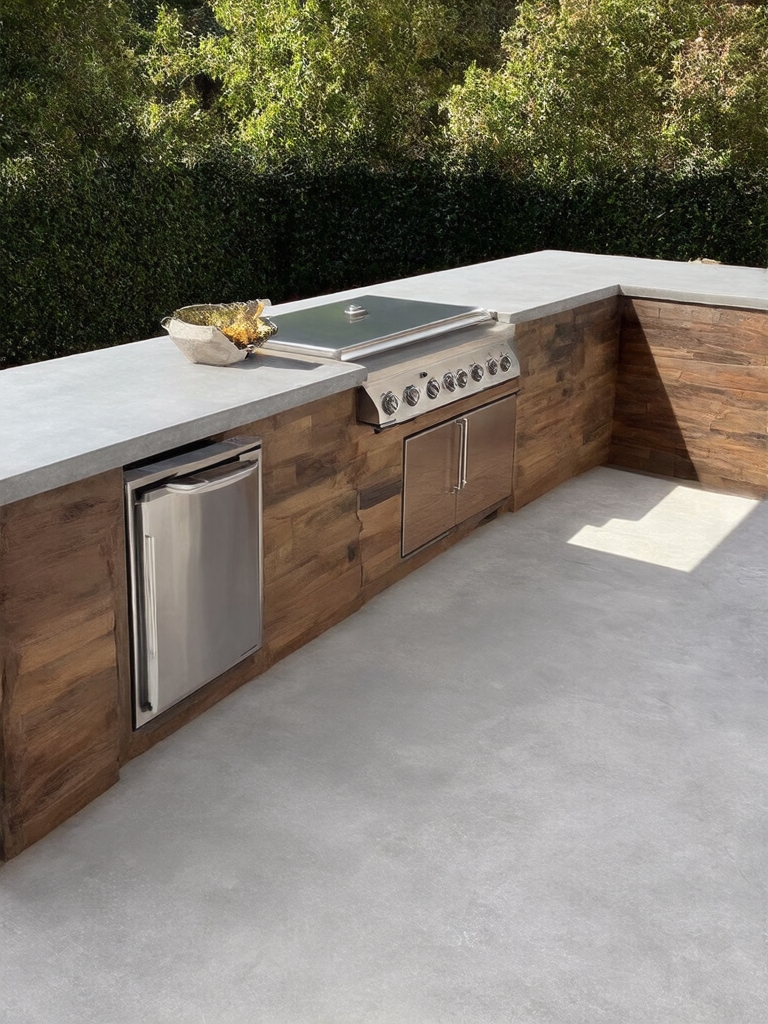
Intermediate: A Cedar-Framed Station
Stepping up to a cedar-framed station is where real carpentry enters the picture. This plan moves past stacking blocks to a built wood frame, cut and joined to size, then clad and capped with a weatherproof counter. It asks for a saw, a drill, square corners, and a basic grasp of framing, so it is a true intermediate plan.
Use cedar or another naturally weather-tough wood, build a sturdy frame to fit your grill and counter, and seal every surface against the elements. The reward is a warm, custom-looking station you sized and shaped yourself. Take your time on the measurements and the leveling, since a frame that is off by a little shows up everywhere once the counter goes on.
👍Building it yourself wins on
- +Big savings on labor
- +A kitchen built exactly to your plan
- +Real pride and skills you keep
👎But hire out when
- –Gas, water, or electrical is involved
- –Heavy structural masonry is beyond you
- –Permits and inspections are required
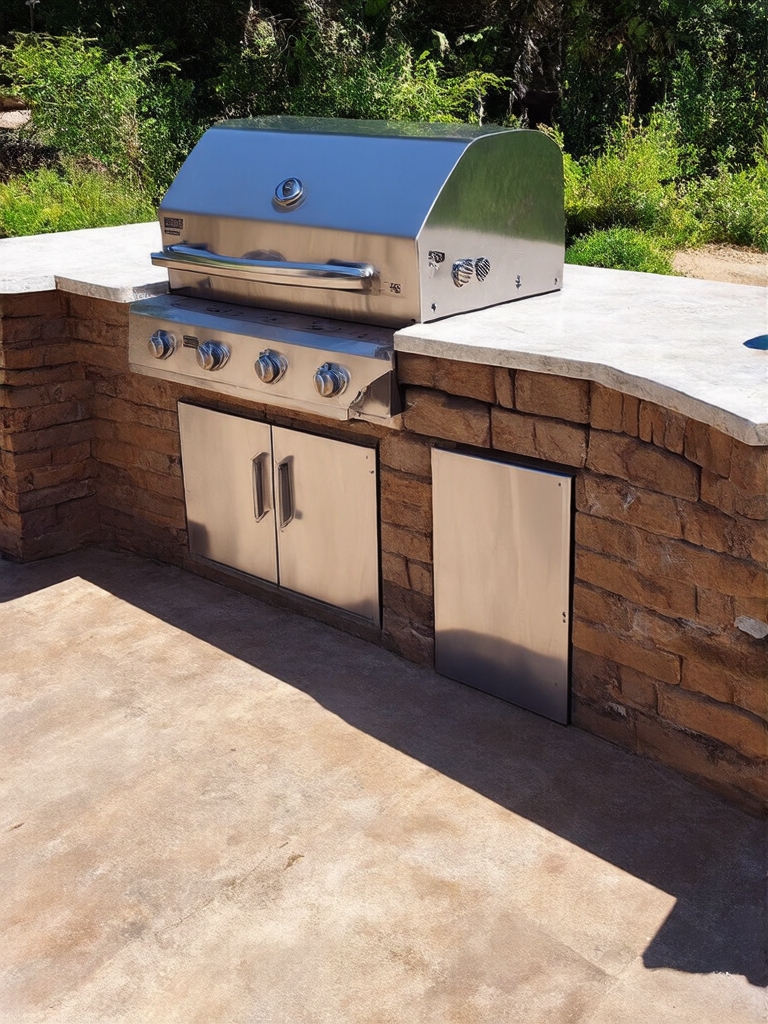
Intermediate: A Stone Grill Island
A mortared stone or block island is the plan where masonry begins, and the difficulty climbs with it. You build a block core set in mortar, then face it with a stone or stucco veneer for a solid, permanent island that anchors the whole kitchen. This is a real step up from dry-stacking, since mortar is far less forgiving of mistakes.
Lay a proper footing and let it set for about 24 hours so the heavy island will not shift or crack, build up the block core level and plumb, and apply the veneer once the structure is solid. It is a satisfying, durable build, but it rewards patience and a bit of masonry know-how. If you have never worked with mortar, practice on something small first, since a crooked course is hard to undo, much like the boldest concrete outdoor kitchen designs.
- Pour a proper footing so the heavy island stays put.
- Build the block core level and plumb before the veneer.
- Practice with mortar first; it is far less forgiving than dry-stack.
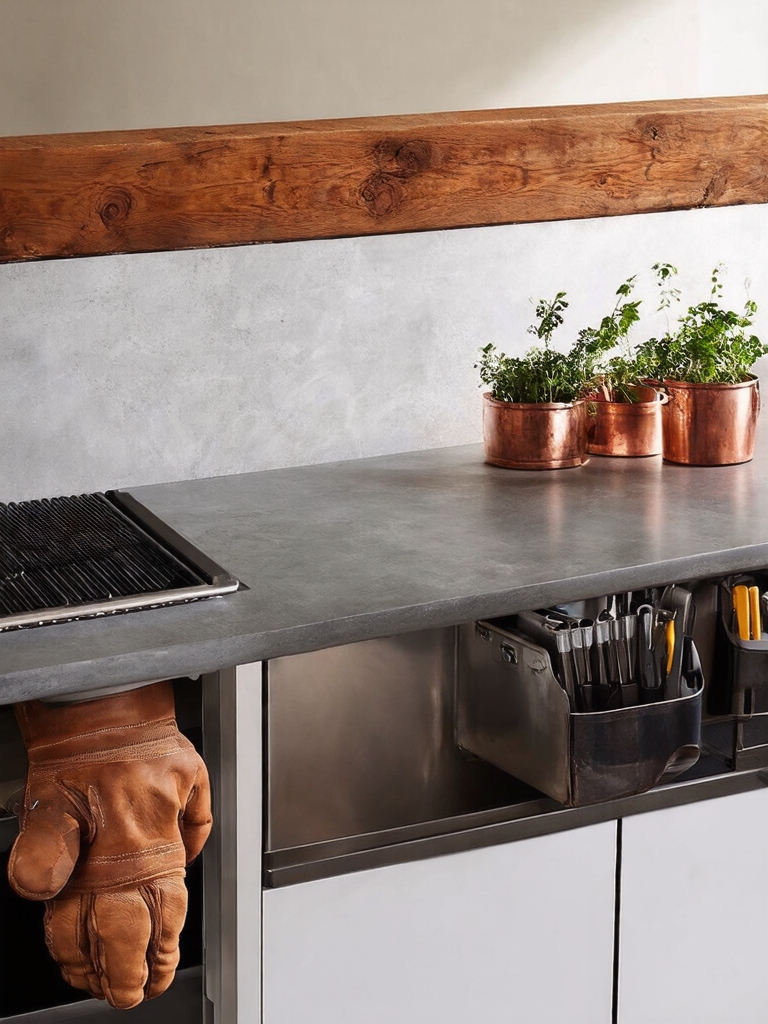
Intermediate: Building for Real Durability
Any plan past the beginner tier lives or dies on the materials, so building for durability is its own intermediate skill. The challenge is choosing and working with surfaces that survive sun, rain, and freeze for decades, marine-grade stainless, natural stone, porcelain tile, sealed concrete, and weatherproof cabinetry. The wrong material is what turns a good build into a rebuild.
Match each material to the job and the weather, then handle it right: seal stone and concrete on a schedule, use rust-proof outdoor-rated fasteners, and detail the build so water drains away cleanly. Getting this layer right comes down to know-how, and it is what separates a kitchen that ages well from one that falls apart, the same durability behind any covered outdoor kitchen design.
- Choose stone, porcelain, sealed concrete, and marine-grade steel.
- Use rust-proof, outdoor-rated fasteners throughout.
- Detail the build so water drains off and never pools.
Match a plan to your skill level.
🎯Total beginner
A drop-in grill station or a modular kit, an afternoon to a weekend, no real skills.
🎯Handy and patient
A cedar-framed station or a mortared stone island, carpentry or masonry required.
🎯Experienced builder
A full utility or steel-and-stone build, with licensed pros for gas, water, and power.
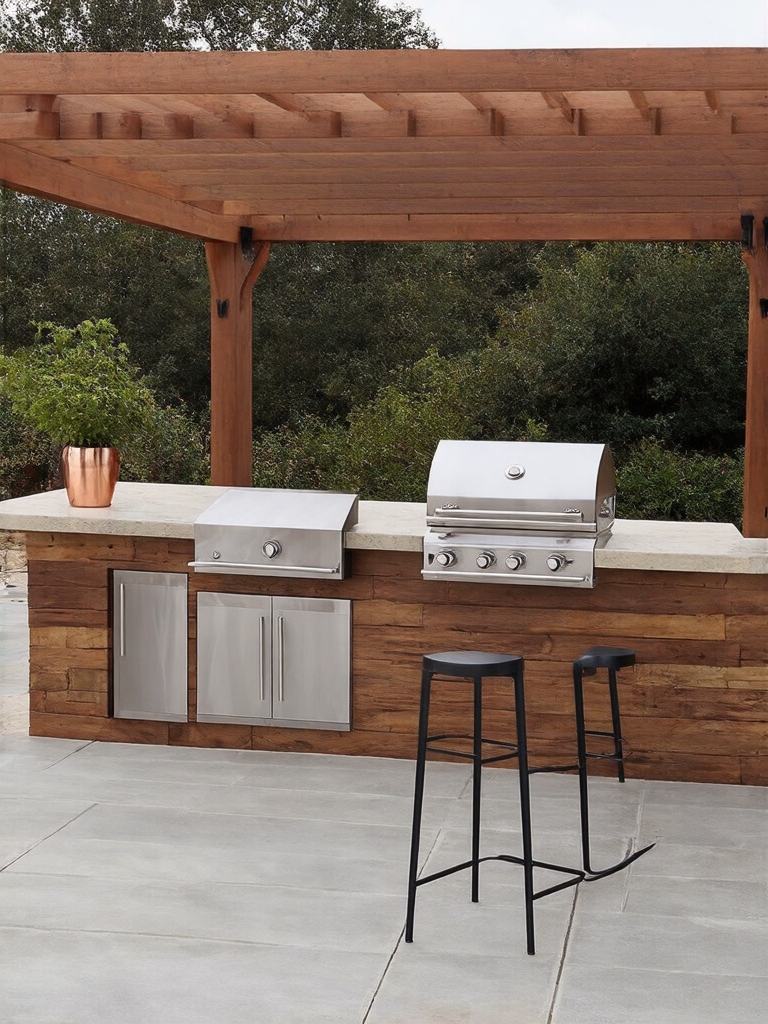
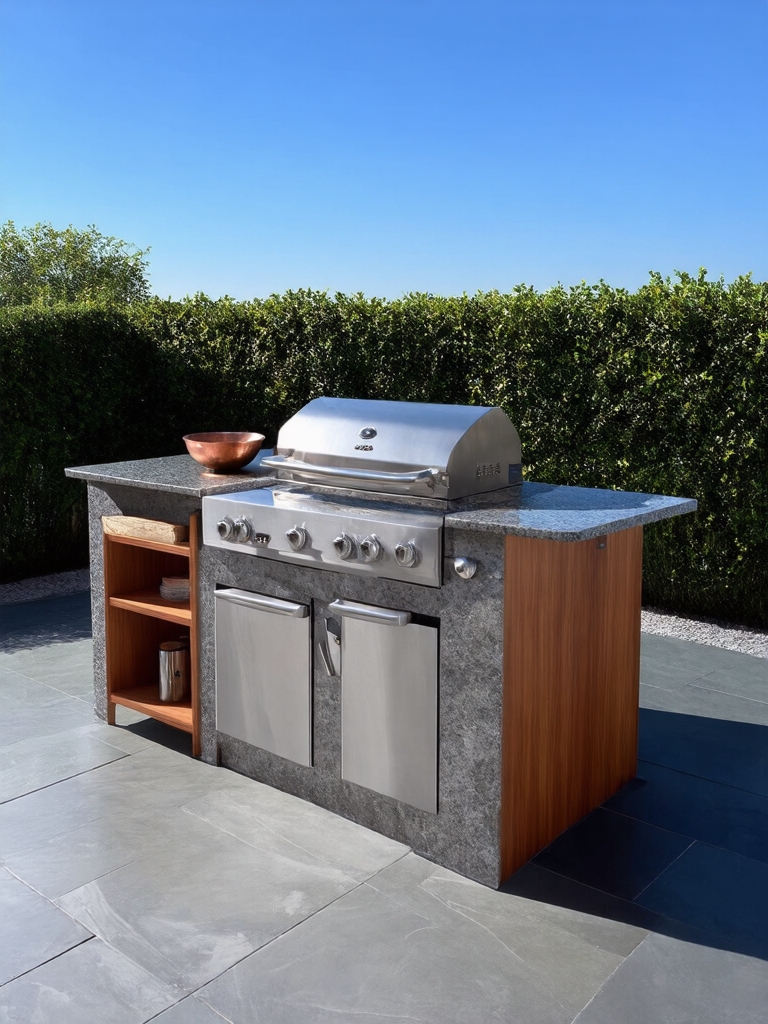
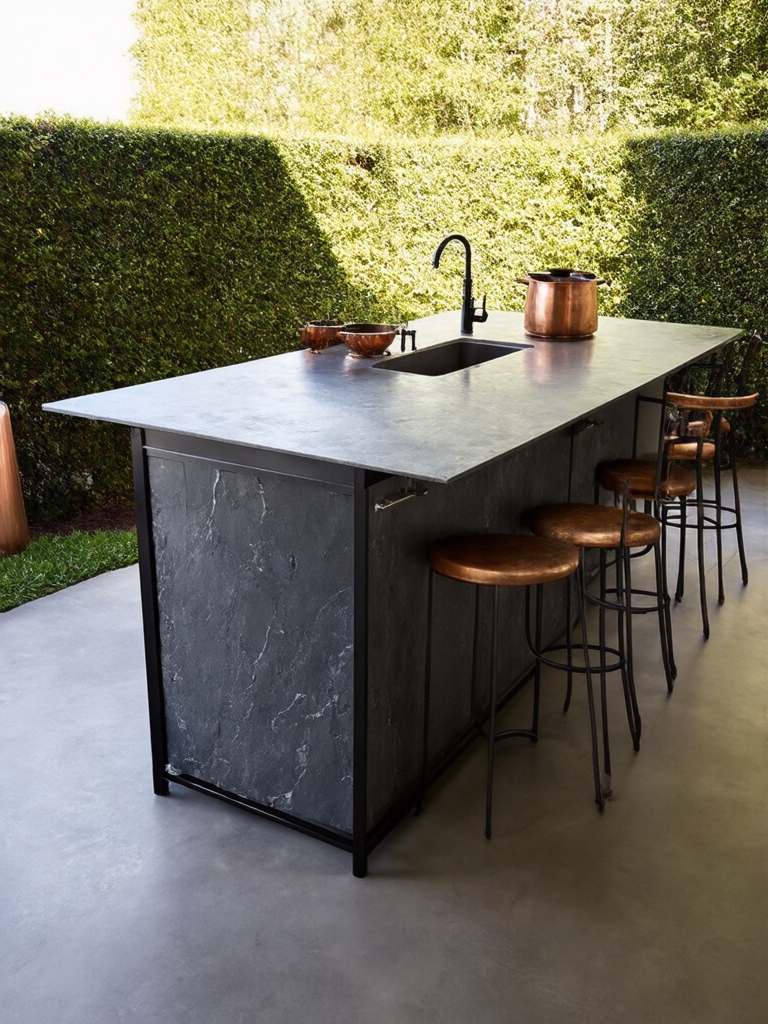
Advancing: A Versatile Multi-Cook Station
Building a versatile station that holds several cooking tools is where the planning gets serious. Instead of one grill, you are fitting a main grill, a side burner, maybe a built-in smoker or a pizza oven, and the prep space to work them, all into one coherent run.
The difficulty here is less about any single skill and more about coordinating them. You have to size the openings for each appliance, leave the right clearances for heat, plan counter and landing space on both sides, and route any fuel safely, all before you build.
I tell people this is the plan where a careful drawing saves you from expensive mistakes, since a burner that does not fit or a grill with no landing space is a costly thing to discover late. Lay it out on paper, confirm every appliance’s specs, and build the structure to those exact dimensions. It is a rewarding plan that turns a grill corner into a real cooking suite, but it demands the patience to plan it all the way through first.
- Size each opening to its appliance’s exact specs.
- Leave heat clearances and landing space on both sides.
- Draw the whole layout before you build anything.
Advanced: A Masonry Base for Appliances
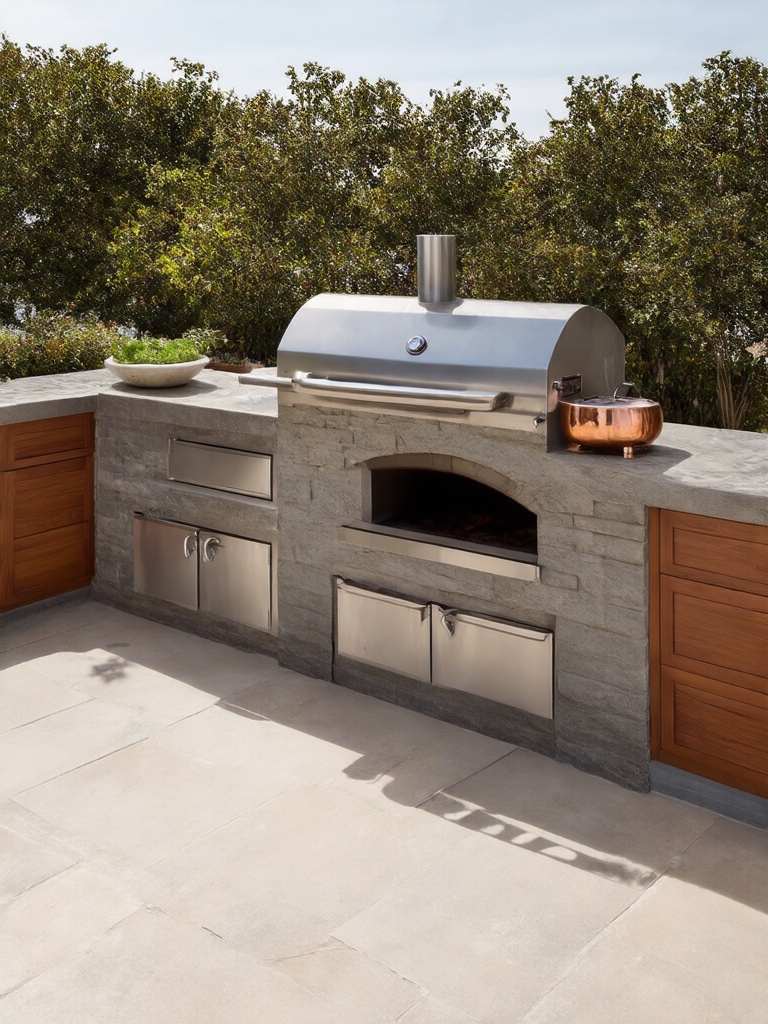
A full masonry base built to carry heavy built-in appliances is an advanced plan that leaves little room for error. You are constructing a load-bearing block or brick structure with precise openings for drop-in grills, doors, and burners, all sized to the manufacturer’s cutouts. The weight and the permanence raise the stakes.
Everything has to be right: a solid footing, level and plumb courses, exact appliance openings, and proper ventilation for any gas equipment so heat and fumes escape safely. A mistake here is heavy, set in mortar, and expensive to fix.
This is the plan where strong masonry skills are not optional, and where many capable DIYers choose to hand the structural work to a mason and focus on the finishes, the kind of solid base behind any backyard outdoor kitchen space.
- Build a load-bearing base on a solid, level footing.
- Cut openings to the exact appliance specs and cutouts.
- Ventilate any gas equipment so heat and fumes escape.
Expert: Framing In Gas, Water, and Power
The hardest tier of all is a full outdoor kitchen with real utilities, gas lines, hard plumbing, and electrical, framed and run into the structure. This is where DIY ends for most people and licensed trades take over, because the work is truly dangerous to get wrong.
Hire licensed trades for gas, water, and electrical
A gas line that leaks, a water line that bursts in a freeze, or outdoor wiring that is not properly grounded and protected is not a cosmetic mistake, it is a safety hazard and often a code violation. These connections need permits, inspections, and licensed pros, full stop. You can absolutely design the kitchen, build the structure, and manage the project, but the gas, plumbing, and electrical hookups belong to the trades.
Treat this tier as a collaboration: do the parts you are skilled at, and hire out the connections where a mistake is costly or dangerous. That is simply how a smart, experienced builder works.
Expert: A Steel-Framed, Stone-Clad Island
At the top of the ladder sits the fully custom kitchen: a welded steel frame clad in stone, tile, or stucco and fitted with high-end built-in appliances. It combines nearly every advanced skill, from metalwork to masonry to precise fabrication, into one permanent, professional-grade build.
Combine metalwork, masonry, and precise fabrication
A steel stud frame gives the island a strong, rot-proof, fire-resistant skeleton, which is then wrapped in a durable veneer and topped with stone or concrete. Building it well takes welding or metal-framing skill, masonry for the cladding, and exacting work to fit the appliances, all to a standard that lasts for decades. Most people who reach this tier either have serious trade experience or partner with pros who do.
This is the build that looks and performs like a high-end installed kitchen, because that is exactly what it is. It is the expert end of the ladder, the reward for working up through the simpler plans first and earning the skills each one teaches.
How to Pick Your Rung and Climb Safely
I recommend starting one rung below where you think you are. A beginner who nails a drop-in station and a modular kit builds the confidence and the skills to tackle a framed station next, and so on up the ladder. Each plan teaches what the next one needs, so there is no shame, and a lot of wisdom, in starting easy and working up. Be honest about your tools, your time, and your experience before you commit to a build.
Wherever you land, draw the line at the dangerous work. Gas lines, hard plumbing on supply and waste, and permanent electrical belong to licensed pros with permits and inspections, no matter how handy you are.
Build the structure, manage the project, and do the parts you have the skills for, but never improvise the connections where a mistake means a leak, a fire, or a failed inspection. Climb the ladder as high as your skills honestly reach, and hire out the rest.
Difficulty and Build Questions, Answered
?What is the easiest outdoor kitchen to build yourself?
A drop-in grill station is the easiest. You dry-stack blocks or pavers into a U on a level base, set a counter on top, and lower in a freestanding grill, no mortar, cutting, or plumbing. A modular kit is a close second: pre-built sections you bolt together in a day or two. Both are genuine beginner plans you can finish in an afternoon to a weekend.
?Can a beginner build an outdoor kitchen?
Yes, as long as you pick a beginner-level plan. A drop-in station, a modular kit, or a simple rinse-sink station all sit well within a first-timer’s reach and need only basic tools. Start there, build your confidence, and work up to framed, masonry, and custom builds over time. Just leave gas, hard plumbing, and electrical to licensed pros from the very start.
?What is the hardest part of building an outdoor kitchen?
The utilities, gas lines, hard plumbing, and electrical, are the hardest and most dangerous parts, and they should always go to licensed pros with permits. Beyond that, heavy structural masonry and a fully custom steel-and-stone build demand the most skill. The structure and finishes are very doable for a determined DIYer; the connections are where you stop and hire out.
?How much does it cost to build an outdoor kitchen by difficulty?
Roughly: a drop-in station runs under $500 beyond the grill, a modular kit about $2,000 to $6,000, and a mortared masonry island climbs from there with materials and appliances. A full custom build with utilities and high-end appliances reaches five figures. Cost rises right alongside difficulty, so matching the plan to your budget and skill keeps the project realistic.
?Should I build my outdoor kitchen myself or hire a pro?
Do both, by tier. Build the structure and finishes you have the skills for, a station, a frame, even masonry if you are confident, to save on labor and earn the result. Hire licensed pros for anything involving gas, water, or electrical, and for heavy structural work beyond your experience. The smartest builders DIY what they can and hire out the parts where a mistake is costly or dangerous.
Start at Your Rung, Climb From There
An outdoor kitchen is less a single pass-or-fail project than a ladder you climb one rung at a time. A beginner can absolutely build a great drop-in station or assemble a modular kit this weekend, then work up to framing, masonry, and custom builds as the skills come. The trick is matching the plan to where you honestly stand today.
Pick the rung that fits your skill, your time, and your budget, and start there. Build it, cook on it, and let it teach you the skills for the next step up, while you hand the gas, water, and electrical to the pros. Climb at your own pace, and the kitchen grows right alongside what you can do.


