The first time I watched a designer fix a cramped kitchen, she did not buy a thing for the first hour. She just stood in the middle, opened every door, mimed cooking a meal, and watched where the room fought back. By the time she touched anything, she already knew exactly where the layout was failing.
That is the difference between decorating and designing a small kitchen: the pros fix the flow before the finishes. These fourteen layout tricks are the ones designers reach for again and again, each with the reasoning that makes it work. Most cost little or nothing, because the best small-kitchen move is usually a smarter plan, not a bigger budget.
What Designers Do First
- Fix the flow before the finishes; a tight work triangle beats any single gadget.
- Plan zones, so each small area does one job and you stop crossing the room mid-recipe.
- Use scale tricks: fewer, larger elements read calmer and bigger than lots of small ones.
- Most of these cost little, because the best small-kitchen fix is a smarter plan, not a purchase.
Maximize a Small Kitchen by Knowing Its Limits

The first designer trick is a diagnosis. Look before you buy a thing. Before anything else, stand in the kitchen and cook an imaginary meal, noting every spot where you turn, walk, or have nowhere to set a pan. Those friction points are the real problem, and they are where every other fix should go.
Designers map the room on paper too, marking the fixed things they cannot move: the window, the gas line, the door swing. Working around those constraints, rather than fighting them, is what separates a smart plan from a frustrating one.
I always start a tight kitchen this way, because it stops you spending on the wrong thing. Once you can name the three moments that annoy you daily, the rest of these tricks aim themselves at the right targets.
Tighten the Kitchen Work Triangle

The work triangle, the path between sink, stove, and fridge, is the oldest design rule for a reason: it decides how much you walk while cooking. In a small kitchen, the trick is keeping that triangle tight. Short loops win. Your busiest path should be a step or two, a quick pivot in place.
You rarely need to move plumbing to improve it. Even shifting the prep zone or relocating the microwave can shorten the loop, and the layout that suits your space, galley or L-shape, usually has a natural triangle to tighten.
- Keep the three points within a few steps of one another.
- Leave a clear landing counter beside both the stove and the sink.
- Make sure no two opposing doors clash when both are open.
Which layout problem is yours?
🎯I walk in circles while cooking
Tighten the work triangle and define zones so the busy path shrinks to a step or two.
🎯It feels dark and closed in
Go low-contrast and pale, add reflective surfaces, and layer in under-cabinet light.
🎯There is never enough storage
Edit first, then send storage up the walls with rails, tall cabinets, and a high shelf.
Plan Efficient Kitchen Zones

Beyond the triangle, designers split even a tiny kitchen into zones: a prep zone, a cooking zone, a wet zone, a storage zone. Giving each small area one clear job stops the mid-recipe crossing. One job per zone. It keeps the tools exactly where the work happens.
In a small kitchen the zones can be inches apart, but defining them still changes how the room flows. Keep the knives and board at prep, the oils and spoons by the stove, and the daily dishes near the sink, and the whole space starts working like a bigger one.
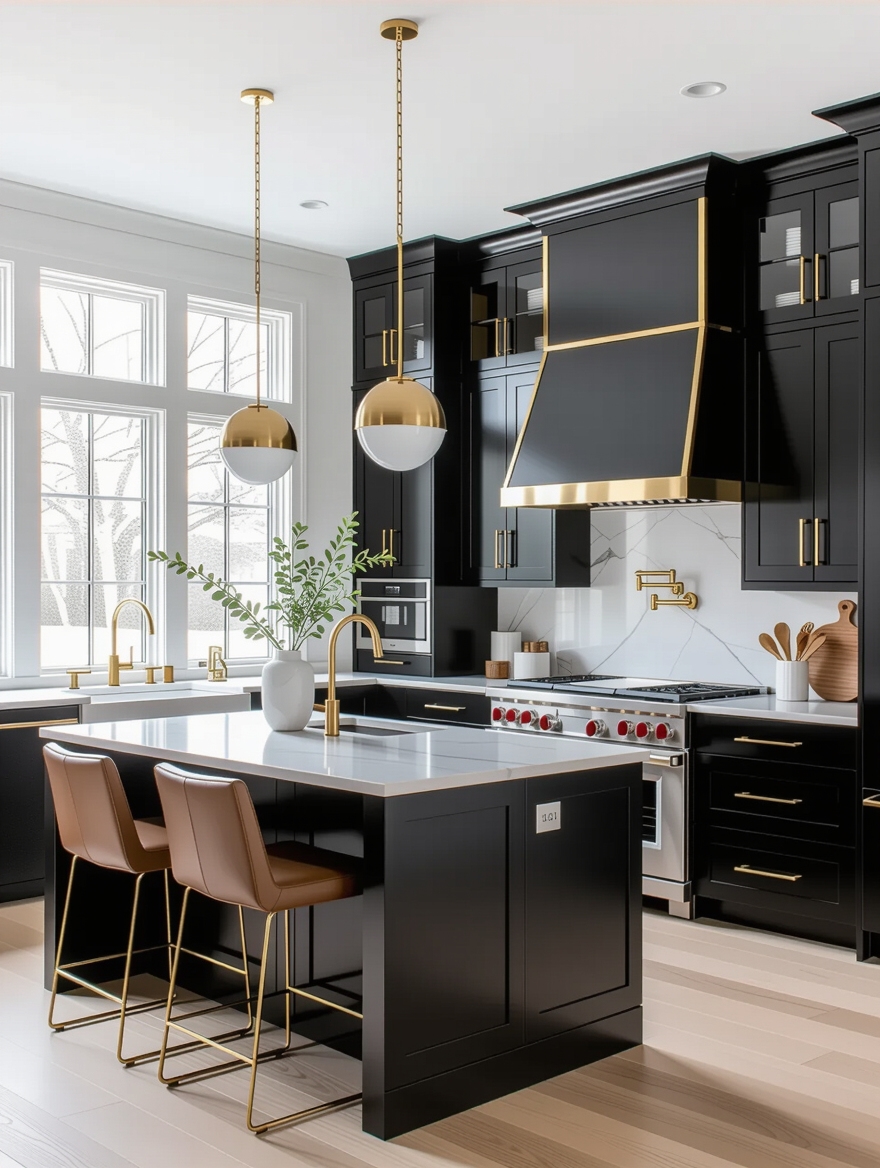
Use Light Colors to Expand the Room
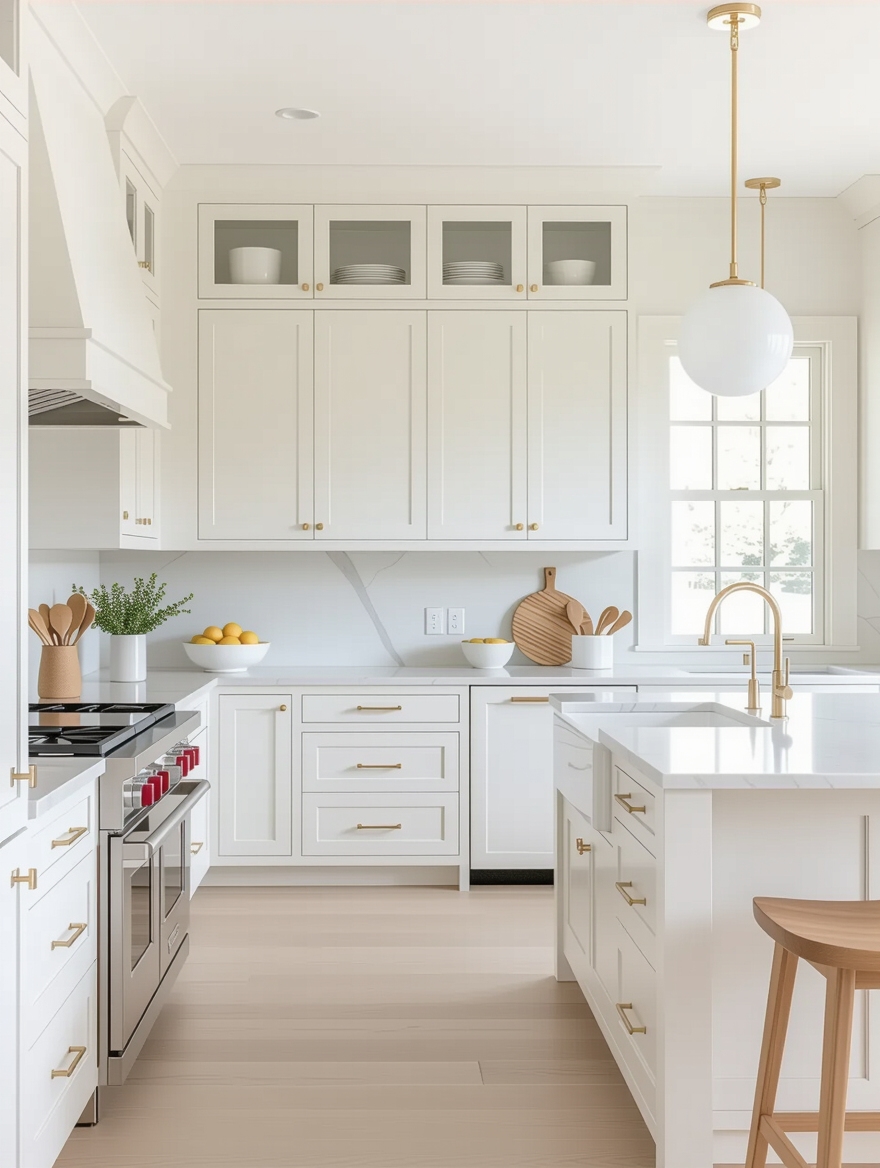
Designers fake square footage with color before they spend on anything structural. Pale, low-contrast cabinets and walls bounce light and blur the edges of a room, so a small kitchen feels open instead of boxed in.
Low contrast, not just white
The pro nuance is low contrast, not just white. Keeping the cabinets, counter, and walls in close tones lets the eye glide without stopping, which the eye takes as more open and roomy.
It is the cheapest trick on the list, a weekend and a couple of gallons. Skip stark white if it feels cold and reach for a warm off-white or soft sage, which keeps the room bright while adding a little character.
Brighten the Surfaces Designers Choose

Surface choice is a quiet designer trick for a small kitchen. Reflective finishes, a glossy backsplash, polished or quartz counters, satin-finish cabinets, catch and spread the light the room already has, so it feels brighter and bigger without a single new fixture.
The reasoning is simple. Shine bounces light; matte drinks it. In a dim small kitchen, leaning a little glossier on the surfaces you are choosing anyway adds brightness for free.
- Pick a glossy or glass backsplash to bounce daylight around.
- Lean toward light, reflective counters over dark matte ones in a dim room.
- Add glass cabinet fronts on a door or two for depth and light.
Brighten Dark Corners and Spaces

A dark corner makes a small kitchen feel smaller, because shadows hide the edges of the room. Designers layer light to erase them. One fixture is never enough. They light the counters and the corners directly instead of leaning on a single bulb overhead.
Under-cabinet LED is the workhorse here, lighting the counter where you stand in your own shadow. A small puck light inside a dark cabinet or above the sink finishes the job, and the whole room opens up after dark.
Plan on about $15 to $40 a run for under-cabinet strips and an hour to fit them. Warm 2700K bulbs keep the small space feeling inviting, and a dimmer lets the room shift from bright prep to soft evening.
📋The designer’s first-hour checklist
- ✓Mime a full meal and note every friction point.
- ✓Map the fixed things you cannot move.
- ✓Check the work triangle and door clashes.
- ✓Decide your one big move before buying anything.
Keep Storage Airy and Accessible
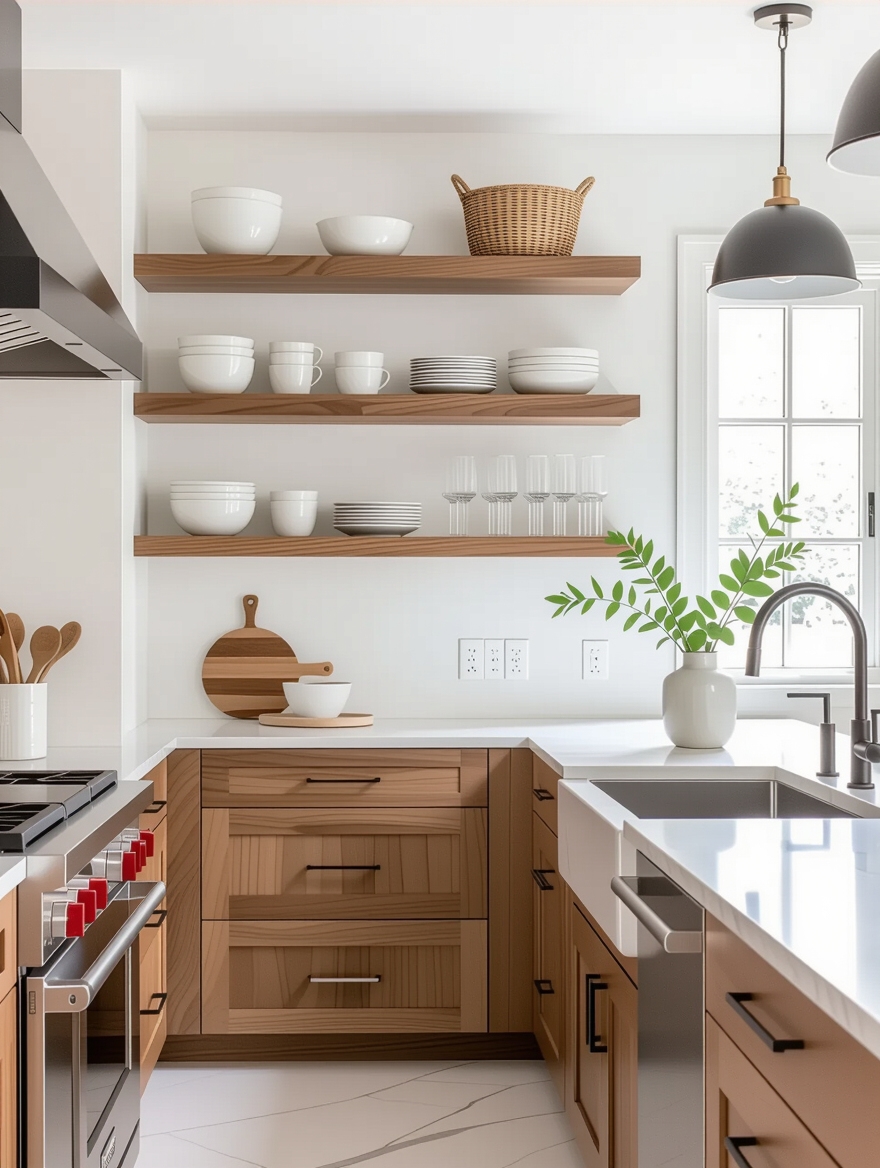
Designers know a wall of heavy uppers presses in on a small kitchen, so they lighten the storage. A run of open shelves, glass fronts, or a few cabinets stopped short of the ceiling keeps the room feeling airy while the things you use stay within easy reach.
The trick is balance. Open to breathe, closed to hide. Enough light storage to feel airy, enough closed to bury the clutter. Keep the open parts to things you rotate daily, so they stay tidy through use rather than gathering dust.
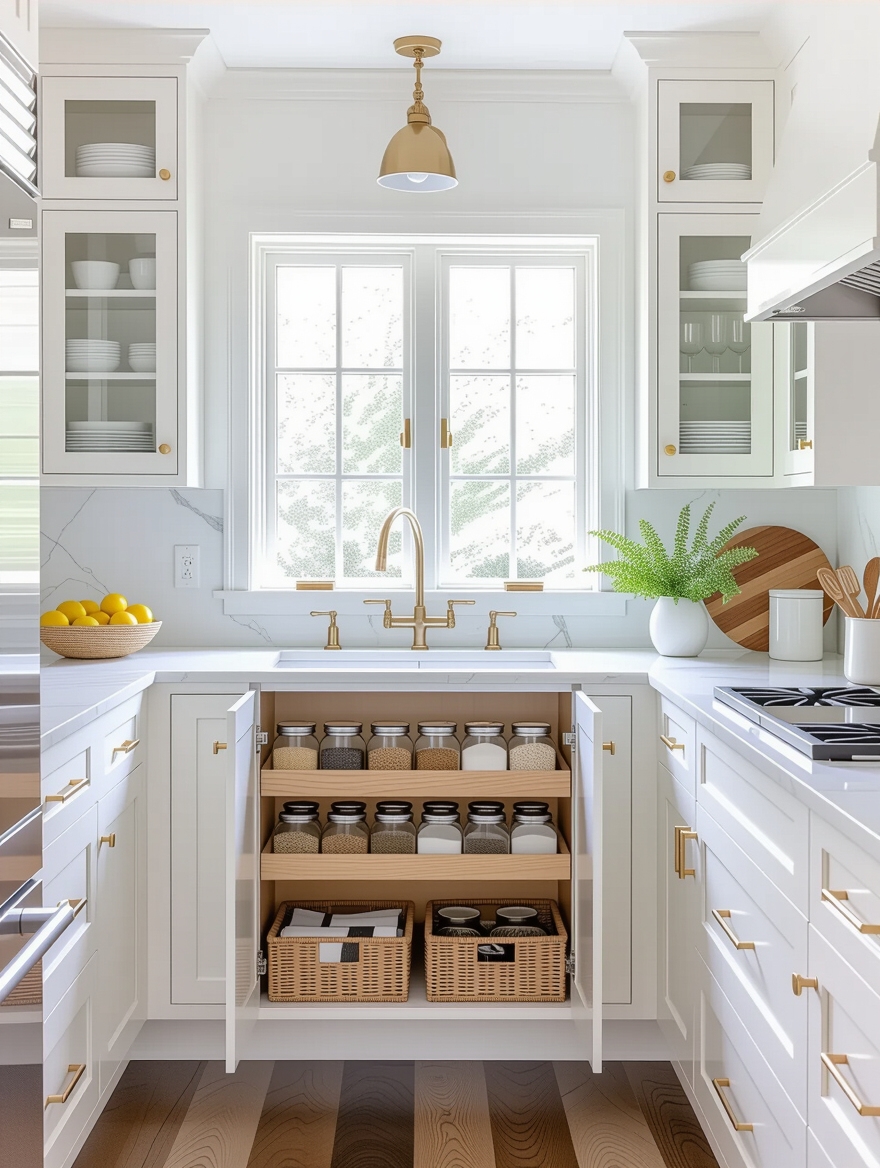
Optimize Vertical Storage

With a narrow floor, designers send storage up the walls. Rails, hooks, tall cabinets, and a high shelf turn vertical air into storage and keep the counters and floor, the space you actually move and work in, clear.
- Hang a rail with hooks above the counter for daily tools and mugs.
- Take at least one cabinet run to the ceiling to use the top foot of air.
- Mount a magnetic strip for knives to free a whole drawer.
The One-Big-Move Transform Trick
Here is the counterintuitive trick designers swear by: in a small kitchen, one big move reads bigger than many small ones. A single large-format floor tile, one bold backsplash, or one oversized pendant gives the eye a calm, confident anchor, while a dozen small busy elements make a tight room feel cluttered.
One confident anchor beats five timid touches
The reasoning is about visual noise. Fewer, larger elements mean fewer lines for the eye to trip over, so the room feels more spacious even though nothing moved. It is why pros often spend the budget on one statement and keep everything else quiet.
I tell people to pick their one big move, the backsplash, the light, or the floor, and let the rest stay simple. That single confident choice does more for a small kitchen than five timid ones, and it usually costs less too.
The belief that keeps small kitchens cramped:
❌ Myth: More storage always fixes a small kitchen
✅ Reality: Not if the flow is wrong. Storage piled into a bad layout just adds clutter. Fix the work triangle and zones first, then add only the storage that solves a named problem.
❌ Myth: Lots of small touches make a tight room feel custom
✅ Reality: Usually the opposite. Many small busy elements add visual noise. One confident big move, a bold backsplash or an oversized light, reads bigger and more designed.
Organize With a Designer’s Discipline

The least glamorous designer trick is the most important: edit before you organize. A small kitchen cannot hold everything, so the pros cull the duplicates and the never-used gadgets first, then store only what stays. Half the space problem usually walks out in a donation box, and the same discipline behind any clutter-hiding plan keeps the room calm long after.
- Edit first: cull duplicates and unused gadgets before buying organizers.
- Give every keeper a home so nothing lives on the counter by default.
- Reset the counters in two minutes after each cook to keep it all working.
Common Layout Mistakes Designers Catch
The mistake I see most often is spending on storage before fixing the flow. People cram a cramped kitchen with bins and a bulky cart, then wonder why it still feels tight, because the real problem was a layout that made them walk in circles.
Designers always sort the work triangle and the zones first, then add storage to solve named problems, not as a shopping spree. Crowding the walkway with anything bulky is the second trap, since a narrow path makes the whole room feel smaller and harder to use.
Two more catches round it out. Going too dark without a lighting plan turns a small kitchen into a cave, so deep colors always need layered light to carry them. And over-furnishing, a too-big table, a second cart, three appliances crowding the counter, eats the very space you were trying to open up.
The fix is the same discipline designers start with: plan the flow, light it well, keep one confident statement, and edit everything else out. A small kitchen rewards restraint more than any room in the house.
Small Kitchen Layout Questions, Answered
?What is the most important small kitchen layout rule?
A tight work triangle. Keeping the sink, stove, and fridge within a few steps of each other decides how much you walk while cooking, and fixing it does more than any organizer you can buy.
?How do designers make a small kitchen feel bigger?
They fix the flow, then use scale and light: a low-contrast pale palette, reflective surfaces, layered lighting, and one big confident element instead of many small busy ones. Most of it costs little.
?Do I need to renovate to improve a small kitchen layout?
Rarely. Most layout wins come from shifting the prep zone, relocating a microwave, tightening the triangle, and editing clutter, none of which move a wall. Save renovation for cases where the plan truly does not function.
?What is the biggest small kitchen layout mistake?
Adding storage before fixing the flow, and crowding the walkway. Storage piled into a bad layout just clutters a tight room. Sort the triangle and zones first, keep the path clear, then store what is left.
Design the Flow, Not Just the Look
The tricks designers swear by all share one idea: a small kitchen works when you fix the flow before the finishes. Tighten the work triangle, define the zones, send storage up the walls, light it well, and commit to one confident statement, and the room cooks like one twice its size.
Start the way the pros do, with ten minutes of standing in the room and miming a meal, before you spend a dollar. Name your friction points, aim these tricks at them, and the smallest kitchen in the building can feel like the smartest.