

The first time I watched a small kitchen go from cramped to open just by swapping a clunky island for the right one, I stopped believing islands shrink small kitchens. The wrong one does. The right one, light, clear, and correctly spaced, can make the whole room breathe and feel bigger than it did empty.
These fifteen small kitchen island makeovers are about that transformation: the clearance, color, and material choices that let an island open a room, not choke it. None of them add square footage. All of them make a tight kitchen feel like you found some, which is the only makeover that matters.
What Makes an Island Open a Room
- Clearance is everything: aim for 42 inches of walkway around the island
- Light color and a leggy or open base keep the island from looking heavy
- Matching the island top to the counter or backsplash unifies the room
- A mobile or glass island keeps the floor feeling open
- Size the island to the clearance you have, not the one you wish you had
Start a Makeover by Measuring

Every island makeover that worked started with a tape measure. Showrooms come later. Measuring the room first tells you whether an island helps or just gets in the way, because the floor around it matters more than the island itself. Map your walkways before you fall for a piece.
Mark the path from sink to stove to fridge, then see how much room is left in the middle. If an island would leave less than 36 inches anywhere, it has to shrink or move. Most failed island makeovers were simply too big for the floor.
Knowing your real numbers turns shopping from guesswork into a quick yes or no. Once you have them, my small kitchen island ideas that maximize every inch guide helps you match a size to the space.
Why 42 Inches of Clearance Matters

The single rule behind every island makeover that feels open is clearance. Leaving 42 inches between the island and the surrounding counters lets two people pass or work back to back without bumping elbows, which is what keeps a small kitchen feeling roomy and open. Drop below 36 and the room fights you every day. Clearance is non-negotiable.
Measure Every Side
Measure from the island edge to every counter and appliance, and check that doors and drawers still open into the gap. The clearance does the quiet work; it is the difference between an island you love and one you curse.
If 42 inches will not fit on every side, that is your sign to go smaller or movable. A tight kitchen rewards the discipline.
A Bright, Minimalist White Island

Color decides how heavy an island looks, and a light, minimalist island in white or pale wood almost vanishes in a small kitchen. A pale top and base reflect light and blend with the cabinets, so the island stops looking like a block in the middle of the floor and starts feeling like part of the room. The makeover photos always look airier in light tones. Light wins here.
Keep the styling spare, a clear top, one bowl, maybe a single plant, so nothing adds visual weight back. A Scandinavian-style island with slim legs feels even lighter than a solid base. For more light-forward design, my small kitchen ideas modern homes are loving piece covers the palette.
An island never failed a small kitchen because it was too plain. It failed because there was no room to walk around it. Clearance is the whole makeover.
Maximize Space With the Right Island
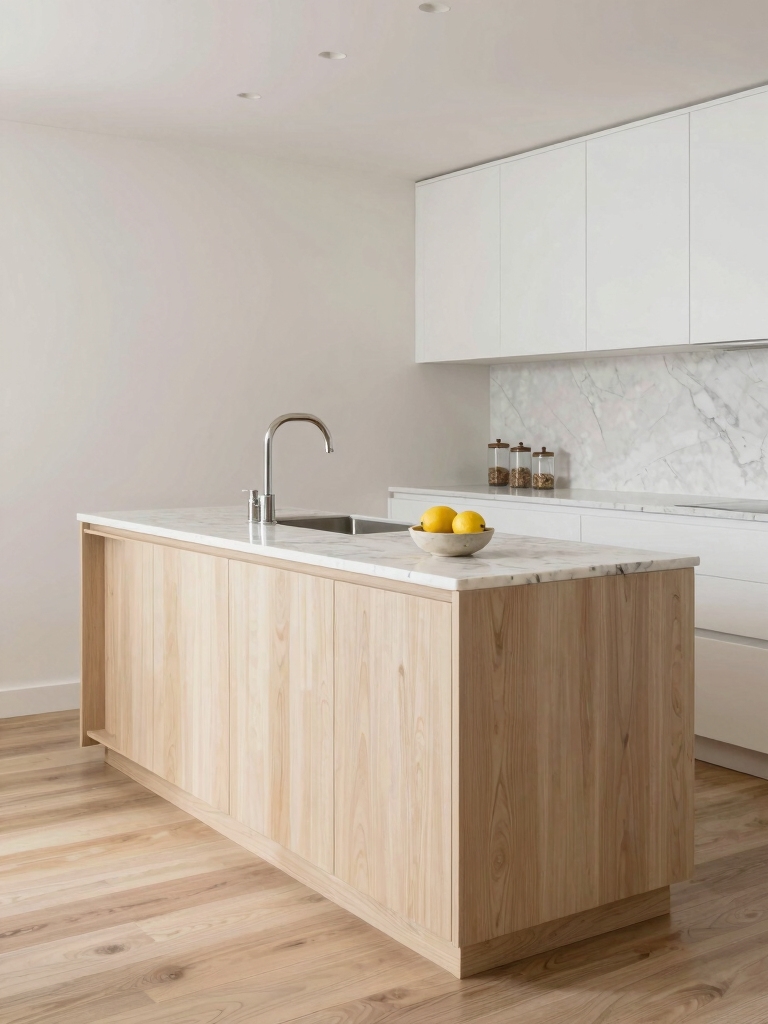
The makeover lives or dies on picking an island scaled to the room, since a too-big island is the most common reason a small kitchen feels worse after the redo. Maximizing the space means choosing the smallest island that still does the job, then leaving the floor around it clear. Match the island to the room in this order:
- Set the job first: prep, storage, or seating, and size to that one
- Cap the footprint so 36 to 42 inches of walkway survives on every side
- Pick a slim 18 to 24-inch depth for a galley, wider only if the floor allows
- Go movable when the clearance is borderline
A Mobile Island for Flexibility
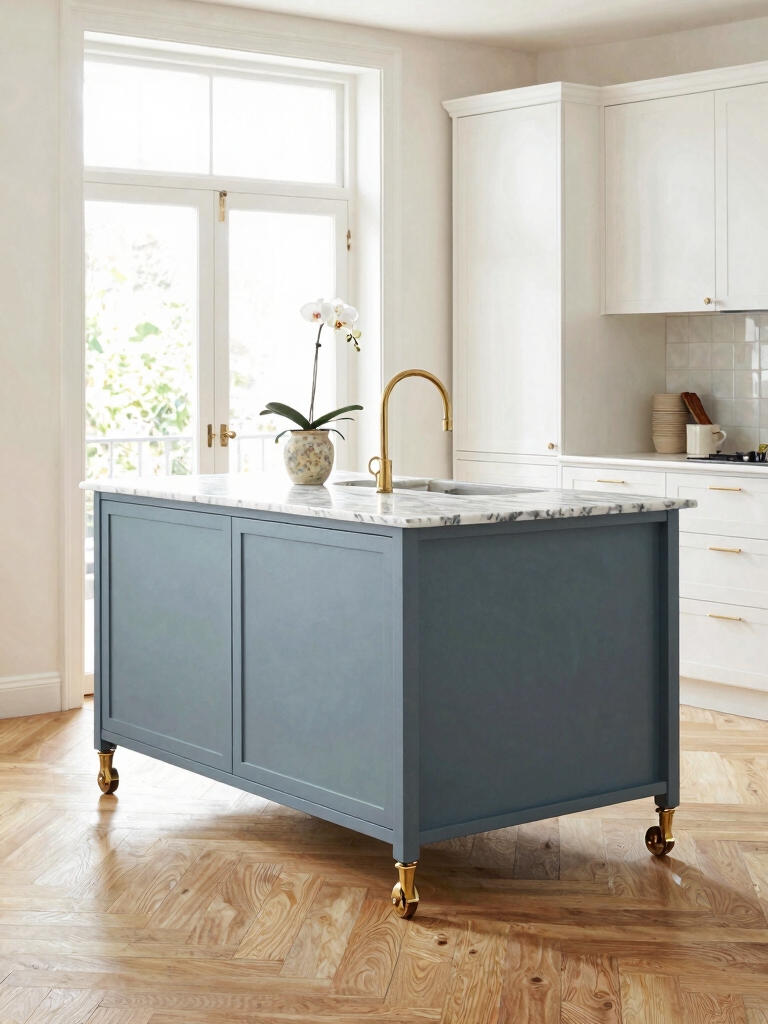
When the floor is too tight for a permanent island, a mobile island delivers the makeover without the commitment. It rolls in for prep and out of the way after, so you get the island when you want it and the open floor when you do not. The floor is yours again in seconds.
For a kitchen on the edge of fitting one, a good cart does most of what a built-in would, then disappears against a wall. Spend a little more for stability, since a wobbly cart helps nobody:
- Locking wheels so it holds steady while you chop, then releases to roll
- A butcher-block top big enough to actually prep on
- Storage below for the cabinet you wish you had
- A footprint you can park against a wall to clear the whole floor
How to add an island to a small kitchen:
1Measure the clearances
Map the walkways and confirm you can keep at least 36 inches, ideally 42, on every open side.
2Pick the one job
Decide whether the island is for prep, storage, or seating, and size it to that, not all three.
3Choose light and movable if tight
When clearance is borderline, a pale, leggy, or rolling island keeps the floor feeling open.
Transform a Narrow Table Into an Island
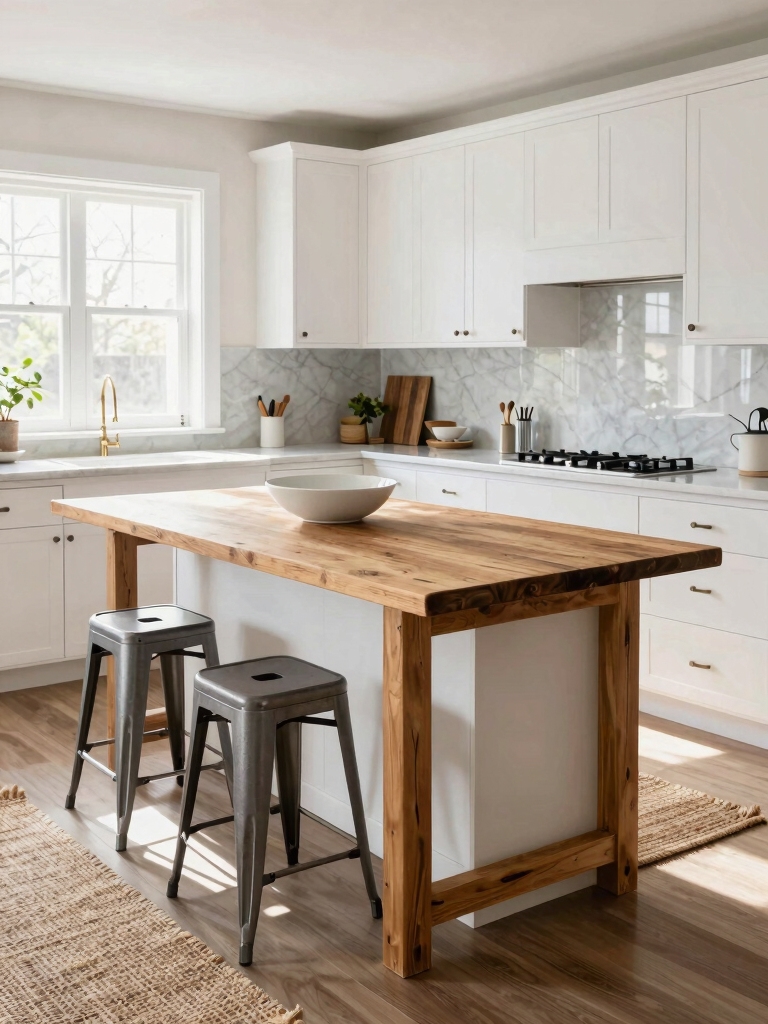
One of the most satisfying makeovers costs almost nothing: transforming a narrow table into an island. A console or craft table topped with butcher block becomes a prep island and a casual seat for a fraction of a built-in, and it brings character a stock island never will. Measure its height against your counters and raise it if needed.
Add a coat of paint to match the cabinets, hooks underneath for utensils, and a basket on the lower shelf, and the table looks like it was always meant to be there. For more budget-minded transformations, my small kitchen ideas on a budget under 500 dollars guide is full of them.
Open Shelving Under the Island
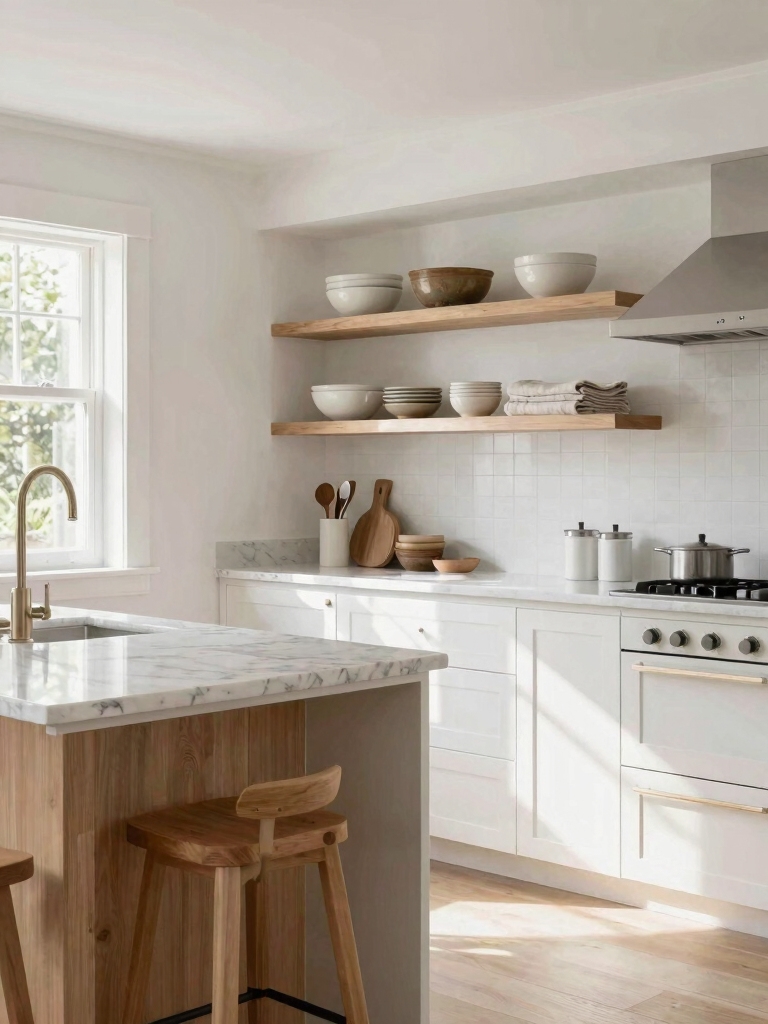
An island with open shelving in the base feels far lighter than a solid block, which is exactly what a small kitchen makeover needs. The open space lets light pass underneath and the eye see floor, so the island does not wall off the room. Keep it tidy, since open means everything shows:
- Matched baskets to hide the messy bits while keeping the look light
- Cookbooks and daily bowls on display, clutter tucked away
- One open shelf rather than three, so it stays edited
- A pale finish so the base recedes instead of looming
Deep Drawers in the Island Base

If the island is going to take floor space, it should give back serious storage, and deep drawers in the base are how it pays rent. A pair of deep pot drawers on full-extension slides pulls everything out to you, recovering the storage a small kitchen never has enough of. The island becomes the cabinet you were missing. Storage was the point.
Storage That Pays Rent
Drawers beat doors in an island because you reach them from a standing position with nothing in the way. Spec soft-close slides rated for the weight, since loaded drawers slam hard.
This is the makeover that quietly fixes the storage problem behind the clutter. For hiding the rest, my small kitchen storage ideas to hide clutter guide covers the cabinets too.
“What to ask before you commit to an island: Is there an outlet nearby if it will hold an appliance? Will the drawers clear a dishwasher door across the aisle? Is the top a height you can comfortably prep at, around 36 inches? And can you reach the sink without rounding the island the long way?”
A Floating Glass Island
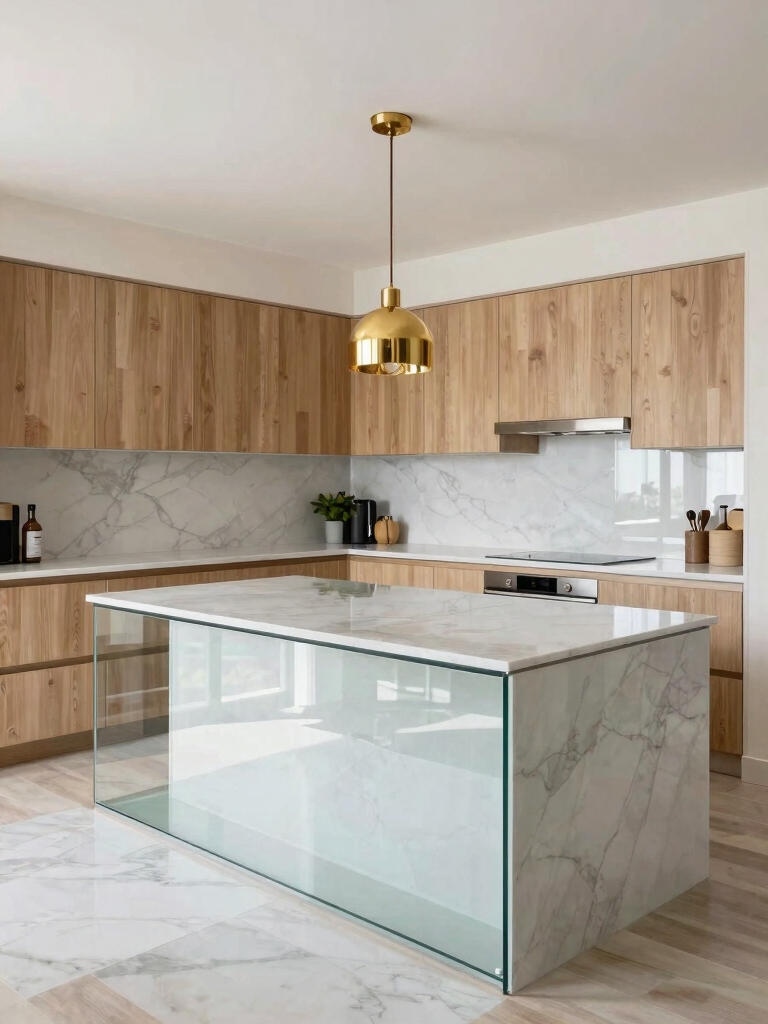
The most dramatic lightness trick is a floating or glass island, which lets light pass straight through instead of stopping at a slab. A glass top over a slim base, or a wall-anchored ledge with open space beneath, gives you a surface that the eye barely registers, so the room stays visually open even with an island in it. This is the makeover for the tightest kitchens:
- A tempered glass top over a painted or metal base for everyday use
- A wall-mounted ledge that frees the floor underneath entirely
- A slim profile, since glass shows everything stored below it
- Light prep and serving on glass, heavy chopping on a board
Finishing Touches That Lift the Kitchen

Once the island is in and the clearance is right, a few finishing touches turn a functional add-on into the centerpiece of the makeover. A pair of pendant lights hung over the island defines it as its own zone and adds warmth, while matching the top to your backsplash or counter ties the whole room together into one continuous surface.
Keep the touches restrained so they lift the room without crowding it: two slim pendants and one echoed material, kept simple. Those small choices are what make a makeover look designed instead of assembled. For more low-cost polish, my small kitchen island ideas nobody talks about guide has the unconventional touches.
Styling Tips to Keep It Feeling Open
The fastest way to undo an island makeover is to pile the new surface with clutter, so style it the way you would a coffee table: a board, a bowl, one plant, and nothing else permanent. A clear island top is what keeps the room feeling twice as big after all that work. The empty surface earns its keep.
Echo one material or color from the rest of the kitchen on the island so it feels like part of the room, not a piece dropped in. And keep the stools backless and tucked under so the floor stays visible when no one is sitting. Small as those choices are, they are the difference between an island that opens a room and one that fills it.
Small Kitchen Island Makeover Questions, Answered
?Can a small kitchen really fit an island?
Often yes, as long as the clearance works. You need at least 36 inches of walkway around it, and 42 is more comfortable. If a fixed island will not leave that, a slim peninsula, a mobile cart, or a wall-mounted ledge can deliver the same function while keeping the floor open. Measure first to know which fits.
?How much clearance do you need around a kitchen island?
Aim for 42 inches of walkway on every open side, with 36 inches the absolute minimum. That width lets two people pass and lets appliance and cabinet doors open fully. Less than 36 inches and the kitchen feels jammed every time someone reaches the oven or the dishwasher, which undoes the whole makeover.
?What kind of island makes a small kitchen feel bigger?
A light, open one. Pale color, slim or leggy bases, open shelving, and glass tops all let light pass and keep the island from reading as a heavy block. Matching the island top to your existing counter or backsplash unifies the room, which also makes the whole kitchen feel larger and more pulled together.
?Can I turn a table into a kitchen island?
Yes, and it is one of the cheapest makeovers there is. Top a sturdy console or craft table with butcher block, check that the height matches your counters, raise it with risers if needed, and secure it so it does not shift. Paint it to match the cabinets and it reads like a built-in for a fraction of the cost.
?Are mobile islands worth it in a small kitchen?
For a tight kitchen, a mobile island is often the smartest choice. It gives you prep space and storage when you want them and rolls away to clear the floor when you do not. Look for locking wheels and a solid top, and you get most of a built-in island’s function without permanently giving up the walkway.
The Right Island Opens the Room
The makeovers that make a small kitchen feel twice as big all share the same secret, and it is not the island. It is the space around it: 42 inches of clearance, a light and open piece, and a clear top that lets the room breathe. Get those right and even a small island adds function without stealing the openness.
So measure first, size the island to the floor you actually have, and keep it light in both color and clutter. Bookmark this for when you are ready, and picture the version of your kitchen where the island is the reason the room finally works, not the reason it feels tight.
More Ideas Here


