A small pantry does not fail because it is small. It fails when the back row disappears, the cans stack three deep, and you buy a third jar of cumin because you cannot see the first two. The whole game is reach: making every item visible and grabbable without moving five others first.
So these twelve small kitchen pantry ideas are built around access. Tiered shelves, pull-out bins, clear containers, and smart reach zones turn a cramped cabinet into a pantry where you can spot and grab anything in a second. Each comes with the rough cost and the fix that actually does it.
The Quick Wins
- Reach beats capacity: if you cannot see it, you will buy it twice
- Tiered shelves and turntables make the back row visible again
- Pull-out bins bring deep shelves out to you so you stop digging
- Clear, labeled containers turn a jumble of bags into a countable shelf
- Zone by frequency: daily staples at eye level, rare stuff up high
Vertical Pantry Storage You Can Reach
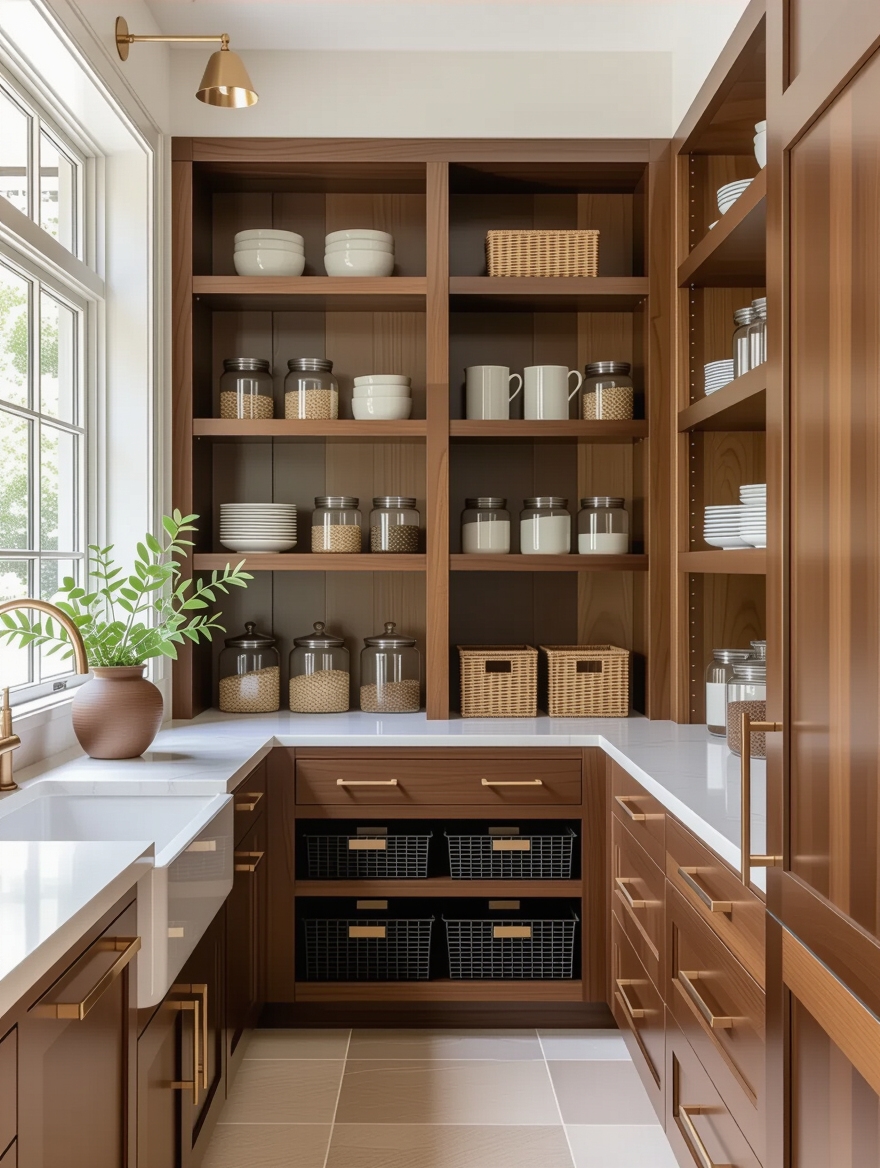
A small pantry usually has more height than width, so the first move is to use the wall all the way up while keeping the daily stuff grabbable. Vertical pantry storage works only if you zone it by reach, or the top shelf becomes a graveyard. Set it up so your hand lands on the right thing without a step stool:
- Eye level for the daily staples: oil, pasta, cereal, coffee
- Waist level for heavy bulk like flour and rice you do not lift often
- Top shelf for rare items, the holiday baking, the spare jars
- A slim step stool tucked nearby so the high shelf still counts
Tiered Shelves So the Back Row Shows
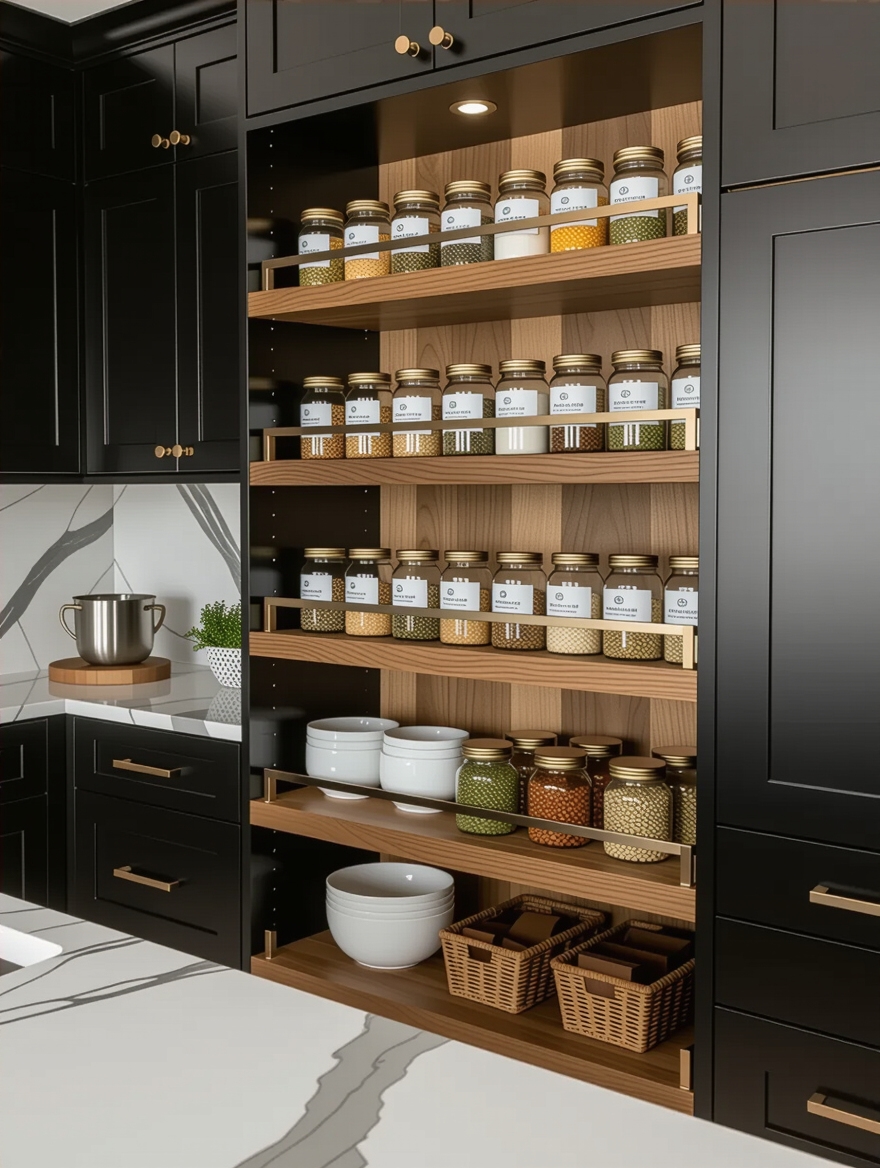
The back of a flat shelf is where food goes to be forgotten. Tiered organizers step the rows up so the cans behind are as visible as the ones in front, which means you stop buying duplicates of things you already own. A three-step spice riser or a can organizer costs around $10 to $20 and pays for itself the first time you skip a needless jar:
- A stepped riser for spice jars so every label faces out
- A tiered can rack that rotates the oldest to the front
- An expandable shelf riser to split a tall shelf in two
- A slim riser at the back, daily items still flat at the front
📋A Reach-Friendly Pantry Starts With
- ✓Daily staples set at eye and waist level
- ✓Tiered risers so nothing hides in the back row
- ✓Bins that pull the whole category out at once
- ✓Clear, labeled containers you can read at a glance
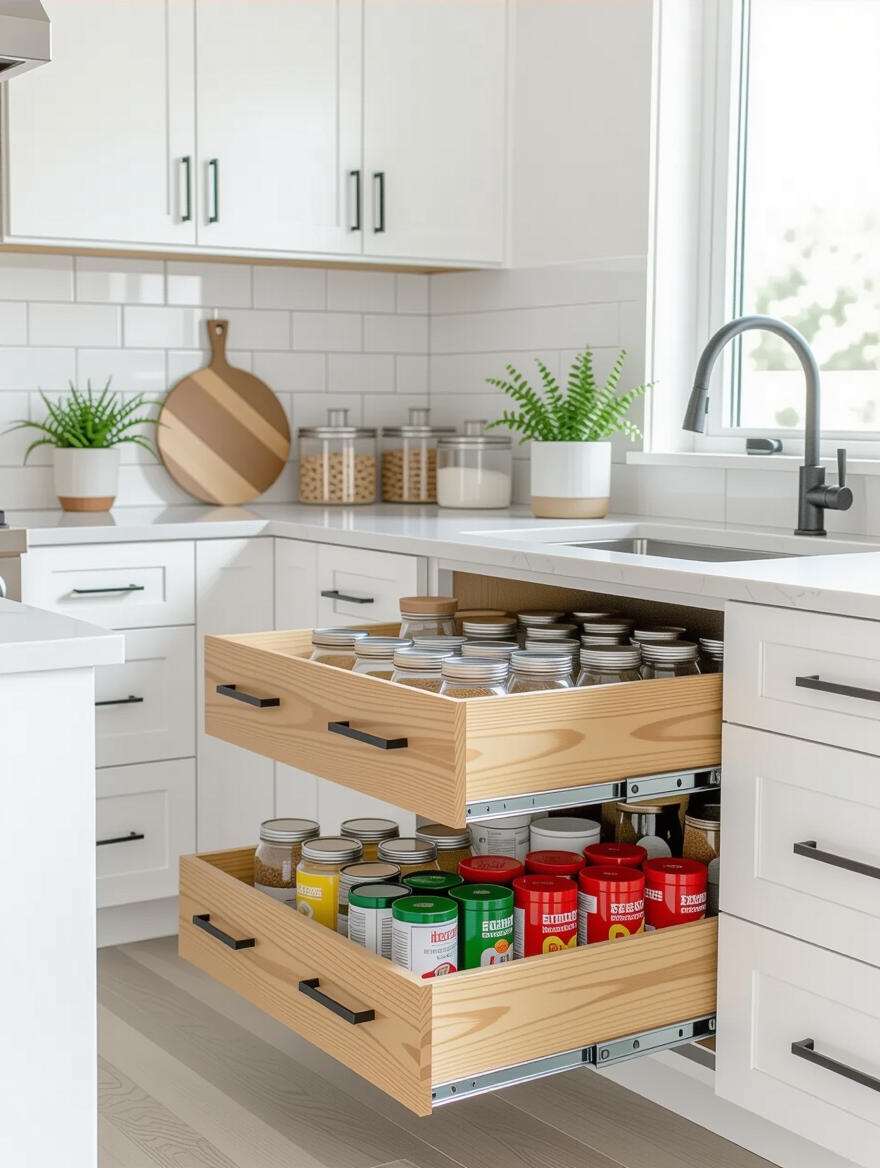
Pull-Out Bins to Group Like Items
When a shelf is deep, the smartest reach fix is a pull-out bin for each category. You grab the whole bin, pull it out, and take what you need. No more reaching past the front cans. Snacks in one, baking in another, breakfast in a third.
Grab the Bin, Not the Whole Shelf
Use open-front bins so you can see in without pulling, and pick a size that matches the shelf depth so no space goes to waste. Bins run $5 to $12 each, and a handful of them reorganizes a whole pantry in an afternoon.
I bin by meal in my own pantry, breakfast and snacks at kid height, baking up top, and it cut my grocery doubles to almost nothing.
Airtight Containers for Bulk Staples
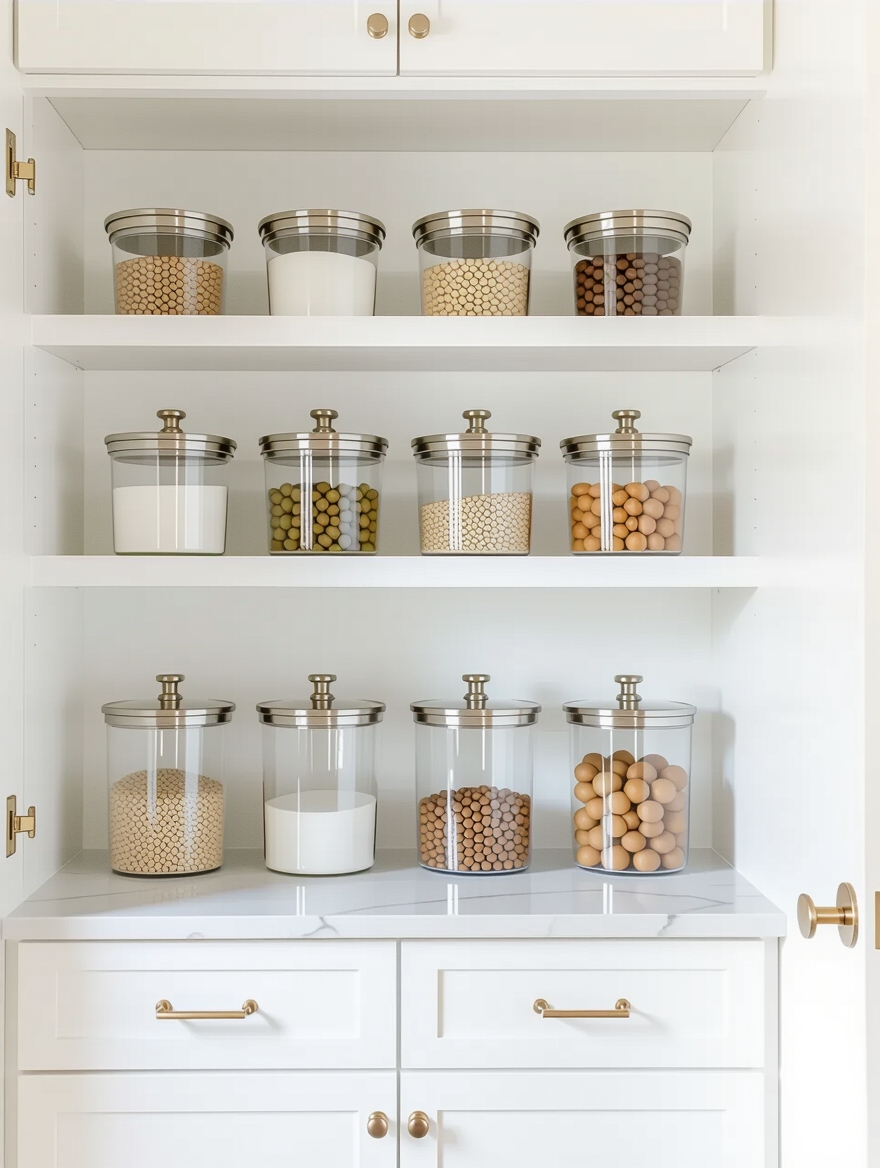
Bulk staples are the worst offenders for wasted space, since half-open bags slump and refuse to stack. Airtight containers square them off so they tower neatly and stay fresh for weeks longer. A matched set turns a sliding mess of flour, sugar, and rice into a tidy, stackable row. Bags are the enemy here.
Square Beats Round
Square containers beat round ones in a small pantry because they stack flush and leave no gaps. Size them to your shelf height so you are not wasting the air above. A starter set runs $20 to $40.
Keep the staples you reach for daily at the front of the run and the back-up bag up high. For more low-cost organizing like this, see my small kitchen ideas on a budget under 500 dollars guide.
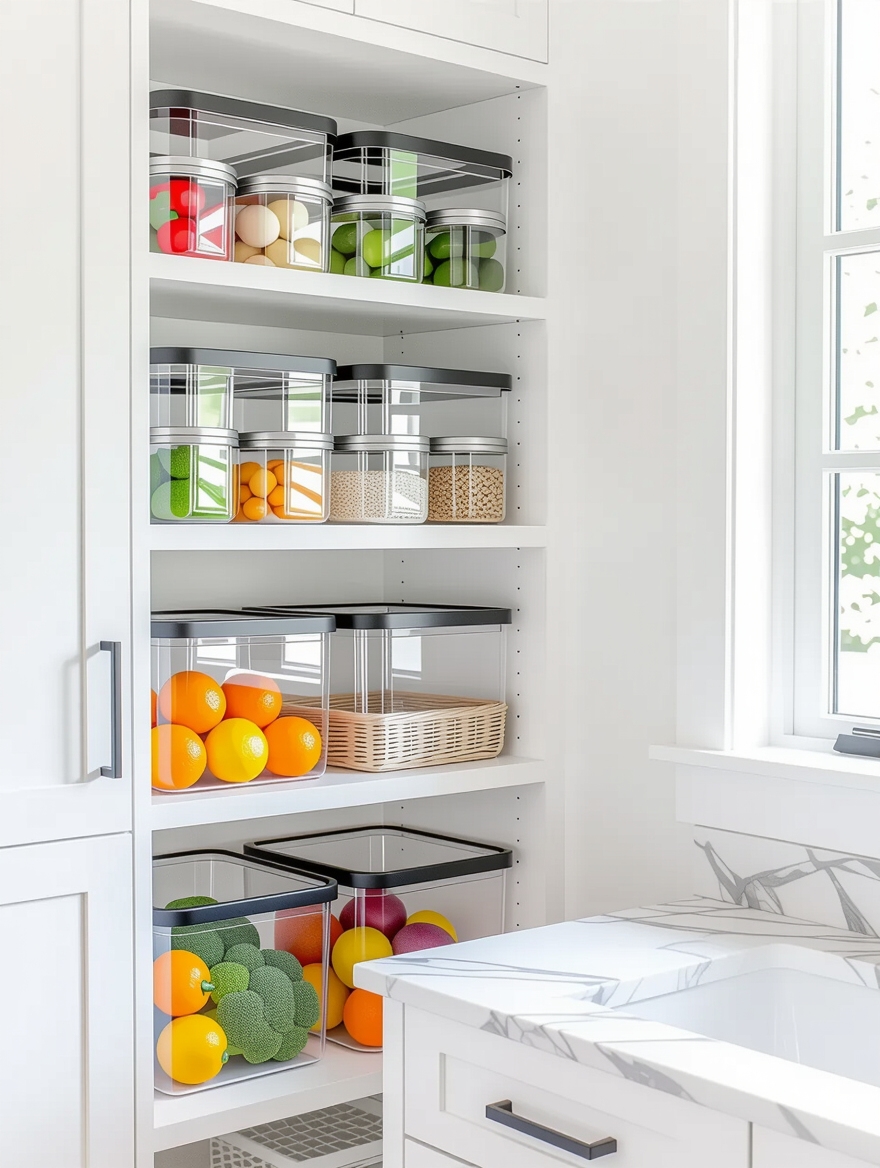
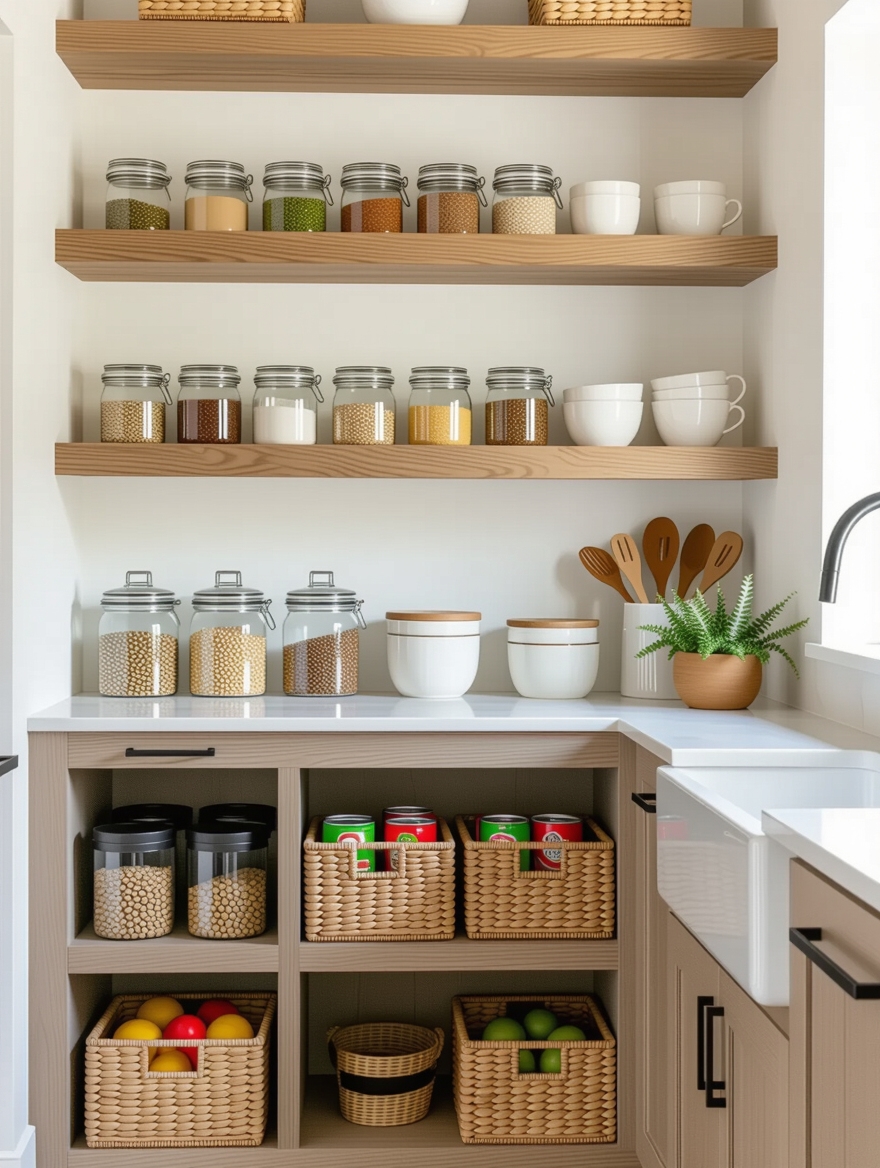
Keep the Pantry Organized and Visible
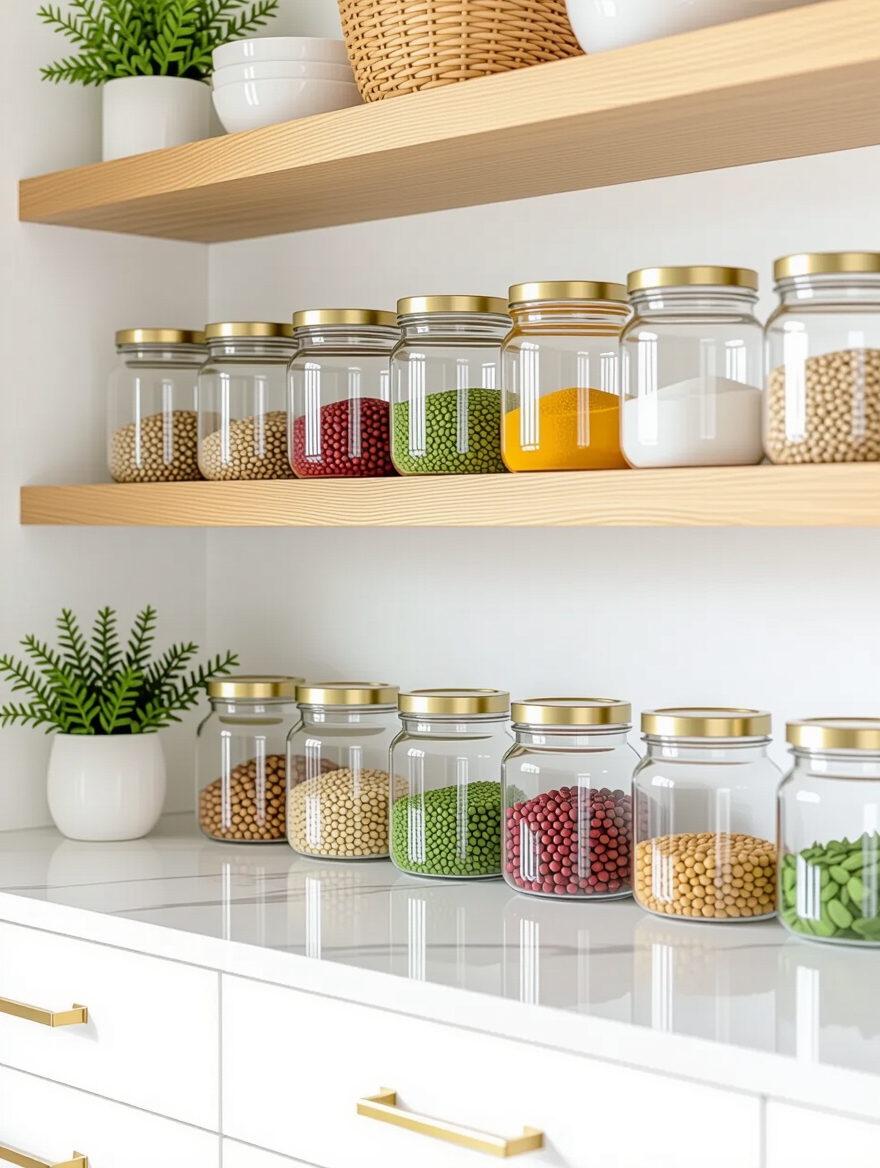
The fastest pantry is the one you can read without opening a thing. Clear containers and open bins make the whole shelf legible at a glance, so you grab what you need and notice what is running low. Transparency is reach made visual: you cannot grab fast what you cannot see.
Group like with like so your eye knows where to land, and front the labels outward:
- Clear canisters for grains, pasta, and baking staples
- Open-front bins for snack packets and odd-shaped boxes
- A small turntable for oils and vinegars so none hide behind
- Matched lids so the whole run looks calm at a glance
Glass or plastic airtight containers?
🎯Glass
Best for looks and for oily or acidic staples. Heavier and pricier, and a drop can shatter on a tile floor.
🎯Plastic
Best for upper shelves and bulk. Lighter, cheaper, and shatterproof, though it can stain and hold odors over time.
Organize the Pantry by Reach Zone
The single biggest reach upgrade costs nothing: zone the pantry by frequency. The shelves between your shoulders and your hips are prime real estate, so the things you grab every day belong there. Everything else sorts up or down by how rarely you touch it.
Prime Shelves for Daily Things
Daily staples at eye and waist level. Weekly items just above or below. Rare and seasonal stuff on the very top or the very bottom, where a little reaching is fine because you do it twice a year.
Done once, this layout keeps working on its own, because each item has a logical home you will return it to. For the whole-kitchen version of this thinking, my small kitchen organization ideas to declutter guide goes corner by corner.
Set Up the Pantry for Efficiency
A pantry runs efficiently when its layout matches the way you actually cook. Keep breakfast things together near where you make breakfast, baking supplies in one grabbable block, and the everyday oil and salt closest to the stove side. Less hunting means faster meals. The less you dig, the sooner you are cooking.
Leave a little breathing room on each shelf so you can slide things in and out easily. A pantry packed to the edges is a pantry you stop putting things back into, and within a week it slides into chaos again. Keep ten percent of each shelf empty as working room. For the storage logic behind it, my small kitchen storage ideas to hide clutter guide digs in.
👍Decanting Into Containers
- +You see exactly what you have and what is low
- +Square containers stack flush and waste no gaps
- +Sealed staples stay fresh for weeks longer
👎Worth Knowing First
- –The starter set costs $20 to $40 up front
- –You have to refill them, which takes a few minutes
- –Cook times live on the box you tossed, so relabel them
Labeling to Speed Up the Reach
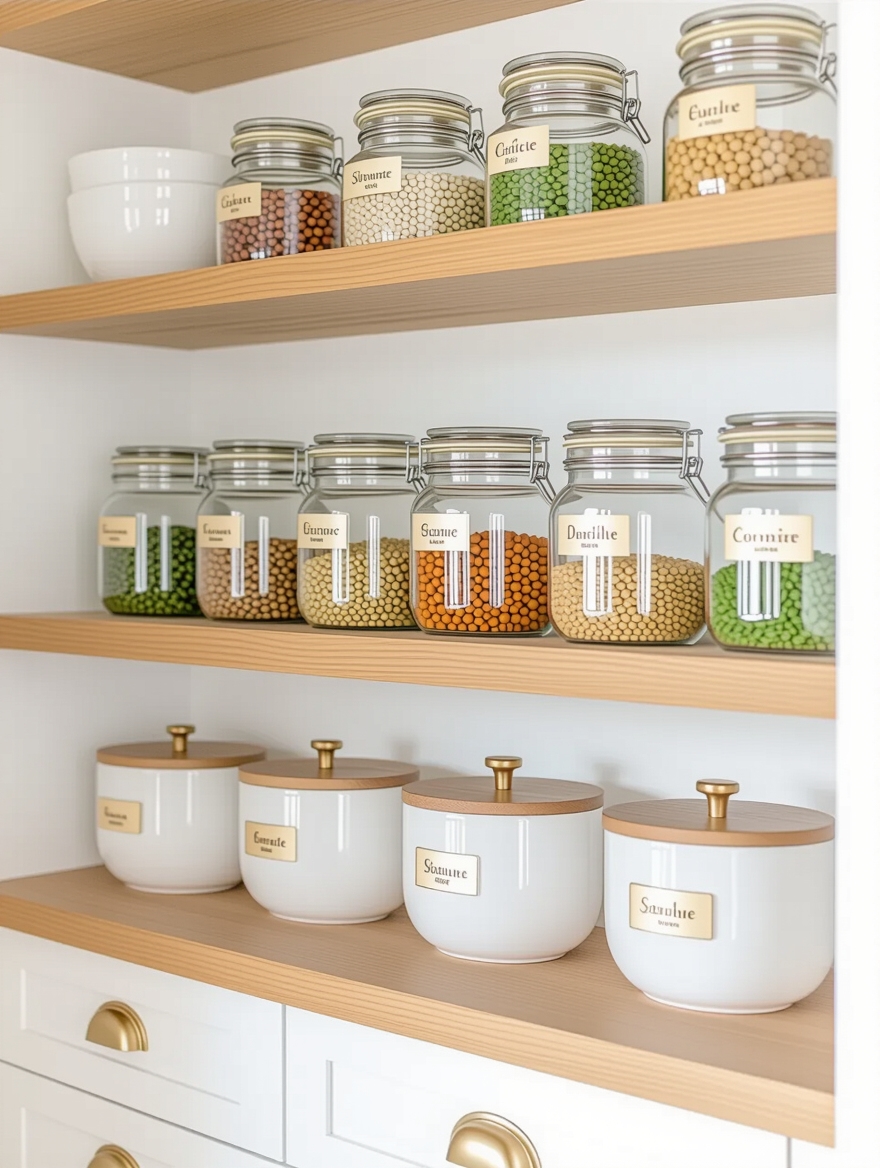
Containers only speed up the reach if your eye can sort them in a half-second, and that is what labeling delivers. A labeled shelf lets your hand move on autopilot while you are mid-recipe with sticky fingers. The faster you read it, the faster you grab.
For speed, put the label where your eye already lands. In a small pantry you usually look down at the shelf below eye level, so a label on the lid or the upper third of the jar reads faster than one centered on the front. Color-coding by zone, one marker color for baking, another for breakfast, lets you find a whole category without reading a word.
Keep the hand simple and consistent so the shelf scans clean at a glance. It is the cheapest upgrade here and the one that shaves the most seconds off every reach.
Maximize Pantry Storage on the Door
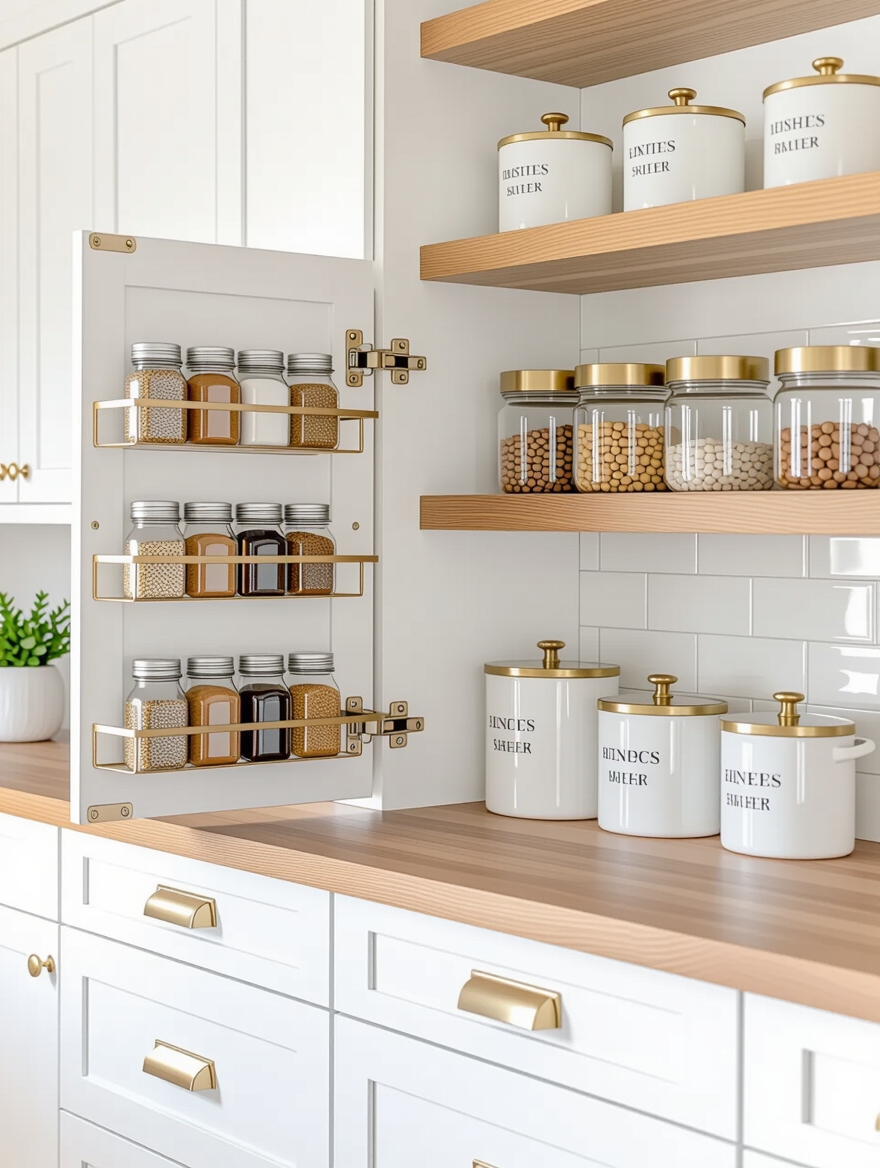
The most overlooked reach in any pantry hangs on the back of the door. Door-mounted racks add a row of shallow shelves perfect for the small, single-layer items that get buried on deep shelves. Everything on the door sits one item deep. Nothing hides behind anything else.
Measure the door clearance first so a loaded rack still closes, then load it with the things you lose most:
- Spice jars, finally all visible in one shallow row
- Foil, wrap, and bag boxes standing on end
- Packet mixes and tea that vanish on a deep shelf
- An over-door rack for $20 to $40, or a screw-in one for sturdier loads
Claim the Corner Pantry Space
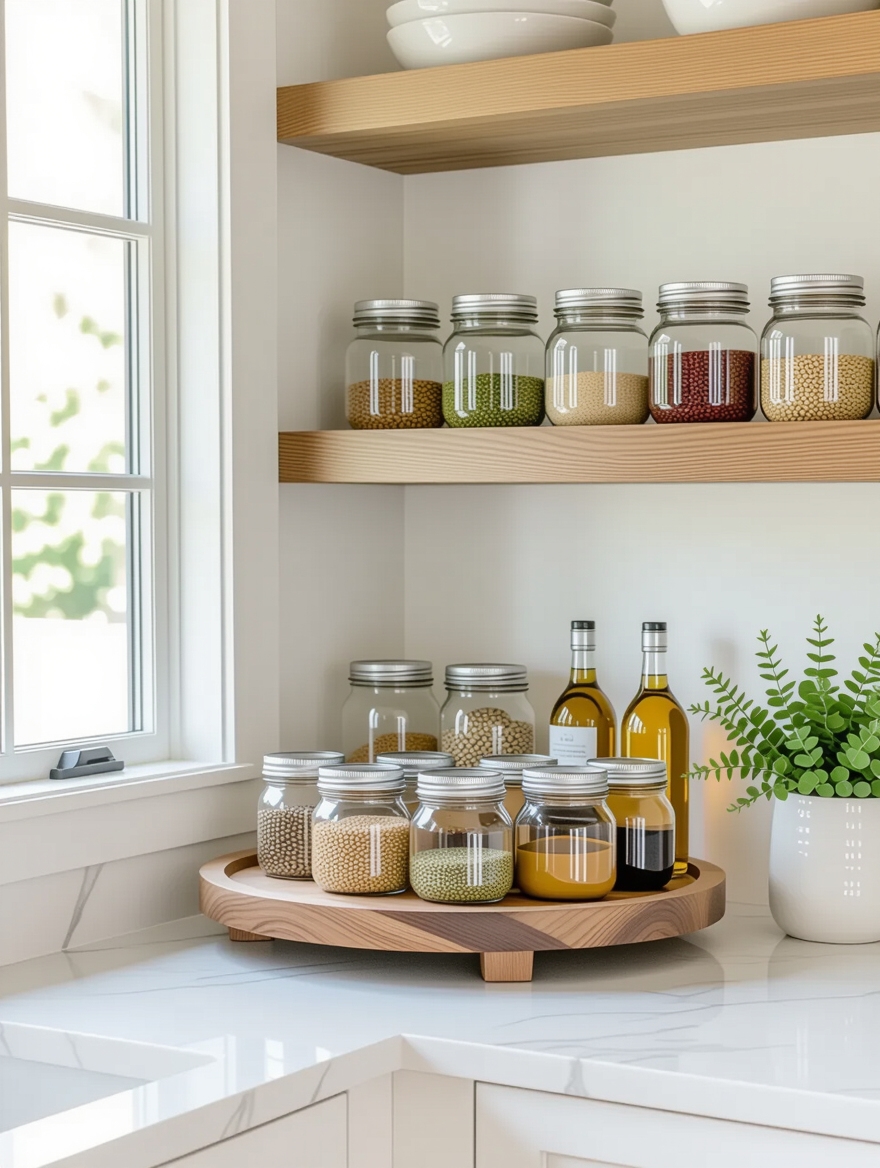
The hardest reach in any pantry is the blind corner, where things vanish into a dark wedge nobody can get to. Corners hide the most. A few inserts finally make that space usable, so the cans in the corner come back into circulation instead of expiring in the dark. A basic turntable runs about $8 to $15 and solves most blind corners on its own. Pick the fix that matches your corner:
- A lazy turntable so a spin brings the back of the corner forward
- An L-shaped pull-out that swings the whole corner out to you
- Slim stacking shelves angled to face the opening
- A narrow rolling cart that lives in the corner and pulls out whole
How to Get the Look on a Budget
You do not need a matched designer set to get a reach-friendly pantry. Repurposed glass jars, deli quart containers, and dollar-store bins do the same job for a fraction of the cost, and a strip of masking tape handles the labels. The system matters far more than the price of the containers.
Start with the two fixes that pay off fastest: a few tiered risers so the back row shows, and clear bins to group like with like. Add airtight canisters as the budget allows. For a pantry worth copying once you have the basics down, see my kitchen pantry design ideas to copy guide.
Small Pantry Questions, Answered
?How do I organize a small pantry so I can reach everything?
Zone it by frequency and make the back rows visible. Put daily staples at eye and waist level, tier the shelves so nothing hides behind, and use pull-out bins so you grab a whole category at once. The goal is to see and reach every item without moving another.
?What is the best way to store bulk items in a small pantry?
Square airtight containers sized to your shelf height. They stack flush, waste no gaps, and keep flour, rice, and sugar fresh for weeks. Keep the open container at the front and the backup bag up high, and label the cook time on the jar so it does not vanish with the box.
?Should I take food out of its original packaging?
Decant the staples you use often, since clear containers let you see levels and stack better. Leave rarely used items in their boxes to save effort. The win is visibility and stacking, so focus the containers on the things that slump, spill, or hide on a deep shelf.
?How do I use a deep or corner pantry shelf?
Bring the contents out to you instead of reaching in. A lazy turntable spins the back of a corner forward, a pull-out bin drags a deep shelf out whole, and an L-shaped corner unit swings the blind wedge into the open. Those inserts turn the worst-reach spots into usable space.
?How much does it cost to organize a small pantry?
Less than people expect. Tiered risers run $10 to $20, open bins $5 to $12 each, and a starter set of airtight containers $20 to $40. You can do a real reach-friendly pantry for well under $100, and dollar-store bins and repurposed jars bring it lower.
Make Everything Grabbable
A small pantry works when every item is one easy reach away. Tier the shelves so the back shows, bin the categories so they pull out whole, label the containers so your hand follows your eye, and zone the whole thing by how often you reach in.
None of it costs much or takes a weekend. Start with the tiered risers and the clear bins this week, live with the change, and add the rest as you go. Once you can see and grab everything, a small pantry stops feeling like a hole you dig through and starts feeling twice its size.