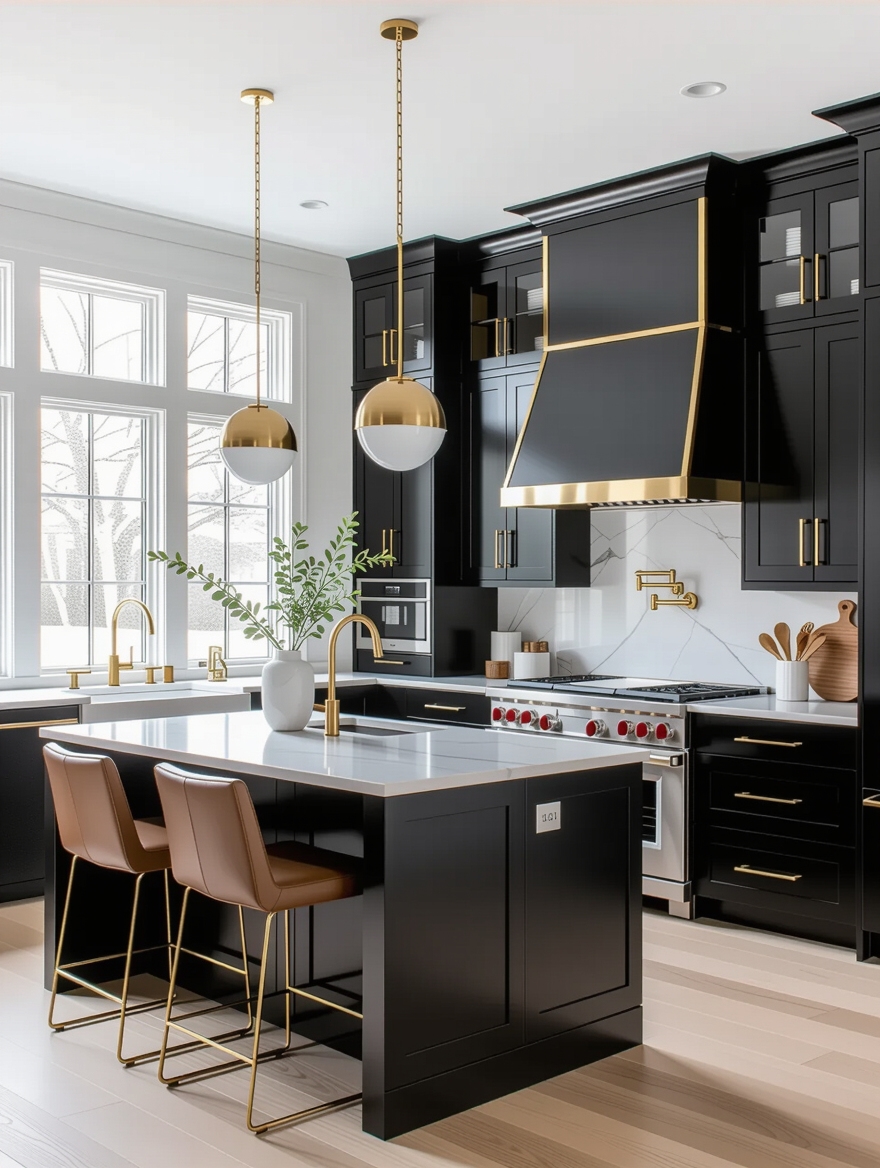

Here is the honest truth about a small kitchen remodel: the finishes get the attention, but the layout decides whether you actually like cooking in the room. A beautiful backsplash on a bad floor plan is lipstick on a traffic jam. The befores that turn into great afters almost always fix the plan first.
So these thirteen small kitchen remodel ideas are about the layout work under the surface, the flow, the storage map, the cabinetry, the lighting plan. Get these right before you pick a single tile, and the room works as well as it looks. Most of them cost planning more than money.
The Layout Moves That Matter Most
| Layout move | Before | After |
|---|---|---|
| Work triangle | Steps that double back on themselves | Sink, stove, fridge in a tight loop |
| Upper cabinets | Boxes to the soffit, dead space above | Cabinets to the ceiling, no wasted gap |
| One shared wall | Closed off from the next room | A half-wall or pass-through that shares light |
| Corners | A dead blind cabinet | A rotating or pull-out using every inch |
Plan an Efficient Layout First
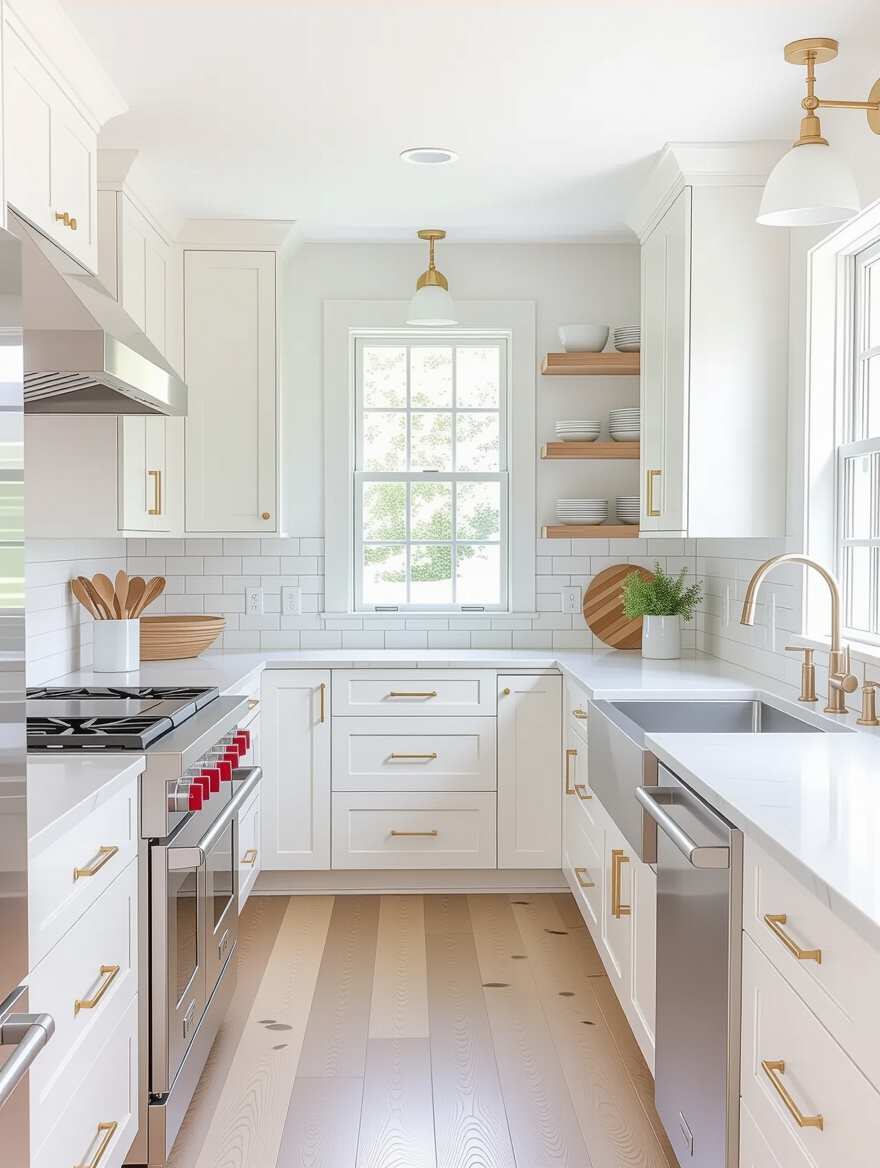
Before tile, before color, draw the floor plan. An efficient small kitchen layout is the foundation every finish sits on, and the cheapest time to fix a bad one is on paper. Map where you stand, reach, and walk most, then design the cabinets and counters around that, not the other way around.
The three classic small layouts, the one-wall, the galley, and the L-shape, each have a sweet spot. A galley wants 36 to 48 inches between runs. An L-shape frees a corner for a table. Pick the one that matches your room’s shape, and skip forcing a fourth wall of cabinets where it does not belong. The shape of the room is already telling you the answer.
Spend your planning time here and the rest of the remodel gets easier. A good layout makes a budget kitchen feel custom. For the design-led version of this, my small kitchen ideas modern homes are loving piece covers the look.
Fix the Flow and the Work Triangle

Most bad small kitchens fail at flow: you cross the room to go from sink to stove, or the fridge door blocks the only walkway. The work triangle, the path between sink, stove, and fridge, should be a tight, unblocked loop. Fixing it is the single biggest before-and-after a layout can deliver:
- Keep the three work points within a few steps, with nothing crossing the path
- Make sure no appliance door swings into the main walkway
- Leave at least 36 inches of clear aisle through the work zone
- Group prep by the sink and landing space beside the stove and fridge
- Borrow the layout tricks in my small kitchen layout tricks designers swear by guide for the fine-tuning
Which layout fits your small kitchen?
🎯Galley
Best for narrow rooms with two facing walls. The most efficient layout there is, as long as you keep 36 to 48 inches between the runs.
🎯L-shape
Best for a corner kitchen open to a dining area. Frees one side for a small table or stools and keeps the work triangle tight.
Pull-Out and Rotating Shelf Solutions
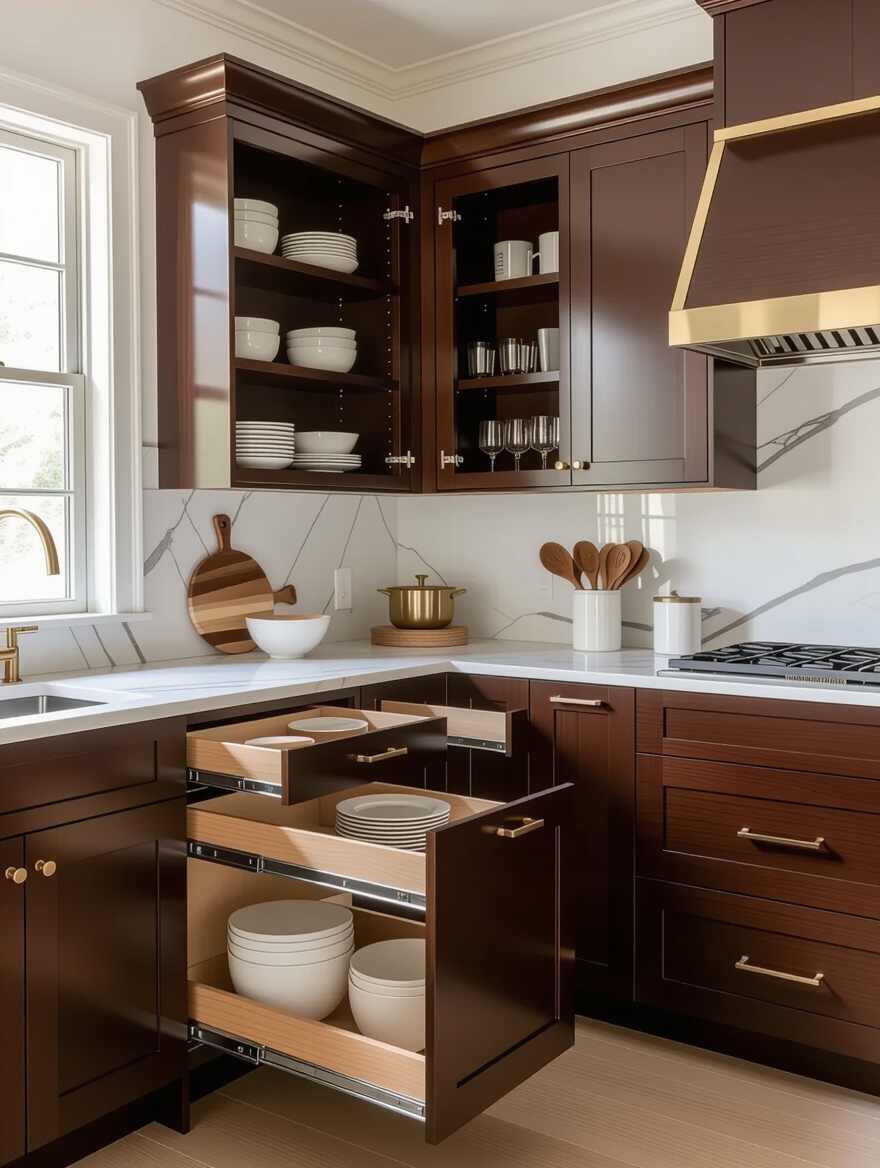
A remodel is your one chance to design storage that comes out to you. Pull-out and rotating shelves built into the new cabinets turn deep, dark boxes into fully reachable storage, which is what keeps a small kitchen from clogging up again. The blind corner is the prime target.
Win the Blind Corner
A corner carousel or a magic-corner pull-out finally puts that dead wedge to work, and full-extension pull-outs on the base cabinets bring the back row forward. Spec these during the build, since retrofitting later costs more.
These mechanisms add to the cabinet bill but pay back daily. For the no-remodel version you can add now, my small kitchen storage ideas to hide clutter guide covers the inserts.
Build Storage Into the Plan
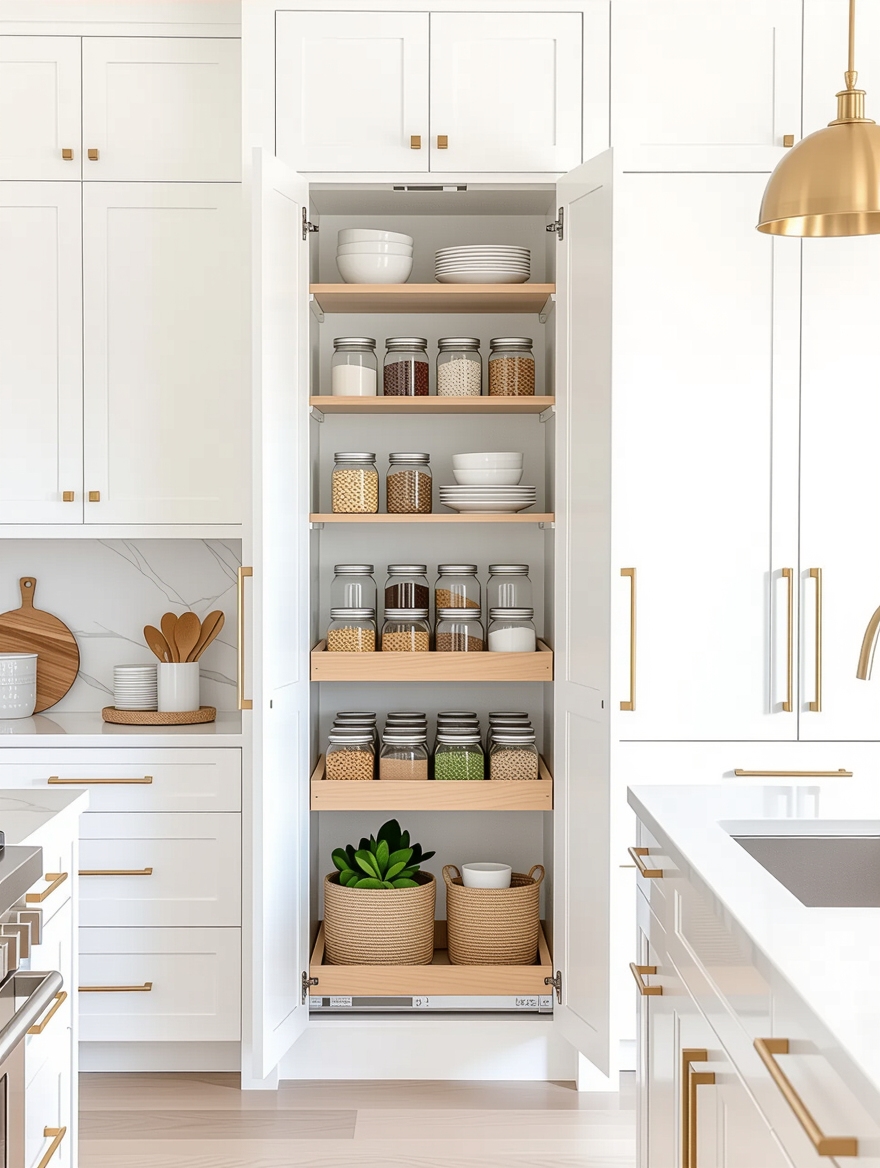
The remodel that never clutters again is the one where every item had a planned home before the cabinets were ordered. Mapping your storage to what you actually own, the pots, the small appliances, the pantry goods, means the new kitchen fits your life down to the drawer. My small kitchen organization ideas to declutter guide can help you take that inventory. Count before you design:
- A deep drawer bank sized to your actual pot collection
- A tall pull-out pantry for dry goods if there is no closet
- A dedicated appliance garage so the counter stays clear
- A drawer near the sink planned for the trash and recycling bins
Maximize Vertical Storage to the Ceiling

The dead space above standard cabinets is the most common small-kitchen waste, and a remodel is the moment to reclaim it. Taking the upper cabinets to the ceiling adds a whole shelf of storage and gets rid of the dust-collecting gap and soffit that make a room feel shorter. It is one of the clearest before-and-afters in any plan.
Use the top reaches for the rare stuff and keep a slim step stool nearby. Glass fronts up high keep the tall wall from feeling heavy:
- Stack a short cabinet above the standard uppers, right to the ceiling
- Reserve the top tier for holiday and seldom-used items
- Use glass doors up high so the wall does not feel like a slab
- Add a slim pull-out step stool so the high shelf still counts
Custom Cabinetry Sized to the Inch
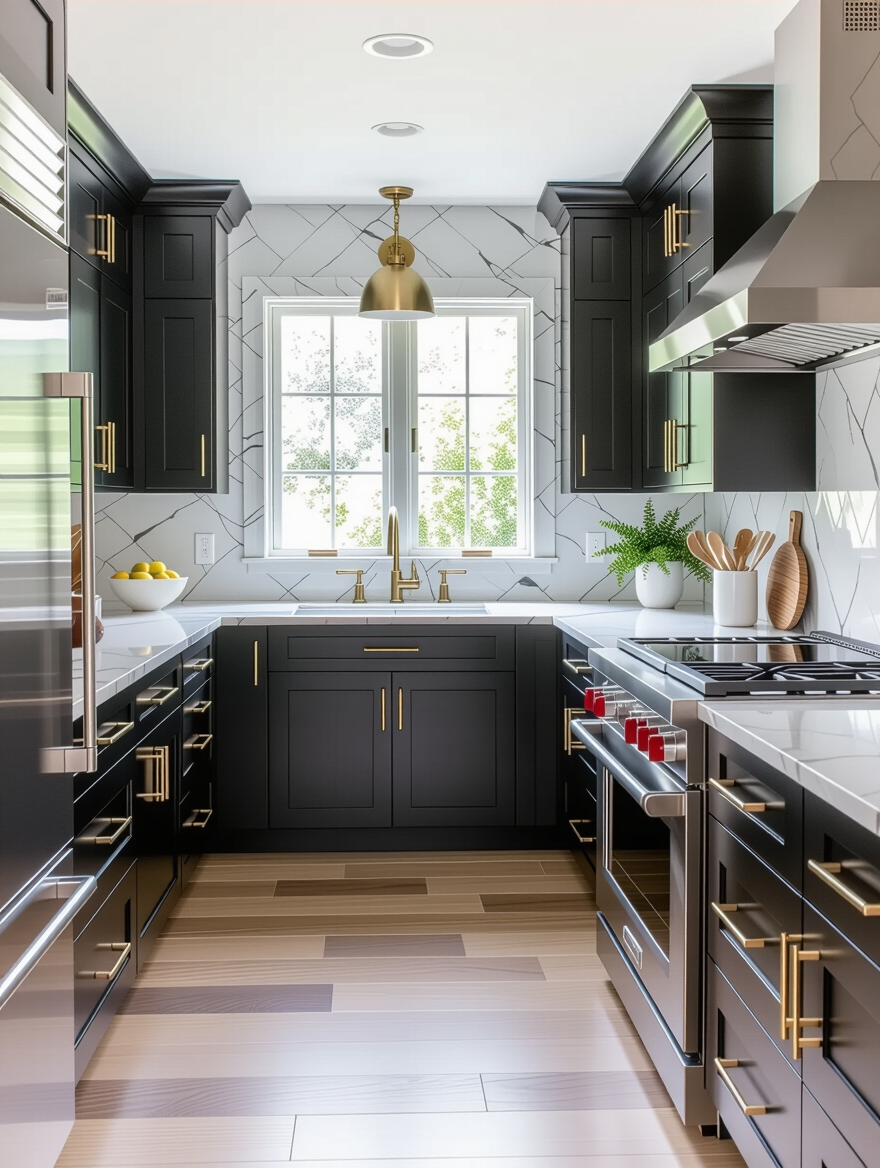
Stock cabinets come in fixed widths, which means a small kitchen ends up with filler strips, three-inch gaps of pure waste. Custom or semi-custom cabinetry is sized to the exact inch, so every bit of wall becomes usable storage. Those dead spacers turn into pull-outs. In a tight room, three inches here and four there add up to a whole extra cabinet by the time you finish the run.
You do not need a full custom budget to get there, either:
- A skinny pull-out pantry, six inches wide, in the gap beside the fridge
- A toe-kick drawer that turns the dead base into flat storage
- Cabinets a few inches shallower so the aisle gains room
- Semi-custom lines that adjust widths without the full custom price
📋Taking Cabinets to the Ceiling
- ✓Measure the gap above your current uppers before you order
- ✓Plan glass fronts up high to keep the wall light
- ✓Reserve the top tier for rarely used items
- ✓Add a slim step stool so the high shelf stays usable
Open the Layout to Brighten the Room
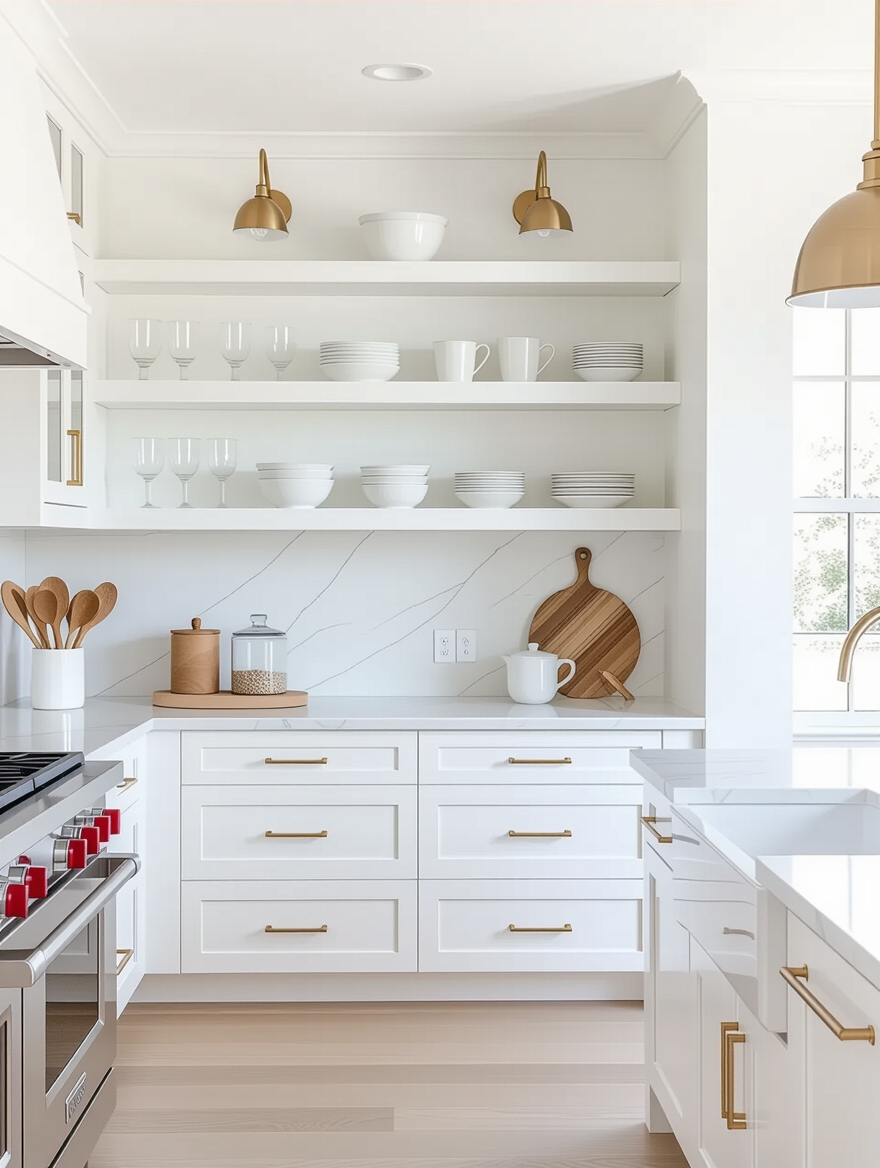
The most dramatic layout before-and-after opens the kitchen to the room beside it. Turning a solid wall into a half-wall or a pass-through lets light and sightlines flow both ways, so a closed-off galley borrows the brightness of the next room without growing an inch. Suddenly the cook is not stuck alone in a box. It is the move that makes a small kitchen feel part of the home, and it photographs as if you doubled the square footage.
This is also the one idea here that crosses into real construction. A wall may be load-bearing or hold wiring and pipes, so have a licensed contractor and a structural pro assess it and pull the right permits before anything comes down. Done correctly, it transforms the layout. Done carelessly, it is dangerous and expensive.
A Lighting Plan That Brightens Every Zone
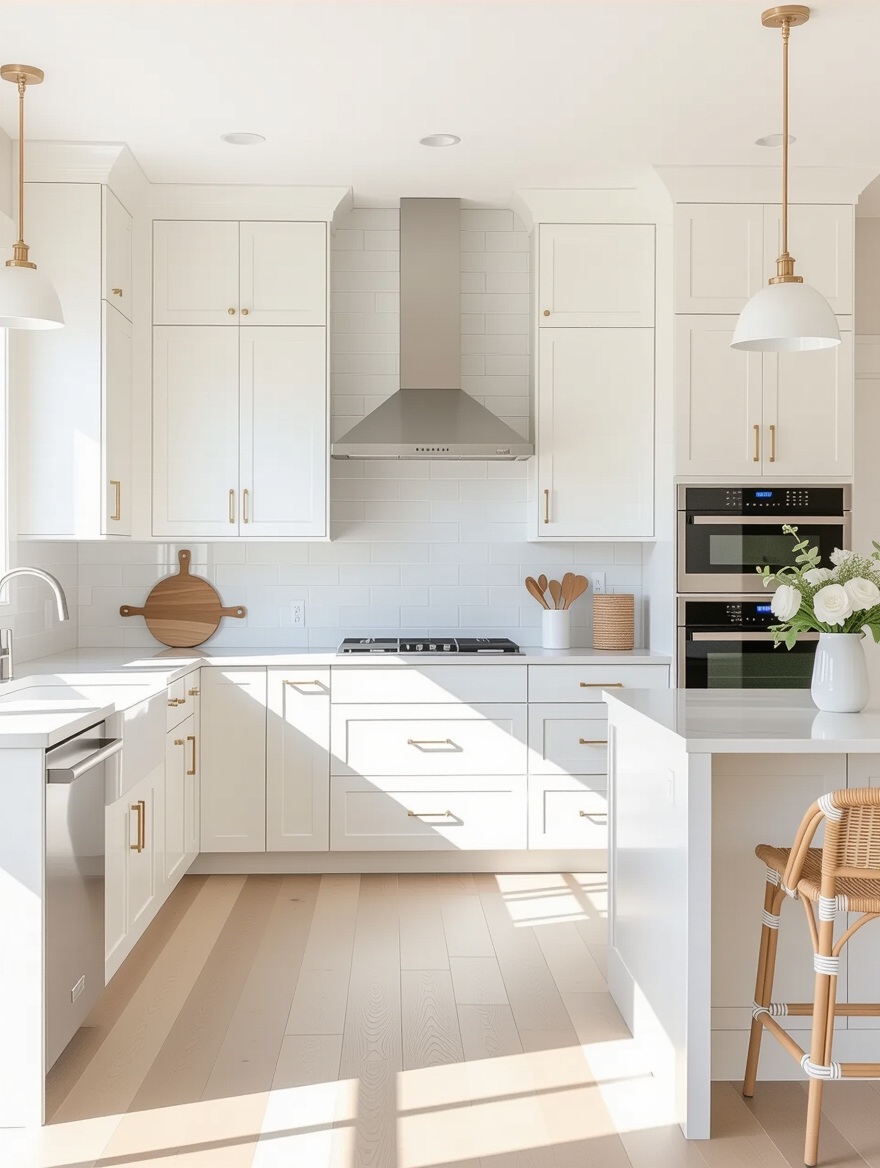
A remodel lets you plan light properly instead of relying on one dim ceiling fixture. A real lighting plan layers three jobs, ambient, task, and accent, so every zone is lit for what happens there. Dark corners shrink a room. A small kitchen feels twice as big when they are gone.
Map it before the walls close up, since adding wiring later means opening them again:
- Ambient overhead, ideally recessed cans, for general light
- Task lighting under the cabinets, aimed at the counter you work on
- Accent light in a glass cabinet or over a peninsula for warmth
- Everything on dimmers so the room shifts from prep to dinner
👍Opening Up a Wall
- +Light and sightlines flow between the kitchen and the next room
- +A closed galley suddenly feels part of the home
- +You can add a peninsula or pass-through counter on the new edge
👎Before You Swing a Hammer
- –The wall may be load-bearing or hold wiring and pipes
- –It needs a licensed pro, an engineer, and the right permits
- –It is the most expensive move here, so price it before you commit
Transform the Room With Layered Lighting Fixtures

Once the plan is set, the fixtures themselves do the visible work. Under-cabinet LED strips light the counter where it counts, a slim pendant or two defines a peninsula, and toe-kick lighting adds a soft glow that makes the floor feel like it floats. Warm white near 2700K keeps it all feeling soft and inviting. I have turned a dim, single-bulb galley into a kitchen people lingered in just by adding those three layers, no walls touched.
Pick fixtures scaled to the room, since oversized pendants overwhelm a small kitchen. For a budget-minded take on lighting and the rest of a refresh, my small kitchen ideas on a budget under 500 dollars guide keeps it cheap.
Reflective Surfaces to Stretch the Space

The finishing layout trick costs little and pays off in every photo: choose reflective surfaces where you can. A glossy backsplash, glass cabinet fronts, and a polished or quartz counter all bounce daylight deeper into the room, so a small kitchen reads brighter and feels larger than its footprint.
I lean on this hardest in kitchens with only one window, where every surface that throws light back matters. A single glossy panel behind the stove can lift the whole room.
Keep just one or two reflective surfaces so the kitchen does not turn into a hall of mirrors. Paired with the open layout and the lighting plan above, reflective finishes are the last move that makes a tight remodel feel open. Bookmark this plan and tackle it one layer at a time.
Fix the Plan, Then the Finishes
The small kitchens that go viral for their afters almost always nailed the boring part first: a tight work triangle, storage planned to the inch, cabinets to the ceiling, and a real lighting plan. The finishes only look good because the layout underneath them works.
So before you fall for a backsplash, sketch your floor plan and fix the flow. Get the layout right and even a modest finish budget reads custom. Bookmark this list and work it one layer at a time, plan, storage, light, and finish last.