

The secret nobody mentions about open concept is that the layout does almost all the work, and most of it is decided before a single piece of furniture arrives. An open concept kitchen and living room can feel calm and connected or loud and aimless depending on a handful of spatial decisions: where the island sits, how traffic moves, what your eye lands on from the couch. Get those quietly right and the room just works.
I have walked into plenty of open plans that looked great in photos and felt awkward to stand in, usually because of an invisible layout problem. These are the layout secrets that separate the two, the pro moves around zoning, sightlines, traffic, and scale that you cannot un-see once you know them. None of them require knocking down another wall.
The Short Version
- Most open-plan problems are layout problems, decided by island placement, traffic paths, and sightlines, far more than by decor.
- Mark zones with rugs, lighting, and furniture backs so kitchen and living feel separate without losing the open feel.
- Protect the view from the sofa: aim it at a tidy island, not a sink full of dishes.
- Plan traffic and outlets early; clear 36-inch-plus paths and enough power are invisible until they go missing.
Defining Zones in One Open Space
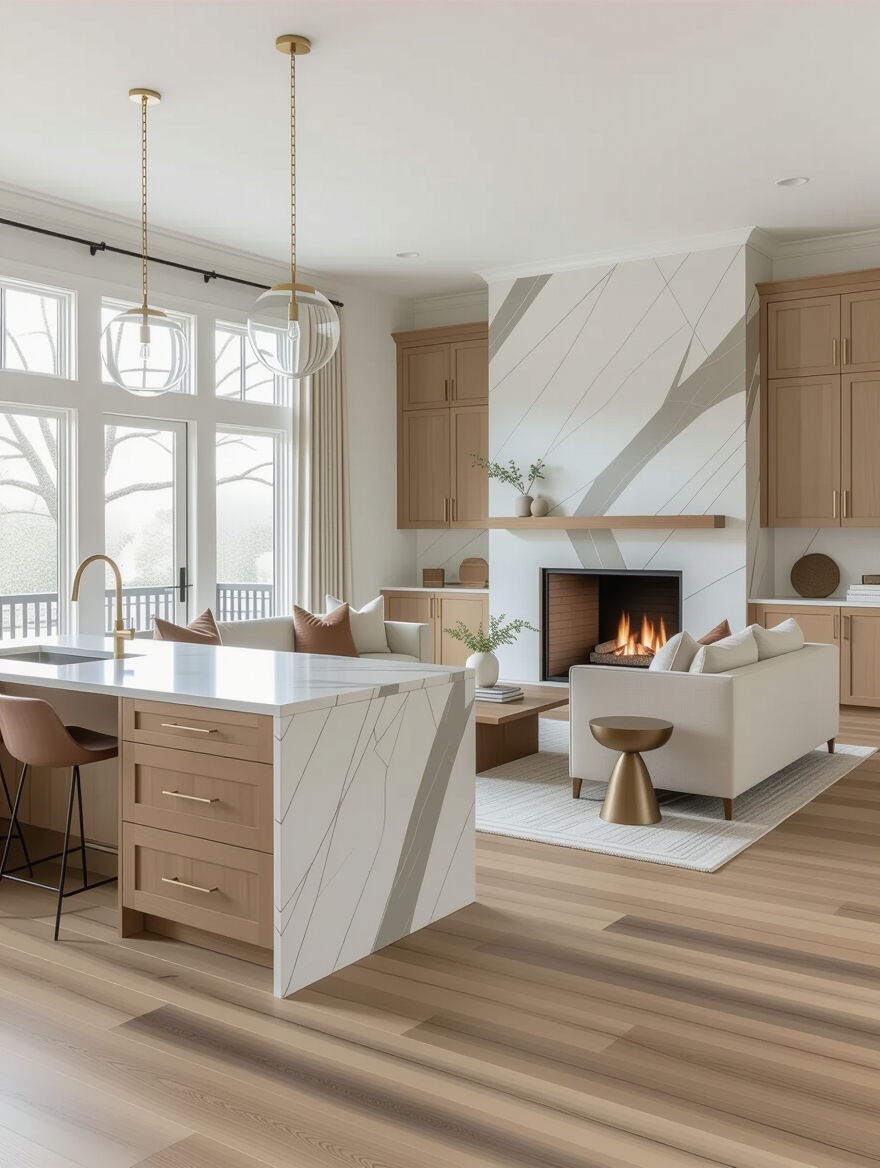
The starting point is that an open kitchen and living room still need edges, just invisible ones. Without any definition, the space looks like a showroom floor where nothing knows its place. The fix is to give each zone a quiet boundary using what is already there, the same instinct behind the cleverest ways to merge an open kitchen and living room.
Give every zone a quiet edge
The strongest tools are an area rug under the living seating, the back of the sofa facing the kitchen, and the island or a console acting as a divider. Two or three of these signal a change without a wall. The art is restraint, since piling on too many cues just rebuilds the room you opened up.
Anchor furniture to its zone so nothing floats loose in the center. A sofa marooned mid-room, pushed against nothing, is the single clearest sign a layout was never planned. Give every major piece a job and a place. Position is everything here.
Planning Clear Pathways for Easy Movement
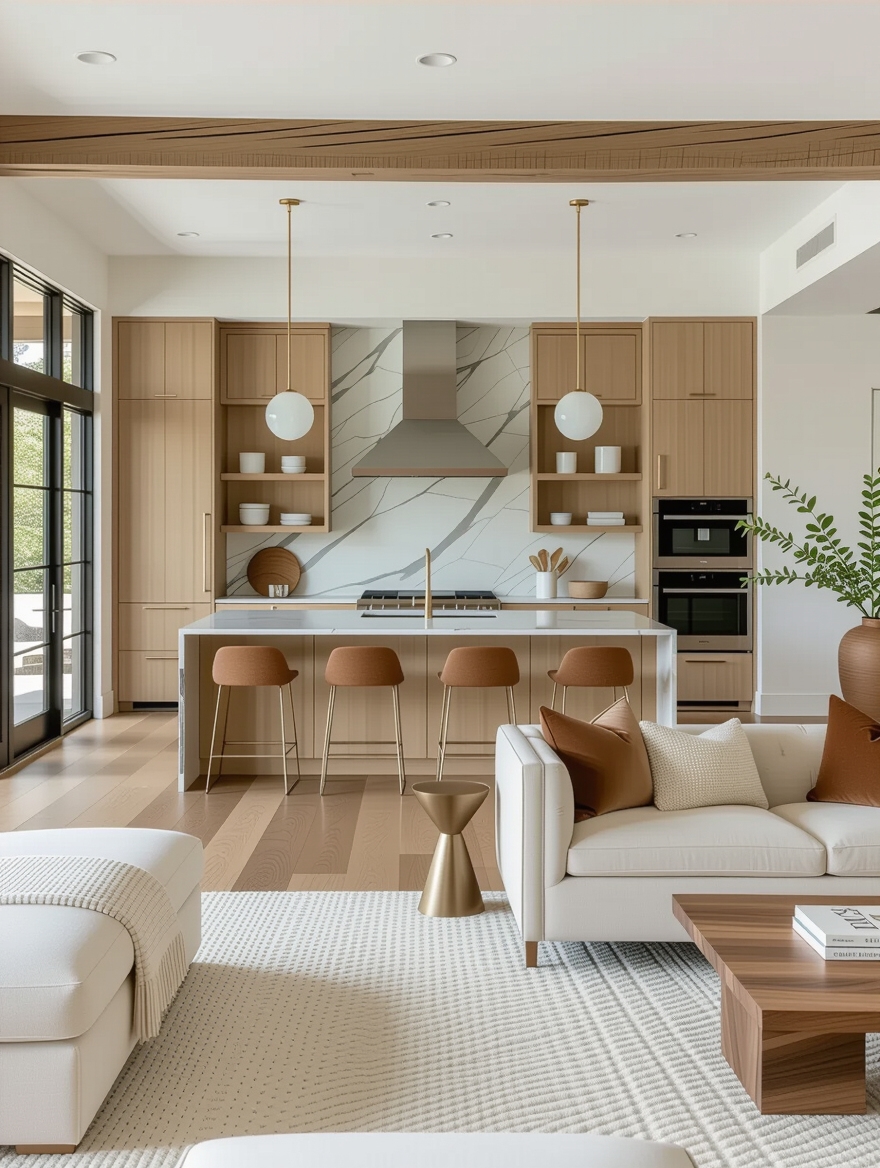
The most overlooked part of an open layout is traffic. In an open plan people cut straight through, from the front door to the kitchen, the kitchen to the couch, so the paths matter more than in a boxed-in room. I map them before placing a single piece of furniture, much like the best open-plan layouts built to last do.
Keep the main walkways at least 36 inches wide, and the kitchen’s working aisles closer to 42 to 48 inches if two people cook. The goal is to route through-traffic around the seating and the cook’s work triangle. A coffee table that forces a detour, or an island someone has to squeeze past, will annoy you every single day.
A simple test: stand at the front door and trace the straightest line to the fridge, then to the sofa. If that line cuts through the living-room conversation or the cooking zone, shift a piece until it does not. Ten minutes with painter’s tape on the floor will save you months of second-guessing once the furniture lands. The best layouts let people move through without interrupting either zone.
📋Signs Your Zoning Is Working
- ✓Each zone has a clear job and a visible edge
- ✓Nothing large floats unanchored in the middle
- ✓Through-traffic misses both the seating and the cook
- ✓You used two or three cues, not five
- ✓Every seat has something good to look at
Placing a Functional, Stylish Kitchen Island
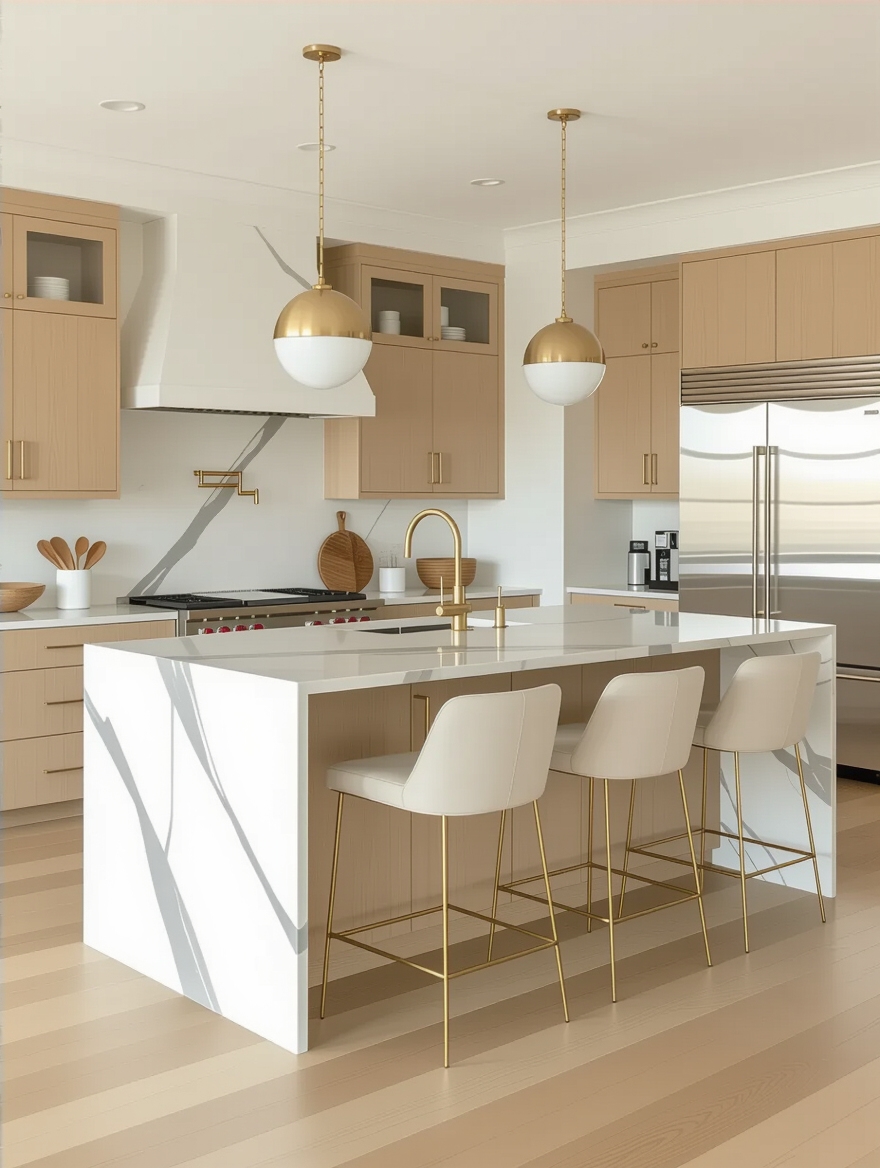
The island is the layout’s pivot point, and its placement quietly drives the whole room. Positioned right, it draws the kitchen’s edge, adds prep and storage, and gives guests a place to perch facing the cook. The trick is orientation: seat people on the living-room side so conversation flows outward, and keep the working side toward the wall.
Leave 36 to 42 inches of clearance all around so it never becomes a bottleneck, the same clearance discipline behind the best simple outdoor kitchen layouts. A custom island runs $3,000 to $6,000, while a stock cabinet base with a stone top lands far lower. Orientation beats size every time.
- Face the island seating toward the living room for easy conversation.
- Keep the messy working side angled away from the main sightline.
- Confirm 36 to 42 inches of clearance before you fall for a bigger island.
Arranging Furniture to Maximize Space and Conversation
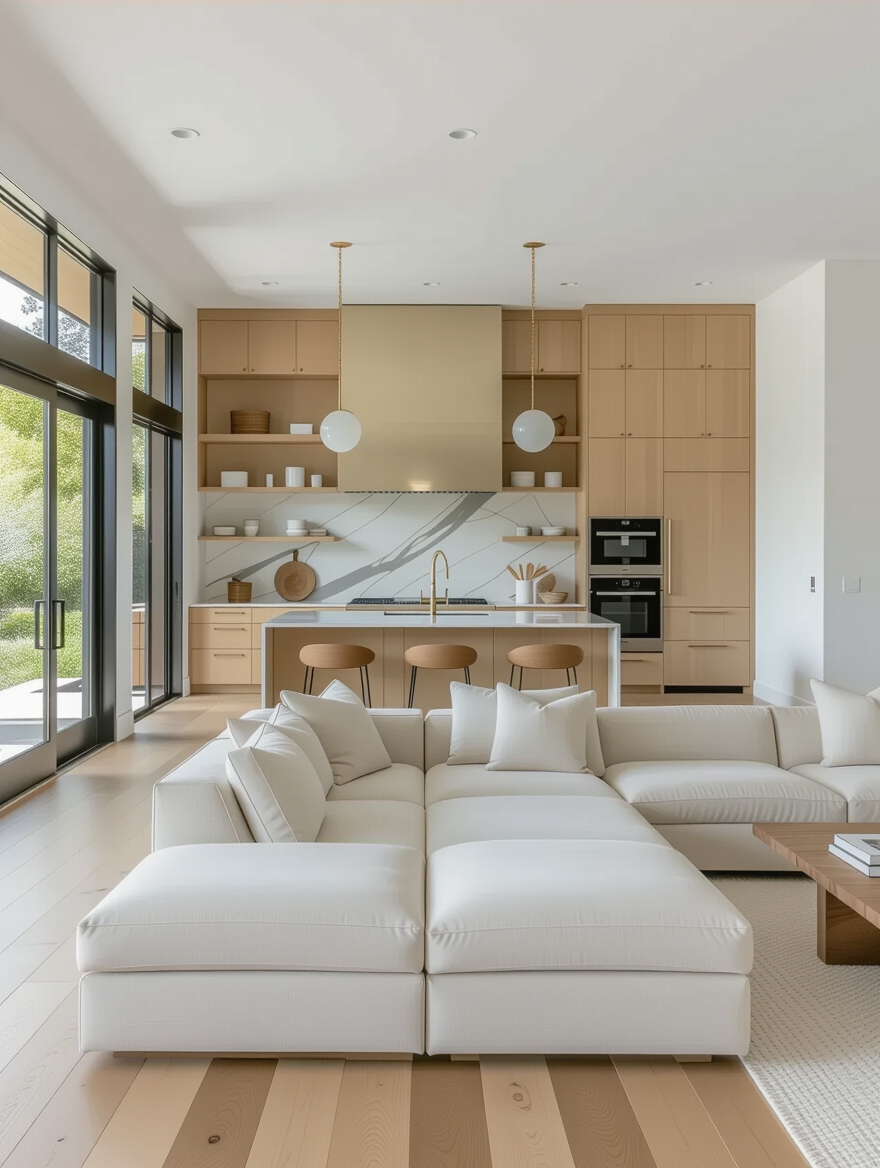
Here is a staging trick I love: in the living zone, pull the furniture into a conversation group in the middle of the space. A sofa and chairs arranged to face each other, anchored by a rug, create an intimate seating area inside the big open room and make it feel intentional.
Float the seating so the sofa’s back helps divide the living zone from the kitchen, and keep pieces low and leggy so sightlines and light pass over and under them. The instinct to line everything along the walls actually makes an open room feel emptier and more like a waiting area.
🅰️Island
Best when you have room for 36-inch-plus clearance on every side. Gives seating, storage, and a true divider, but it eats floor space fast.
🅱️Peninsula
Better for narrower or smaller open plans. It anchors to a wall so it needs clearance on fewer sides, though it offers a little less seating and access.
Using Rugs and Lighting to Mark Zones
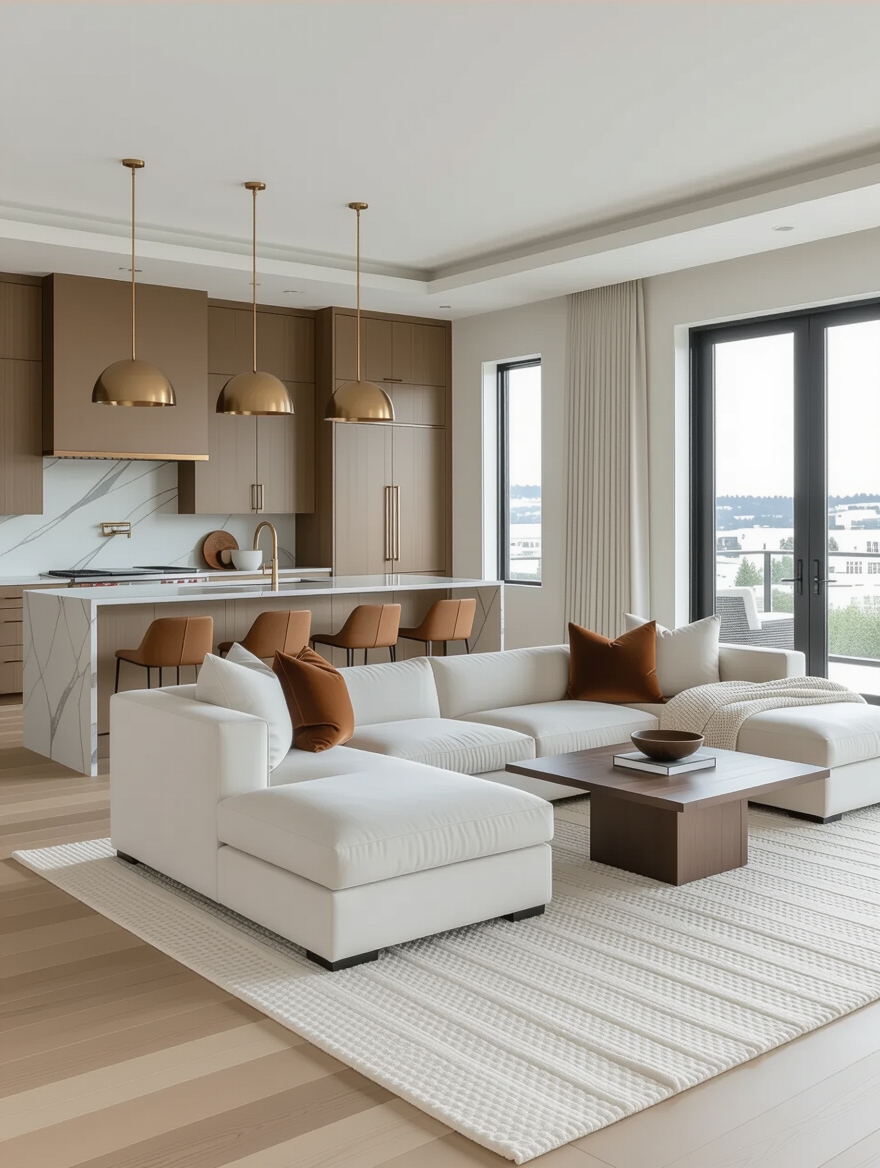
Rugs and lighting are the cheapest, most reversible zoning tools you have. A large rug, big enough to hold the front legs of the living-room furniture and usually $200 to $700 for that size, instantly tells the eye where one zone stops. Over the kitchen and the seating area, different fixtures do the same job overhead.
What matters is letting the two layers agree. A rug that defines the living zone and a pendant cluster that defines the island should feel like one scheme, related in tone and style, so the room still feels whole.
- Size the living rug to fit at least the front legs of every seat.
- Give the kitchen and seating zones distinct overhead fixtures.
- Keep rug and lighting styles related so the zones still connect.
Storage That Keeps a Clutter-Free Open Concept
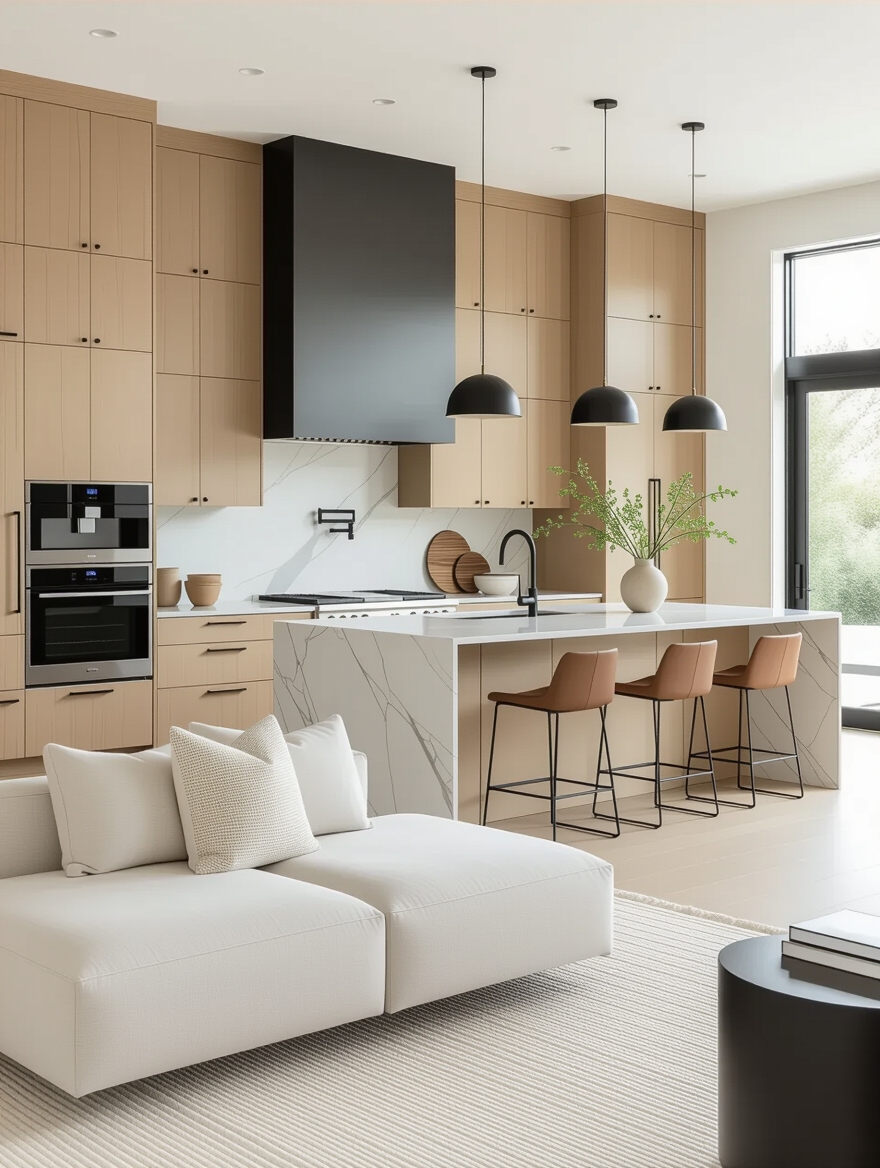
An open layout has nowhere to hide a mess, so storage is really a layout decision. The move is to build closed, generous storage into the bones of the plan: a wall of full-height cabinets, deep drawers, island storage on every side, and a designated landing spot near the entry for the daily pile of keys and bags.
I recommend planning storage around the messy habits you actually have. If small appliances live on the counter, give them a cabinet; if mail collects by the door, build in a drawer for it. In an open plan, the difference between calm and chaos is usually just enough closed storage in the right places.
- Favor closed cabinets where the sightlines from the sofa land.
- Claim vertical space with full-height cabinetry to keep counters clear.
- Add a by-the-door drop zone so daily clutter never reaches the living area.
Light is the wall you cannot see. Change it overhead and the room quietly changes underneath.
Balancing Sight Lines Between Cooking and Seating
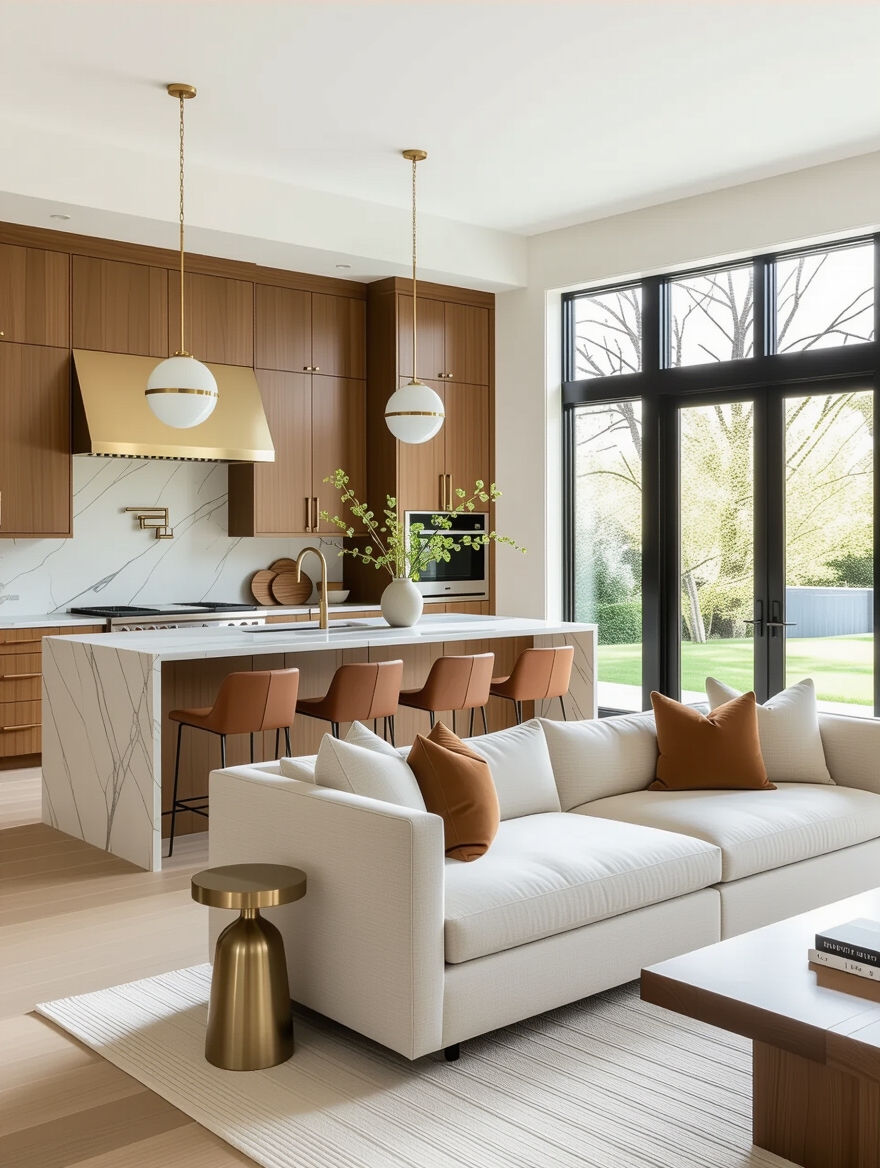
This is the move that changes how a finished open plan feels: control what people see from where they sit. From the sofa, the eye lands on the kitchen, so the question is whether it finds a tidy island and a backsplash or stares straight into the sink and a pile of dishes. The view sets the mood.
Aim the sofa’s view at the best part of the kitchen
Orient the layout so the messiest zones, the sink, the prep area, the cooktop, sit off the main sightline from the living room, while the island’s clean side and any feature, a hood, open shelving, a window, face out. A raised island bar or a low partition can screen working clutter without closing the space.
It works the other way too. I tell clients to give the cook a good view of the living area and any TV or window, since facing a blank wall while everyone else relaxes is the fastest way to feel left out of your own party.
Flexible, Multi-Use Furniture That Adapts
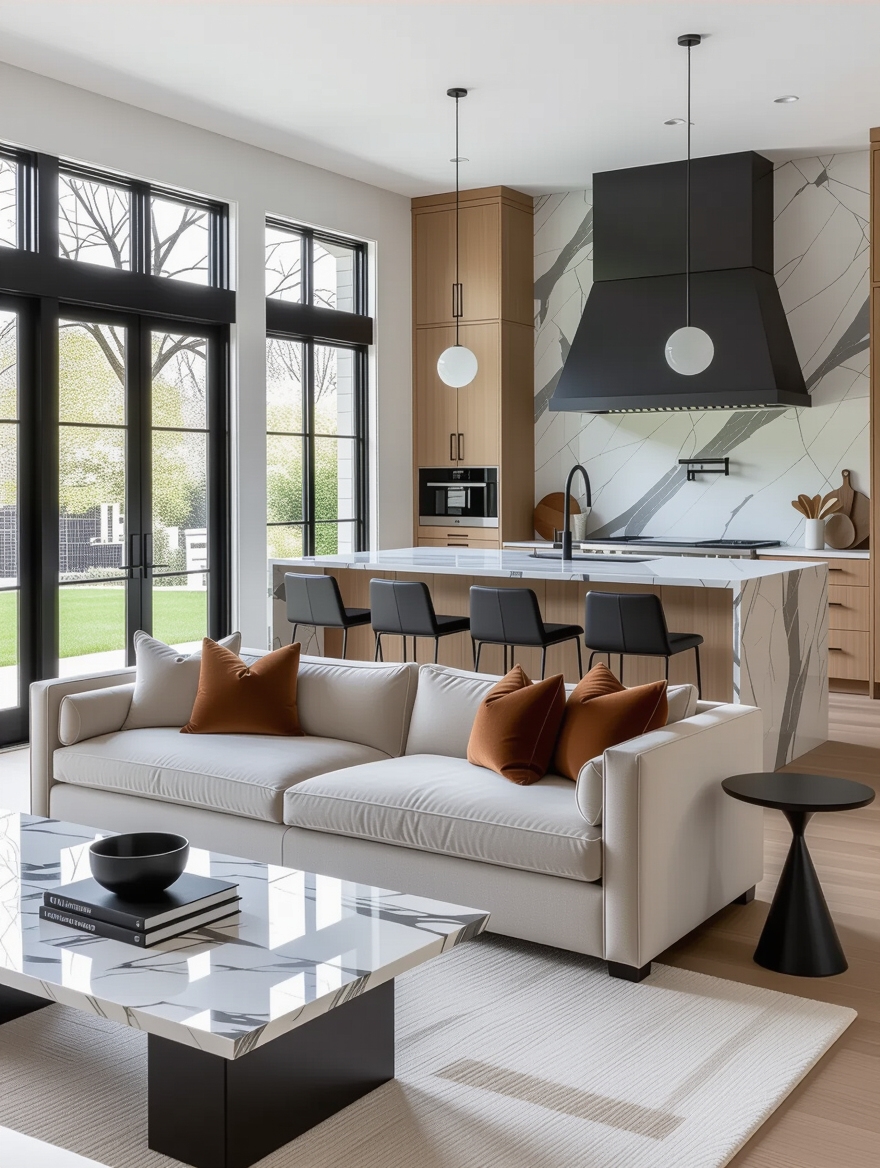
Open layouts shift between everyday life and entertaining, so the answer is furniture that adapts with them. An extendable dining table, a storage ottoman that becomes extra seating, nesting tables, and a slim console that doubles as a bar all let one layout serve a quiet Tuesday and a full dinner party, the same flexibility behind the smartest open floor plan living room and kitchen wins.
The payoff is flexibility without clutter. Pieces that do two jobs mean fewer objects floating in the open space, which keeps the sightlines clean and the room adaptable. For small open plans especially, a few convertible pieces beat a dozen single-use ones.
- Choose an extendable table that grows from daily size to party size.
- Use storage ottomans and benches as seating that hides clutter.
- Pick a console that can flip to a bar or buffet when you host.
A Color Scheme That Unites the Two Zones
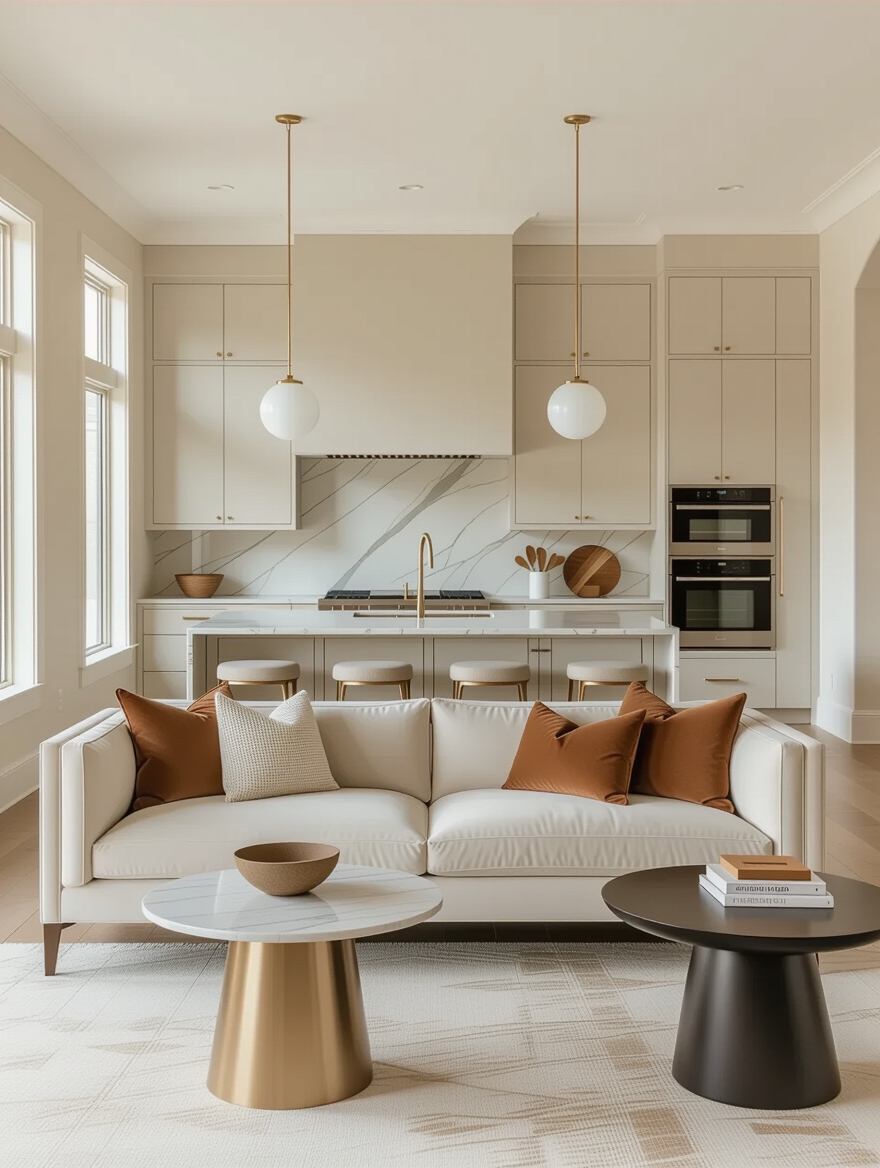
The last big move is a shared palette, which is what makes a kitchen and living room read as one room. Carry one or two main colors across both zones, repeat a wood tone or a metal finish, and let textiles, rugs, cushions, curtains, tie them together.
The cabinets and the sofa can differ in style, as long as they clearly belong to the same family. When the palette agrees, even very different furniture in the two zones feels deliberate, and a green-leaning kitchen can borrow from a green-and-white scheme to stay cohesive.
- Repeat one or two core colors across both the kitchen and living zones.
- Echo a single wood or metal finish in each area to link them.
- Use rugs and textiles to carry the palette from one zone to the other.
Adding Visual Interest Without Closing It In
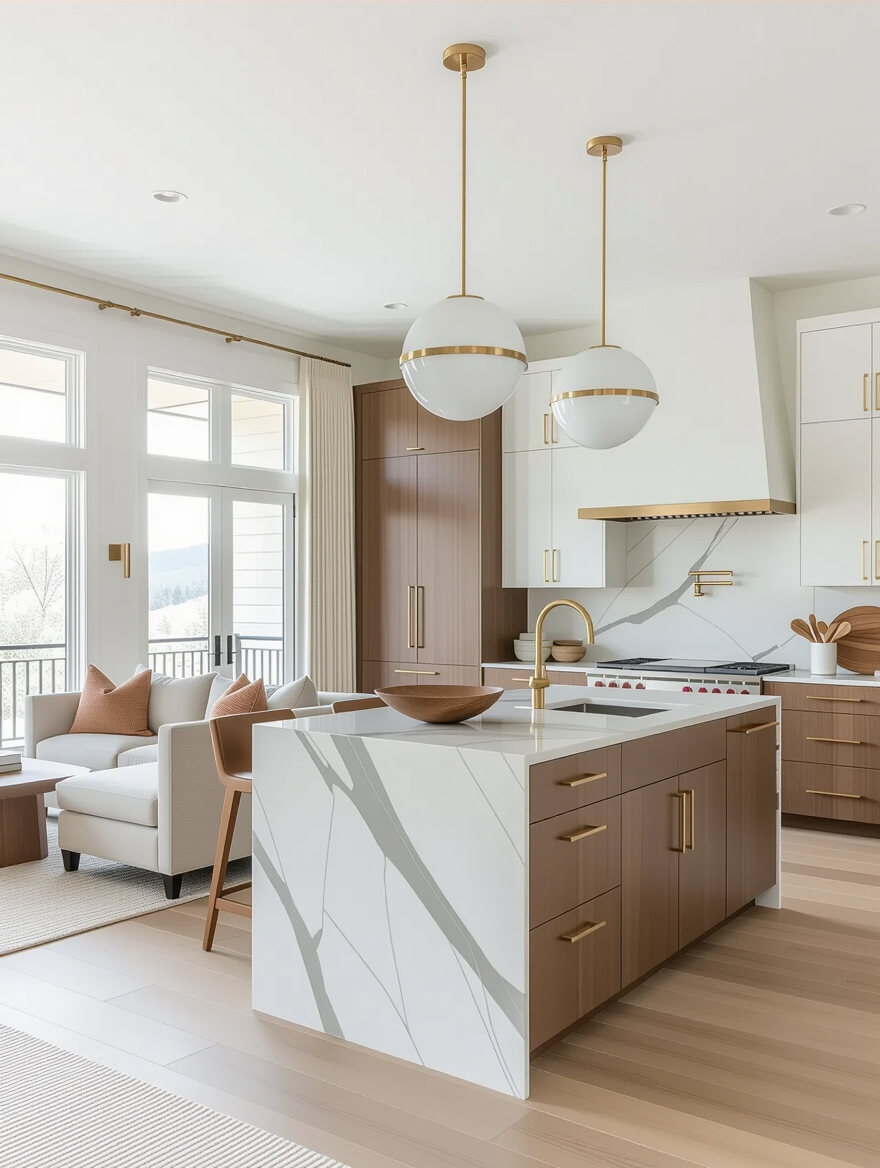
A connected space can fall flat if every surface is the same calm neutral, so the goal is layering interest without breaking the openness. Vary texture and height: a tall plant, open shelving, a piece of art, a woven shade, a mix of matte and shiny finishes. These add depth the way a divider would, but without blocking light or sightlines.
Keep the boldest moments to one or two spots so the room still feels open. A statement light over the island or one richly colored wall gives the eye somewhere to land, while the rest stays quiet. Interest comes from contrast and layers, and from leaving some corners calm.
Common Mistakes to Avoid
A few layout mistakes show up again and again in open kitchen-living rooms. The biggest is no zoning at all, furniture lined along the walls around an empty middle, which makes a large room feel like a lobby.
Close behind is an island sized for looks while ignoring the real clearances, which turns the heart of the plan into an obstacle. And almost everyone underestimates outlets: an open plan needs power in the floor and the island, where a wall used to provide it.
The subtler mistakes are about sightlines and sound. Pointing the sofa straight at the sink, skipping a real range hood, and forgetting soft surfaces to absorb noise all make an open plan less pleasant to live in than it looks. Most are cheap to avoid in planning and expensive to fix afterward, which is exactly why these layout basics are worth knowing first.
Open Concept Layout Questions, Answered
?What is the most important layout decision in an open kitchen-living room?
Island and seating placement, because they set the traffic paths and the sightlines that everything else follows. Position the island to edge the kitchen without blocking through-traffic, and arrange the living seating into a group that faces away from the kitchen’s messy side. Get those two right and the rest of the layout tends to fall into place.
?How much does it cost to open up a wall between a kitchen and living room?
It depends mostly on whether the wall is load-bearing. Removing a non-structural wall often runs about $1,500 to $4,000, while a load-bearing wall that needs a support beam can climb to $5,000 to $10,000 or more. Have a structural engineer or contractor confirm the wall type before you budget, since that single fact drives the whole cost.
?How do I cut down noise in an open kitchen-living room?
Soften the hard surfaces that an open room amplifies. Add rugs, upholstered seating, and curtains to absorb sound, choose a quiet dishwasher and a well-vented range hood, and consider a half-height divider or a bookcase to break up the longest echo paths. Soft materials in the living zone do most of the work.
?How do I hide kitchen clutter from the living room?
Plan the sightlines and the storage together. Orient the sink and prep zone off the main view from the sofa, raise the island’s seating side to screen the working surface, and lean on closed cabinets where the eye lands. A five-minute nightly reset and a by-the-door drop zone handle the rest.
Lay Out the Bones, Then Decorate
Open concept will keep evolving, but the layout secrets behind a good one do not change: define the zones, plan the traffic, place the island with intent, guard the sightlines, and let a shared palette tie it together. Decor sits on top of all that, and no amount of it fixes a layout that fights you.
Walk your space the way people will move through it, sit where you will actually sit, and look at what you see. The open plans that feel easy to live in were the ones planned this way, from the bones outward, long before the throw pillows arrived.
More Hair Ideas


