
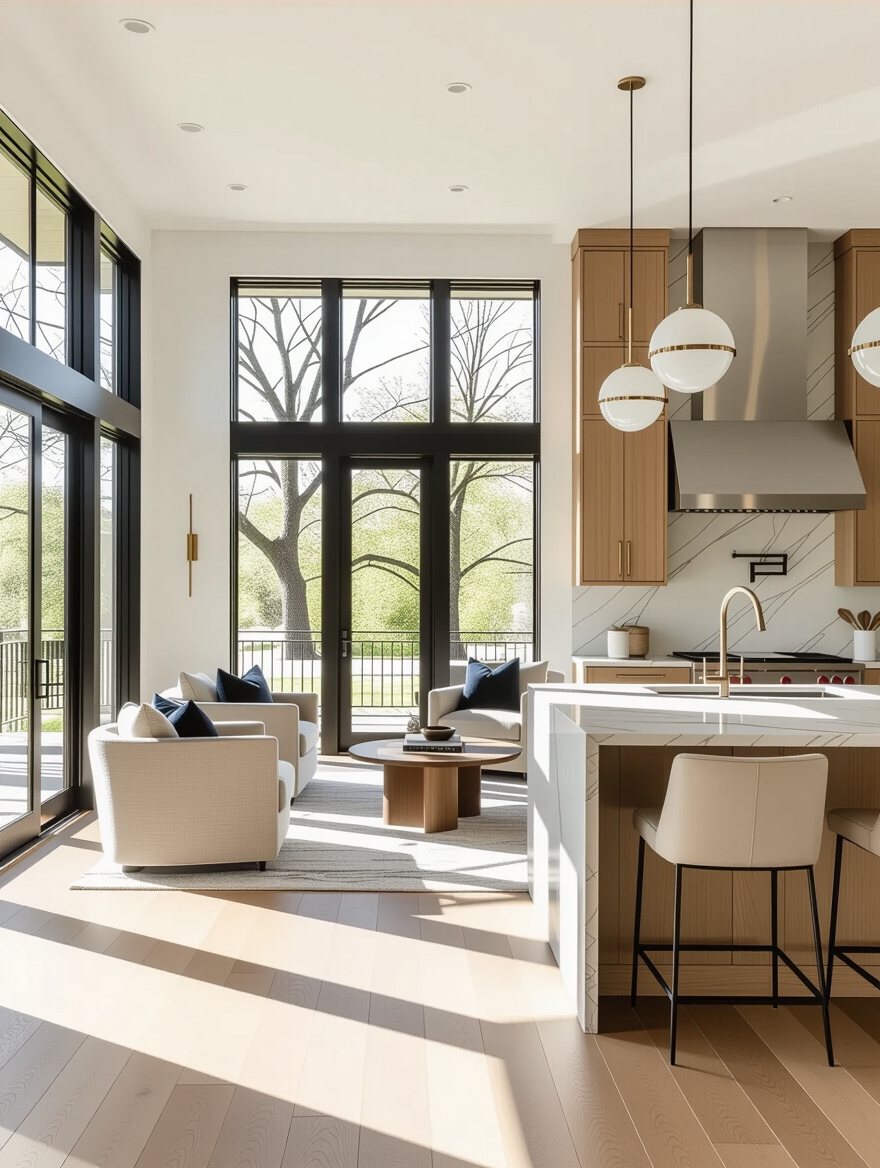
You can feel a botched transition the second you walk in: the kitchen’s tile stops in a hard line, the living room’s floor starts, the paint colors argue, and the two rooms feel like roommates who do not really get along. A transition done right does the opposite. Your eye glides from the stove to the sofa without a single jarring stop, and the whole floor feels like one considered space.
That smooth handoff between the kitchen and living room is what separates an open plan that feels designed from one that just had a wall removed. It comes down to a handful of choices, mostly about flooring, color, and where the rooms meet. Below are the transitions that work, from blending the two spaces into one to creating a soft, intentional line between them.
Transition Tools at a Glance
| Transition tool | What it does | Best for |
|---|---|---|
| One continuous floor | Blends the rooms into one | Most open plans |
| A flooring change | Marks zones, keeps it open | A defined kitchen vs living |
| Island or half wall | A soft physical line | Containing the kitchen |
| Shared palette and finishes | Visual flow across both | Cohesion everywhere |
Why Living Room and Kitchen Transitions Matter

The transition is the seam where two rooms become one, and getting it right is what makes an open plan feel intentional. Done well, it lets light, color, and the eye flow from cooking to lounging without interruption, so a modest home feels larger and more cohesive. Done poorly, the seam shows, and the space feels like two rooms uncomfortably sharing a floor. The seam should disappear.
Blend or define, but never let them collide
There are really two philosophies, and both can be right. You can blend, using one floor and a shared palette so the rooms melt together, or you can define, using a flooring change or a soft divider to give each zone its own identity while keeping the openness. The mistake is doing neither and letting the rooms collide.
Most of the work happens at floor level and in the palette, the two things the eye reads first. Get those flowing and the rest of the transition falls into place, which is why nearly every fix below starts there.
Use Flooring to Define the Two Zones

Flooring is the single biggest transition decision, and you have two good options. Floor first. The cleanest is one continuous floor, hardwood or luxury vinyl, run straight through both rooms, which instantly blends them and makes the whole space feel larger. Lay the planks in one direction across the entire floor for the smoothest result, and budget about $4 to $9 per square foot for quality vinyl, installed.
If you want to mark the zones, a deliberate flooring change can do it, tile in the kitchen meeting wood in the living room, as long as it is handled with care. Keep the two floors at the same height with a flush transition strip so no one trips, and choose related tones so the change looks intentional.
A clean, level threshold is the detail that separates a designed transition from a builder afterthought, the kind of thinking behind any open floor plan that wins.
- Run one continuous floor through both rooms for the most blended look.
- If you change materials, keep them flush and the tones related.
- Use a low-profile transition strip so the seam is clean and safe.
A good transition is invisible. You only notice it when it is missing.
The Kitchen Island as a Natural Transition

The island is the easiest physical transition there is, a built-in line between cooking and living that you probably already have. Positioned along the boundary, it edges the kitchen, gives the living room a place to stop, and adds storage and seating without a wall. It marks the change in use while keeping the sightlines wide open. The island bridges them.
I tell clients to treat the island’s living-room side like furniture: a paneled back, a contrasting finish, or a waterfall end so it looks intentional from the sofa. Seat people on that side and the island becomes the friendly bridge between the two rooms, the spot where the kitchen hands off to the living space.
Partial Walls for Flexible Separation

When a fully open transition feels too exposed, a partial element gives you a softer in-between. A half wall, a run of glass, a slatted screen, or a set of sliding panels marks the boundary between kitchen and living room while still letting light and connection through. The trick for a smooth transition is to keep these low or see-through, so they suggest a change rather than slam a door on it.
A half wall at counter height hides the kitchen’s working mess from the sofa while you still chat over the top, and sliding panels let you open the transition wide for a party or close it while the dishwasher runs, the same flexible thinking behind smart partition ideas that skip the walls.
- Keep partial dividers low or see-through so the transition still flows.
- Use a half wall to hide kitchen mess while keeping conversation open.
- Add sliding panels to open or close the transition on demand.
💡Transition Tip
Finish the back of your island, the side facing the living room, as carefully as the front. A bare cabinet back is the most common thing that makes an island look like a kitchen object instead of a smooth transition between the two rooms.
A Unified Color Palette Across Both Rooms

Nothing smooths a transition faster than a shared color palette. Color blends everything. When the kitchen and living room draw from the same two or three core colors, the eye takes them as one room even when the furniture and finishes differ. I recommend carrying one wall color through both spaces, echoing the cabinet tone in a living-room accent, and repeating one metal or wood finish across the floor, and the rooms instantly feel related.
The cabinets and the sofa do not have to match; they just have to belong to the same family. This is the cheapest transition fix there is, since a few cans of paint and some coordinated textiles pull a disjointed open plan together for almost nothing.
- Pull two or three core colors through both the kitchen and living room.
- Echo the cabinet tone in a living-room accent to link the spaces.
- Repeat one wood or metal finish across both rooms for cohesion.
Open Shelving That Connects the Spaces

Open shelving right at the boundary is a clever transition because it divides and connects at the same time. A unit of shelves open on both sides, or a low run between the kitchen and living room, marks the edge while letting light and the eye pass through the gaps. It gives both rooms something to look at and neither room a solid wall. Both sides stay on show.
Style it for both sides, since it is on display from the kitchen and the living room at once. A mix of dishes, books, plants, and a few objects that suit both spaces makes the shelving a shared feature, the same balance behind well-judged interior touches that lift a kitchen. Keep it edited and airy, and it becomes a soft, see-through bridge between the two rooms.
How to build a palette that bridges both rooms.
1Pick a main neutral
Choose one wall or large-surface color to run through both spaces.
2Add a secondary tone
Echo the cabinet or island color in the living room’s textiles or furniture.
3Choose one accent
Repeat a single accent color in both zones so the eye connects them.
4Repeat a finish
Carry one wood or metal finish across both rooms to seal the link.
Backsplash Continuity for Visual Flow
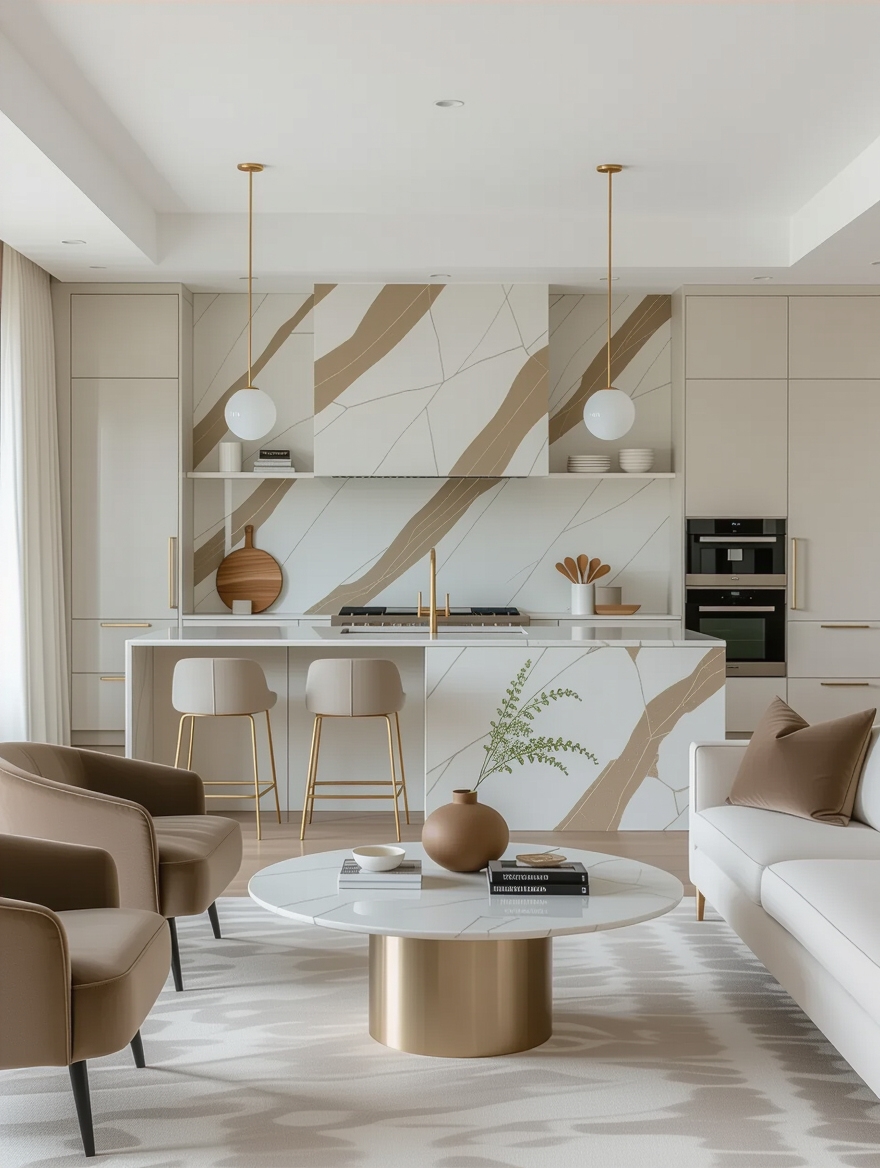
A more advanced transition trick is to carry a material from the kitchen out into the living space. Running the backsplash stone up into a waterfall, around a column, or onto an adjacent fireplace surround visually ties the two rooms together with a thread of shared material.
The same move works with a counter material repeated on a living-room shelf or a bar, or a cabinet color echoed on a built-in. Designers use this to make an open plan feel custom, since the repeated material quietly tells the eye that the whole space was planned as one. It costs more than paint, but a little continuity of stone or tile does a lot for cohesion.
- Carry the backsplash stone onto an adjacent surface to link the rooms.
- Repeat a counter or cabinet material on a living-room built-in.
- Use one shared material as a thread between the two spaces.
Match Finishes for Cohesion

The smallest transition details, the metals and woods, do a surprising amount of work. When the same finish shows up in both rooms, brass in the kitchen hardware and the living-room lamp, or oak in the cabinets and the coffee table, the eye connects the spaces without you ever spelling it out. Mismatched metals everywhere are a quiet reason an open plan feels disjointed. I see this trip people up constantly.
Pick one main metal and one main wood tone and repeat each across both rooms. You do not need everything to match, just a consistent thread, so a couple of finishes appear on both sides of the transition. Finishes seal the link. This is the layer that makes a blended open plan feel deliberate.
- Choose one main metal and repeat it in both rooms.
- Carry one wood tone across the kitchen and living areas.
- Aim for a consistent thread, not a perfect match, in finishes.
Maximize the Shared Space With Style
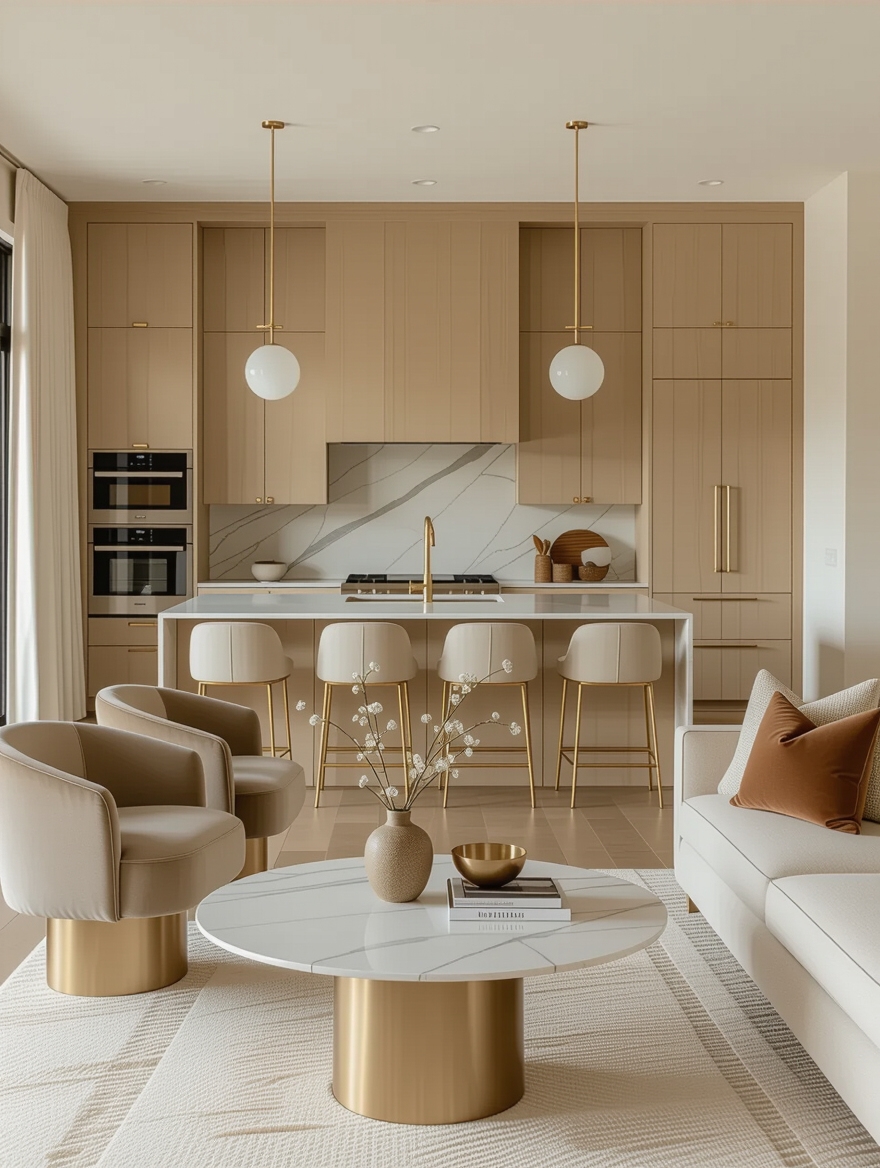
How you arrange furniture across the transition decides whether the rooms feel connected or just adjacent. Float the living-room seating so the sofa’s back gently marks the edge of the kitchen, and keep pieces low and leggy near the boundary so light and sightlines travel over and under them. The goal is for the eye to move freely across the seam, the same connected feel behind the best ways to merge an open kitchen and living room.
Arrange furniture to face across the seam
Scale the furniture to the shared space, not to each separate room, so nothing feels marooned in the open floor. A rug that anchors the living zone and a console or bench at the boundary can soften the transition while still defining where one room becomes the other.
Point the seating toward the kitchen or a shared focal point so the two rooms face each other rather than turning their backs. When the furniture acknowledges the transition, the whole open plan feels like one room with two purposes.
Define the Space With Area Rugs

An area rug is the easiest, most reversible way to handle a transition, especially over one continuous floor. A large rug under the living-room seating instantly tells the eye where the lounge zone begins, softening the floor and warming the space without any construction. It is the lightest possible touch, and you can move or change it anytime.
Size and coordinate it carefully. The rug should be big enough to hold the front legs of the living-room furniture, and its colors should pull from the shared palette so it links the rooms. In a kitchen that runs into a dining zone too, a second related rug under the table continues the idea, marking each zone while keeping the whole floor connected.
- Use a large rug to mark the living zone over a continuous floor.
- Size it to hold at least the front legs of the seating.
- Pull the rug’s colors from the shared palette to link the rooms.
Who It Suits Best
Getting the transition right matters most in homes where the kitchen and living room are fully open to each other and always in view at once, which is most modern open plans.
If you live in a smaller home, the blended approach, one floor, one palette, continuous finishes, pays off the most, since anything that makes the space feel larger and calmer is worth doing. Families and frequent entertainers also gain a lot, because a smooth transition makes the whole floor work as one social space.
The defined approach suits people who want the kitchen to feel like its own room, or who need to hide its mess from a constantly-used living area.
Renters and tight budgets can lean on the cheap, removable transitions, a shared paint palette, an area rug, coordinated finishes, while a renovation is the time to handle the flooring and any built-in continuity. Whatever your situation, start with the floor and the palette, since those two carry most of the transition on their own.
Make the Two Rooms Read as One
Open-plan living is only getting more popular, and the homes that feel best are the ones where the kitchen and living room flow into each other instead of colliding. The recipe is consistent: handle the floor first, share a palette and a few finishes, and use an island, a rug, or a low divider to mark the seam gently. Do that and the transition disappears, which is exactly when you know it is done right.
If your open plan feels like two mismatched rooms, you might start with the cheapest, highest-impact transition, usually a shared paint color and a rug that pulls both spaces together, before touching the floor. Stand where you actually walk and look across the seam for a good ten minutes; the spot that feels jarring is the one to fix first, and it is usually smaller than you think.
More Hair Ideas


